
THE BINDERY: PAPERBACK BOOK
The making of Black Diamond plus FREE BOOK giveaway

Getting Started
Got an adventurous spirit? Ready for a new hobby? Bookbinding is fun and might just be for you. Let’s face it, the publishing industry has become bloated and stiff. Literary agents sift through what I can only imagine to be countless queries while publishers scheme over the tiny details to squeeze every drop of profit from what they deem worthy to print. This isn’t the purpose of art. It’s the foregone conclusion to the capitalistic mindset which sucks the literal soul from unknown creators by creating nothing less than a marketable brand. We’ve seen this trend before and time is nigh, while it’s more accessible now than ever, to publish yourself and share it abroad with whoever you connect with on the internet thanks to platforms like SubStack. There’s also a handful of great bookbinding channels on YouTube which serve as invaluable guides through the process such as DAS Bookbinding, Four Keys Book Arts, and Bitter Melon Bindery to name a few.
Our aim is to inform anyone with a hands-on approach or do-it-yourself mindset on how easy and rewarding it is to bind your own books, cover to cover. Especially if they’ve chosen to self-publish their work and would rather have it occupy a couple inches on a dusty shelf instead of getting buried in a digital cemetery of ebooks. Forever preserved with a purchase link online while decaying with the rest of the rot in an oversaturated market. When it came to bringing Jed Doggo’s debut novel into being we opted for classic paperbacks. Without getting too bogged down with technical terms like casebound (hardcover) or perfect bound, it’s important to note that paperback books are typically made by machines for mass production. Which makes the Lumbeck method, or double-fan binding, a practical alternative pioneered by German bookbinder Emil Lumbeck (1938) who achieved a technique of gluing single sheets of paper without sewing them. Our reference was the following video by DAS Bookbinding who does an amazing job detailing every step with the exception of the cover (more on that later)—Make Your Own Paperback Using Basic Tools // Adventures in Bookbinding
Right as we started full steam ahead with printing Black Diamond everything came to a screeching halt. The old Epson WF-7620 which had been moved from a basement to a garage ad infinitum and wasn’t operational for nearly ten year proved to be a problem. Turns out these inkjet printers like to be printed on at least once a month and every troubleshooting step found online simply didn’t work. After taking it to the only Epson repair service in the region (again, no more than five minutes away) they said Epson wouldn’t send a replacement print head. We were faced with replacing the printer if we were to even launch this press off the ground. Fortunately, technology has changed over the years and although the new Eco Tanks have a higher upfront cost, they should in theory save money by replacing expensive ink cartridges with refillable tank bottles. The sad reality of professional inkjet printers is that they only last a decade which makes ownership quite a luxury. If you are in the market for a new printer, you’ll find there isn’t one perfect model that meets all your needs. Even once I opted for another Epson, which was after lengthy reviews of Canon and Brother models. After wavering between the Epson WF7840 and Epson ET-8550, ultimately I settled on the Epson ET-8550 because of the refillable ink tank and it supports borderless printing.
Disclaimer: DO NOT purchase this model based off the latter feature. Borderless printing is really messy within the machine and the absorbency pad is irreplaceable, effectively limiting the printer’s lifespan. We’re under the impression this would likely only be problematic if you did borderless prints on a commercial scale but it’s certainly something to consider if that was a major selling point. Another downside noted amongst some users is that it relies on dye-based inks with the exception of the pigment-based black. However, such nuances can only be spotted by the trained eye and most will view them as just fine. Which was pretty much a nonissue for our purposes. The upside to a wide format printer is that you can always buy a larger paper size!
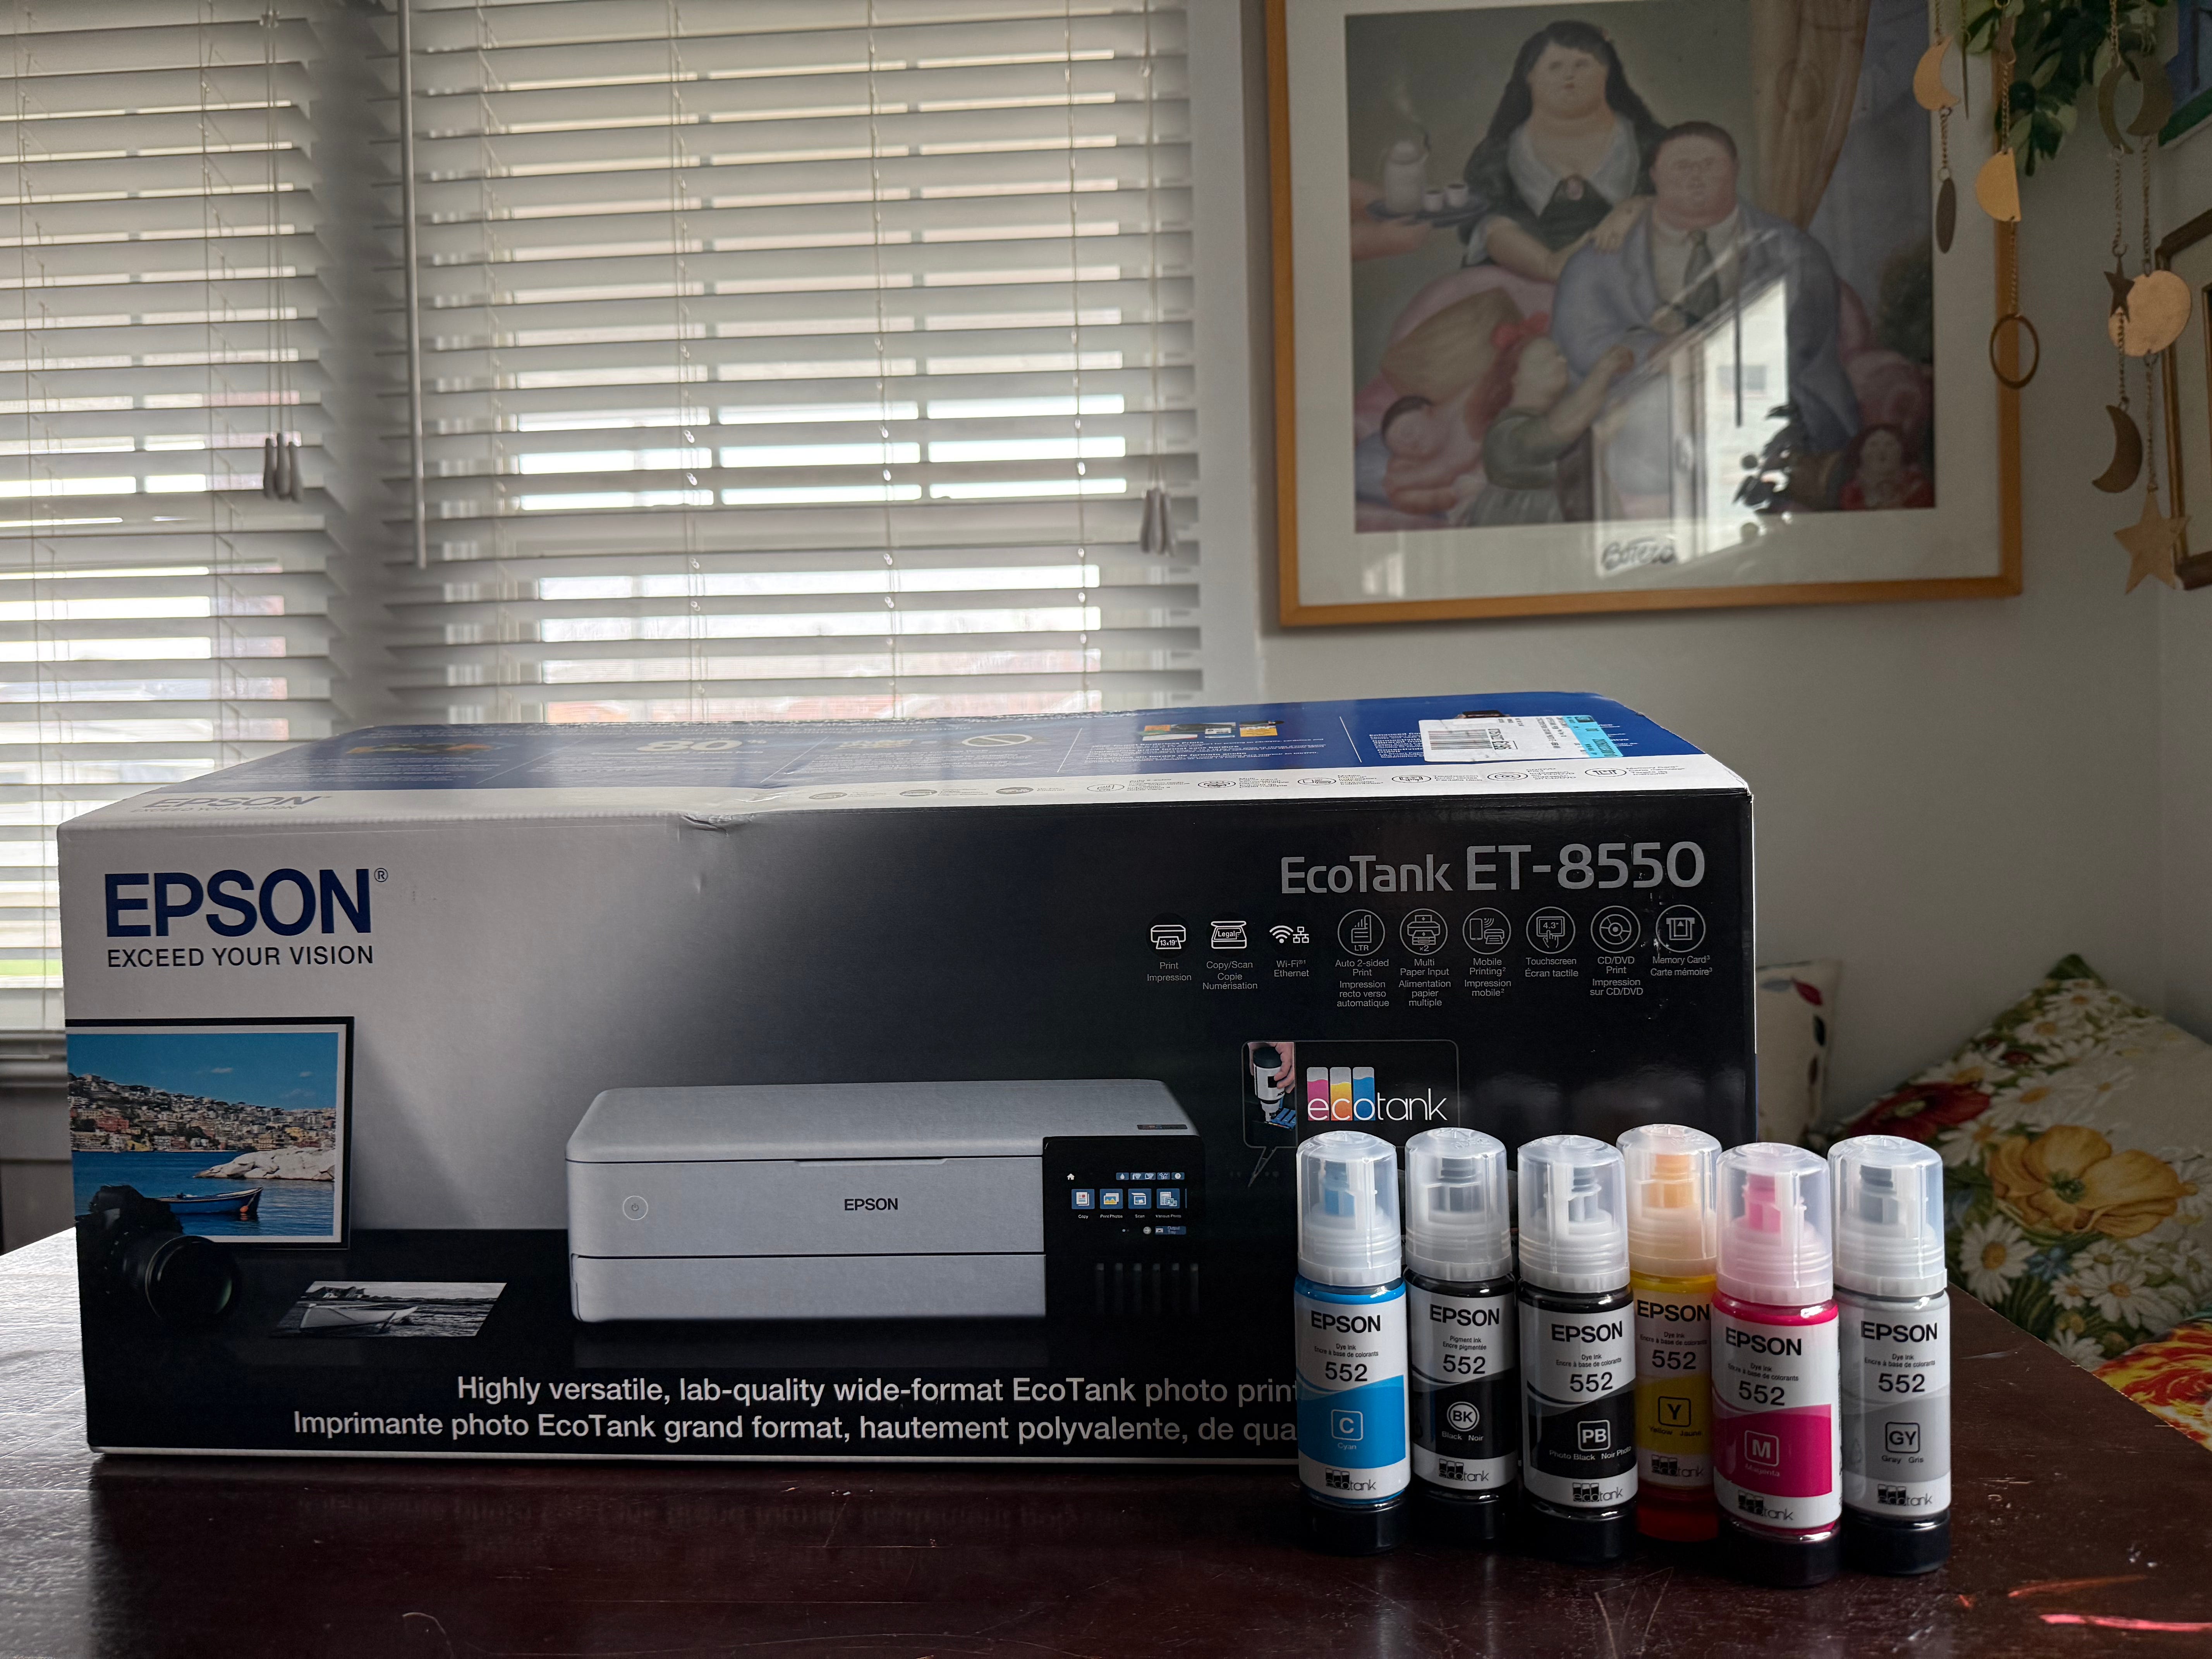
(EPSON ET-8550)
We strongly encourage that you watch Keith Cooper’s video if you’re unsure what works best for you:
Admittedly, using the ET-8550 for the first time was marked by extreme disappointed in the lackluster results it produced. Then we found Keith Cooper’s blog, https://www.northlight-images.co.uk/keiths-photography-blog. Keith’s a wizard of the realm of professional-grade photo prints and graciously shares a wealth of information on the subject. He’ll even share his custom ICC print profiles if you buy him a ‘Coffee’. Basically, there’s photo paper made specifically for inkjet printers like this and unfortunately you can’t feed whatever cheap media you pick up at the FedEx store into the machine or expect smearing, wheel marks, or other print artifacts. So far we’re extremely satisfied with the purchase. In fact, we’d have invested in the ET-16650 given the financial means. The good news is that BestBuy and Staples run promos throughout the year and we were lucky enough to save $250 which is not nothing regarding an investment of this caliber.
Pro Tip: Public libraries are a fantastic resource. The ones in our city also use Epson in their Creative Lab and it was an invaluable resource to test print on different media while existing between printers. The only limitation is that they don’t support paper sizes with a width larger than 11-inches. For text blocks you might have to get more creative. Those could be printed from any printer you have access to. A little discretion is advised if this happens to be on the clock while at work.
The making of Black Diamond has been conveniently broken down into three steps.
Materials
Text block
Cover
Black Diamond Giveaway
***One more thing… in commemoration of our first release we’d like to offer a free copy of Black Diamond to one lucky subscriber. Stay tuned until the end of the post for your chance to win!
1. Materials
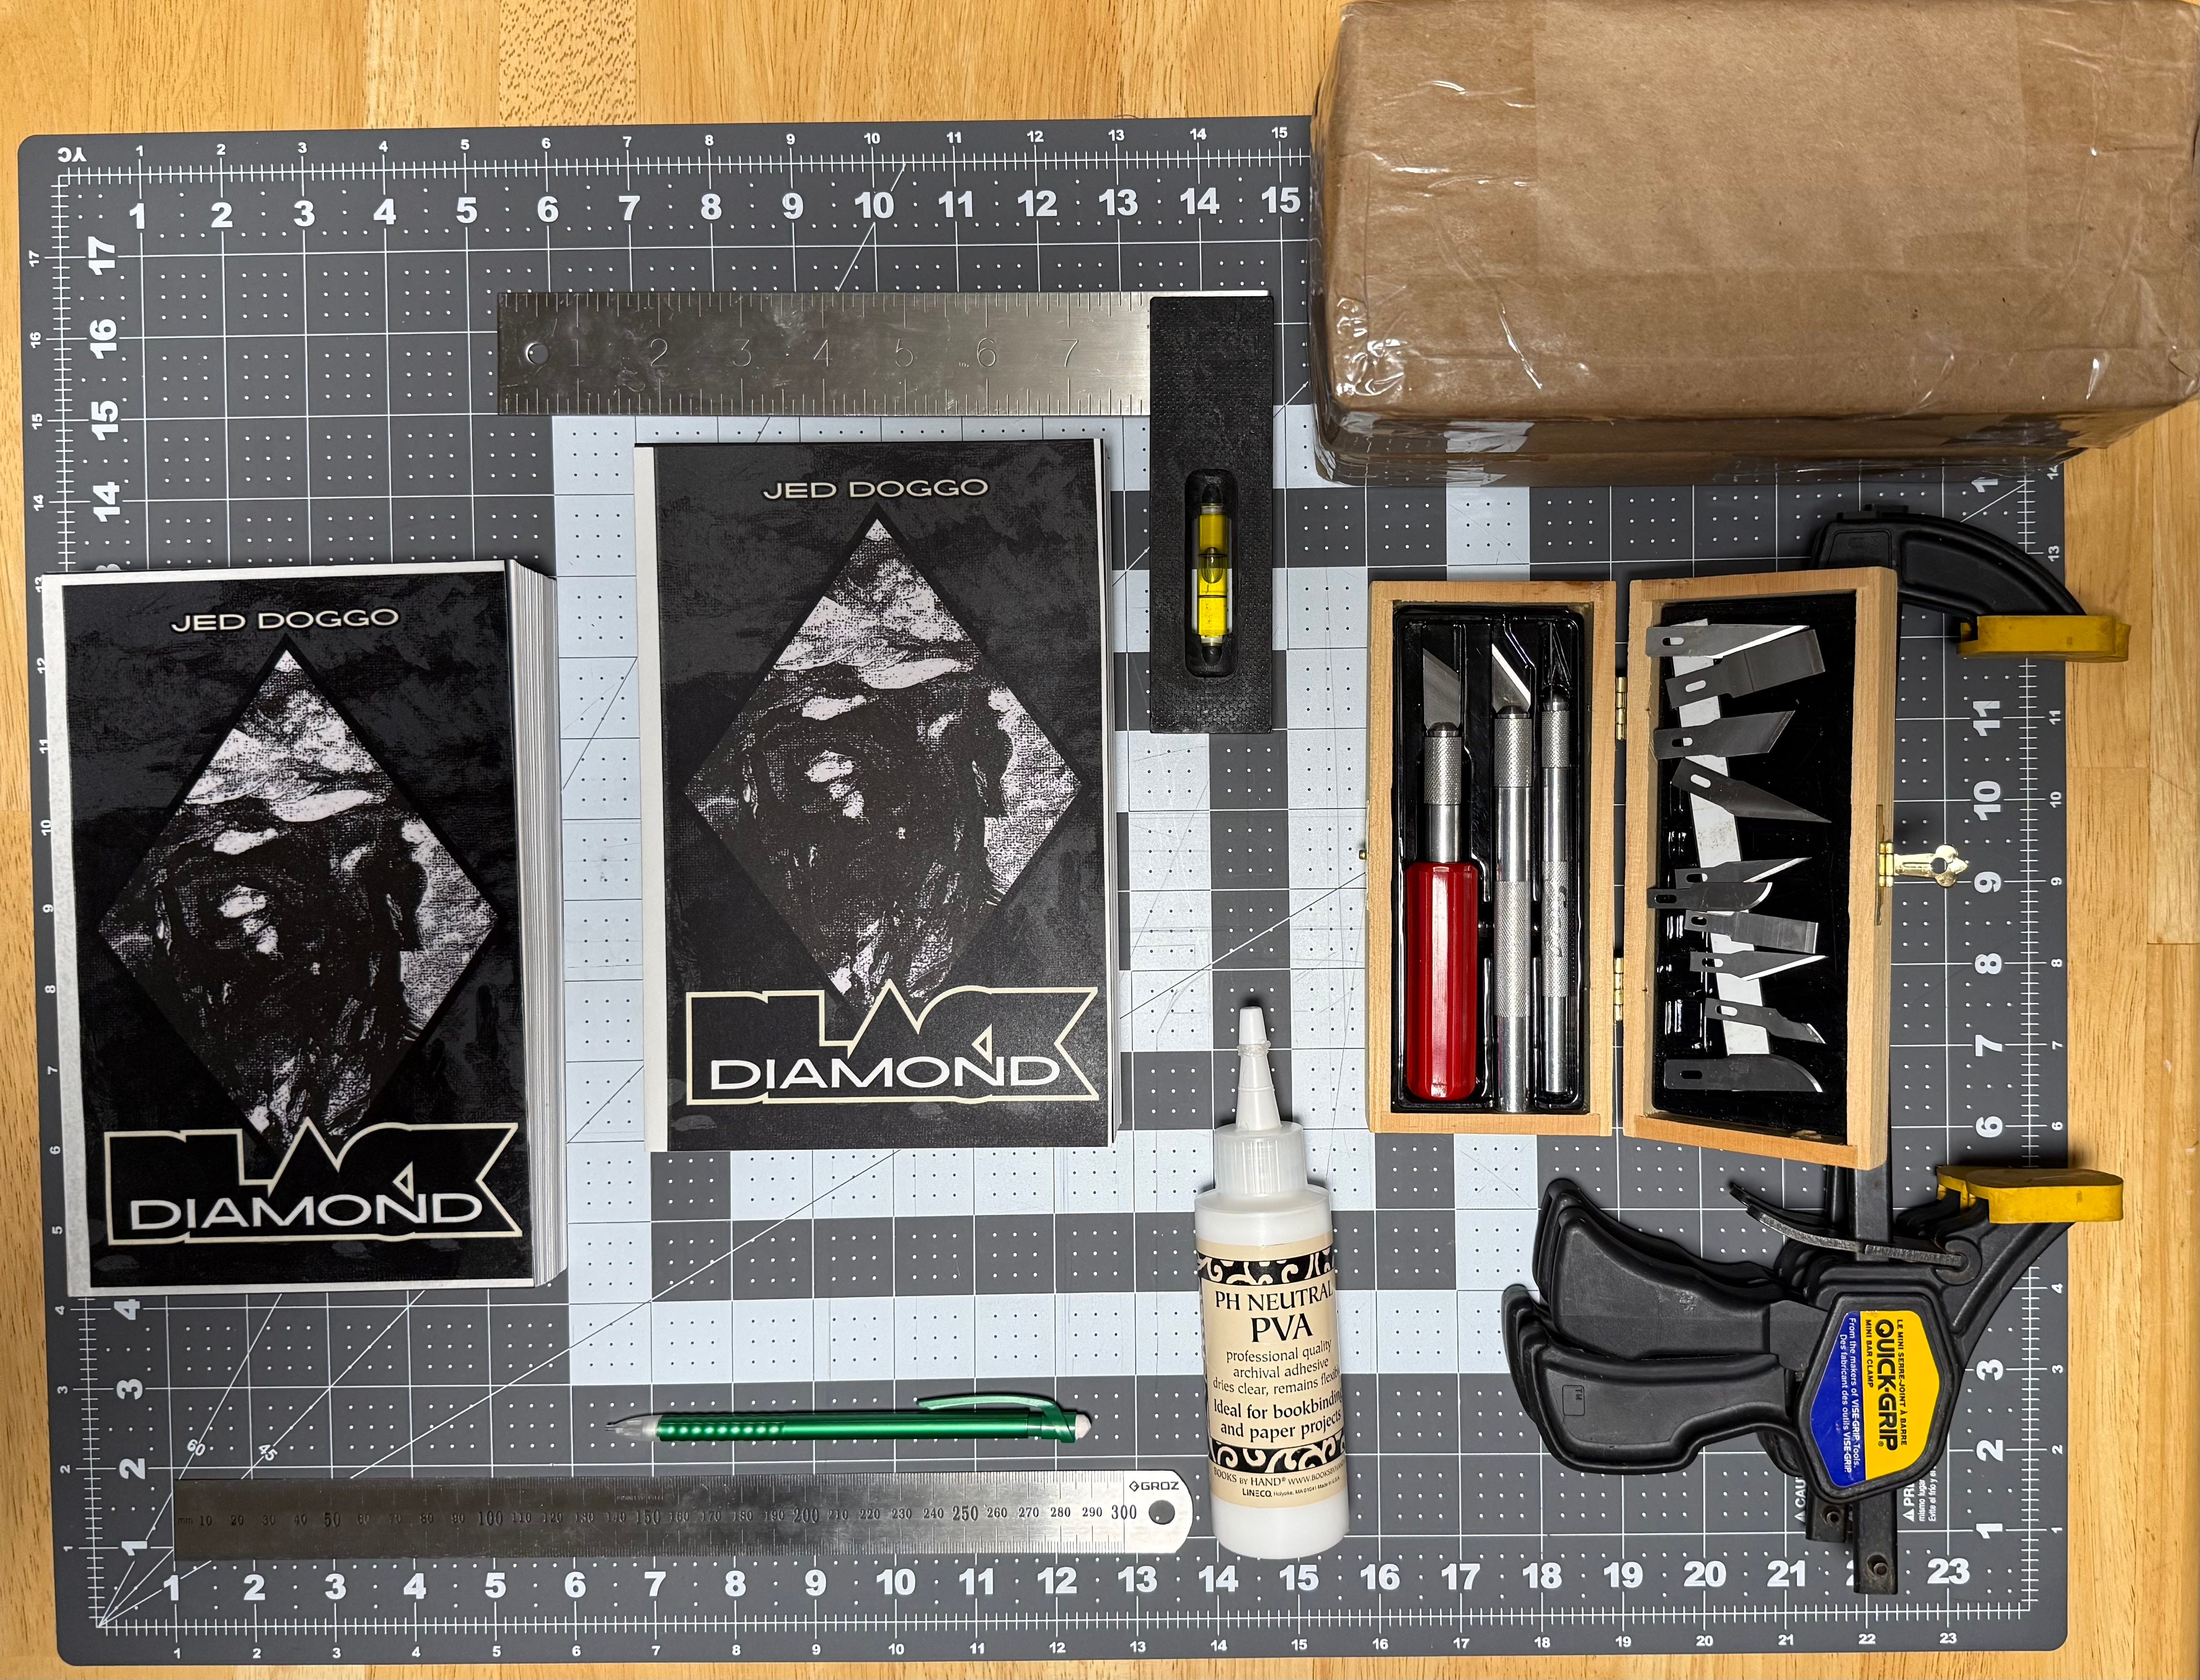
As with any new venture you’ll have to account for startup costs. But there’s no reason you shouldn’t save wherever you can. For instance, using bricks (ours were found in the garden) wrapped in craft paper if you don’t have a book press. Here’s a short list of the essentials before you even think about getting started:
ruler
X-acto knife
cutting mat
PVA glue
paintbrush
pencil
paper cutter (or guillotine)
12in bar clamp
2 spring clamps
2 thin wood boards
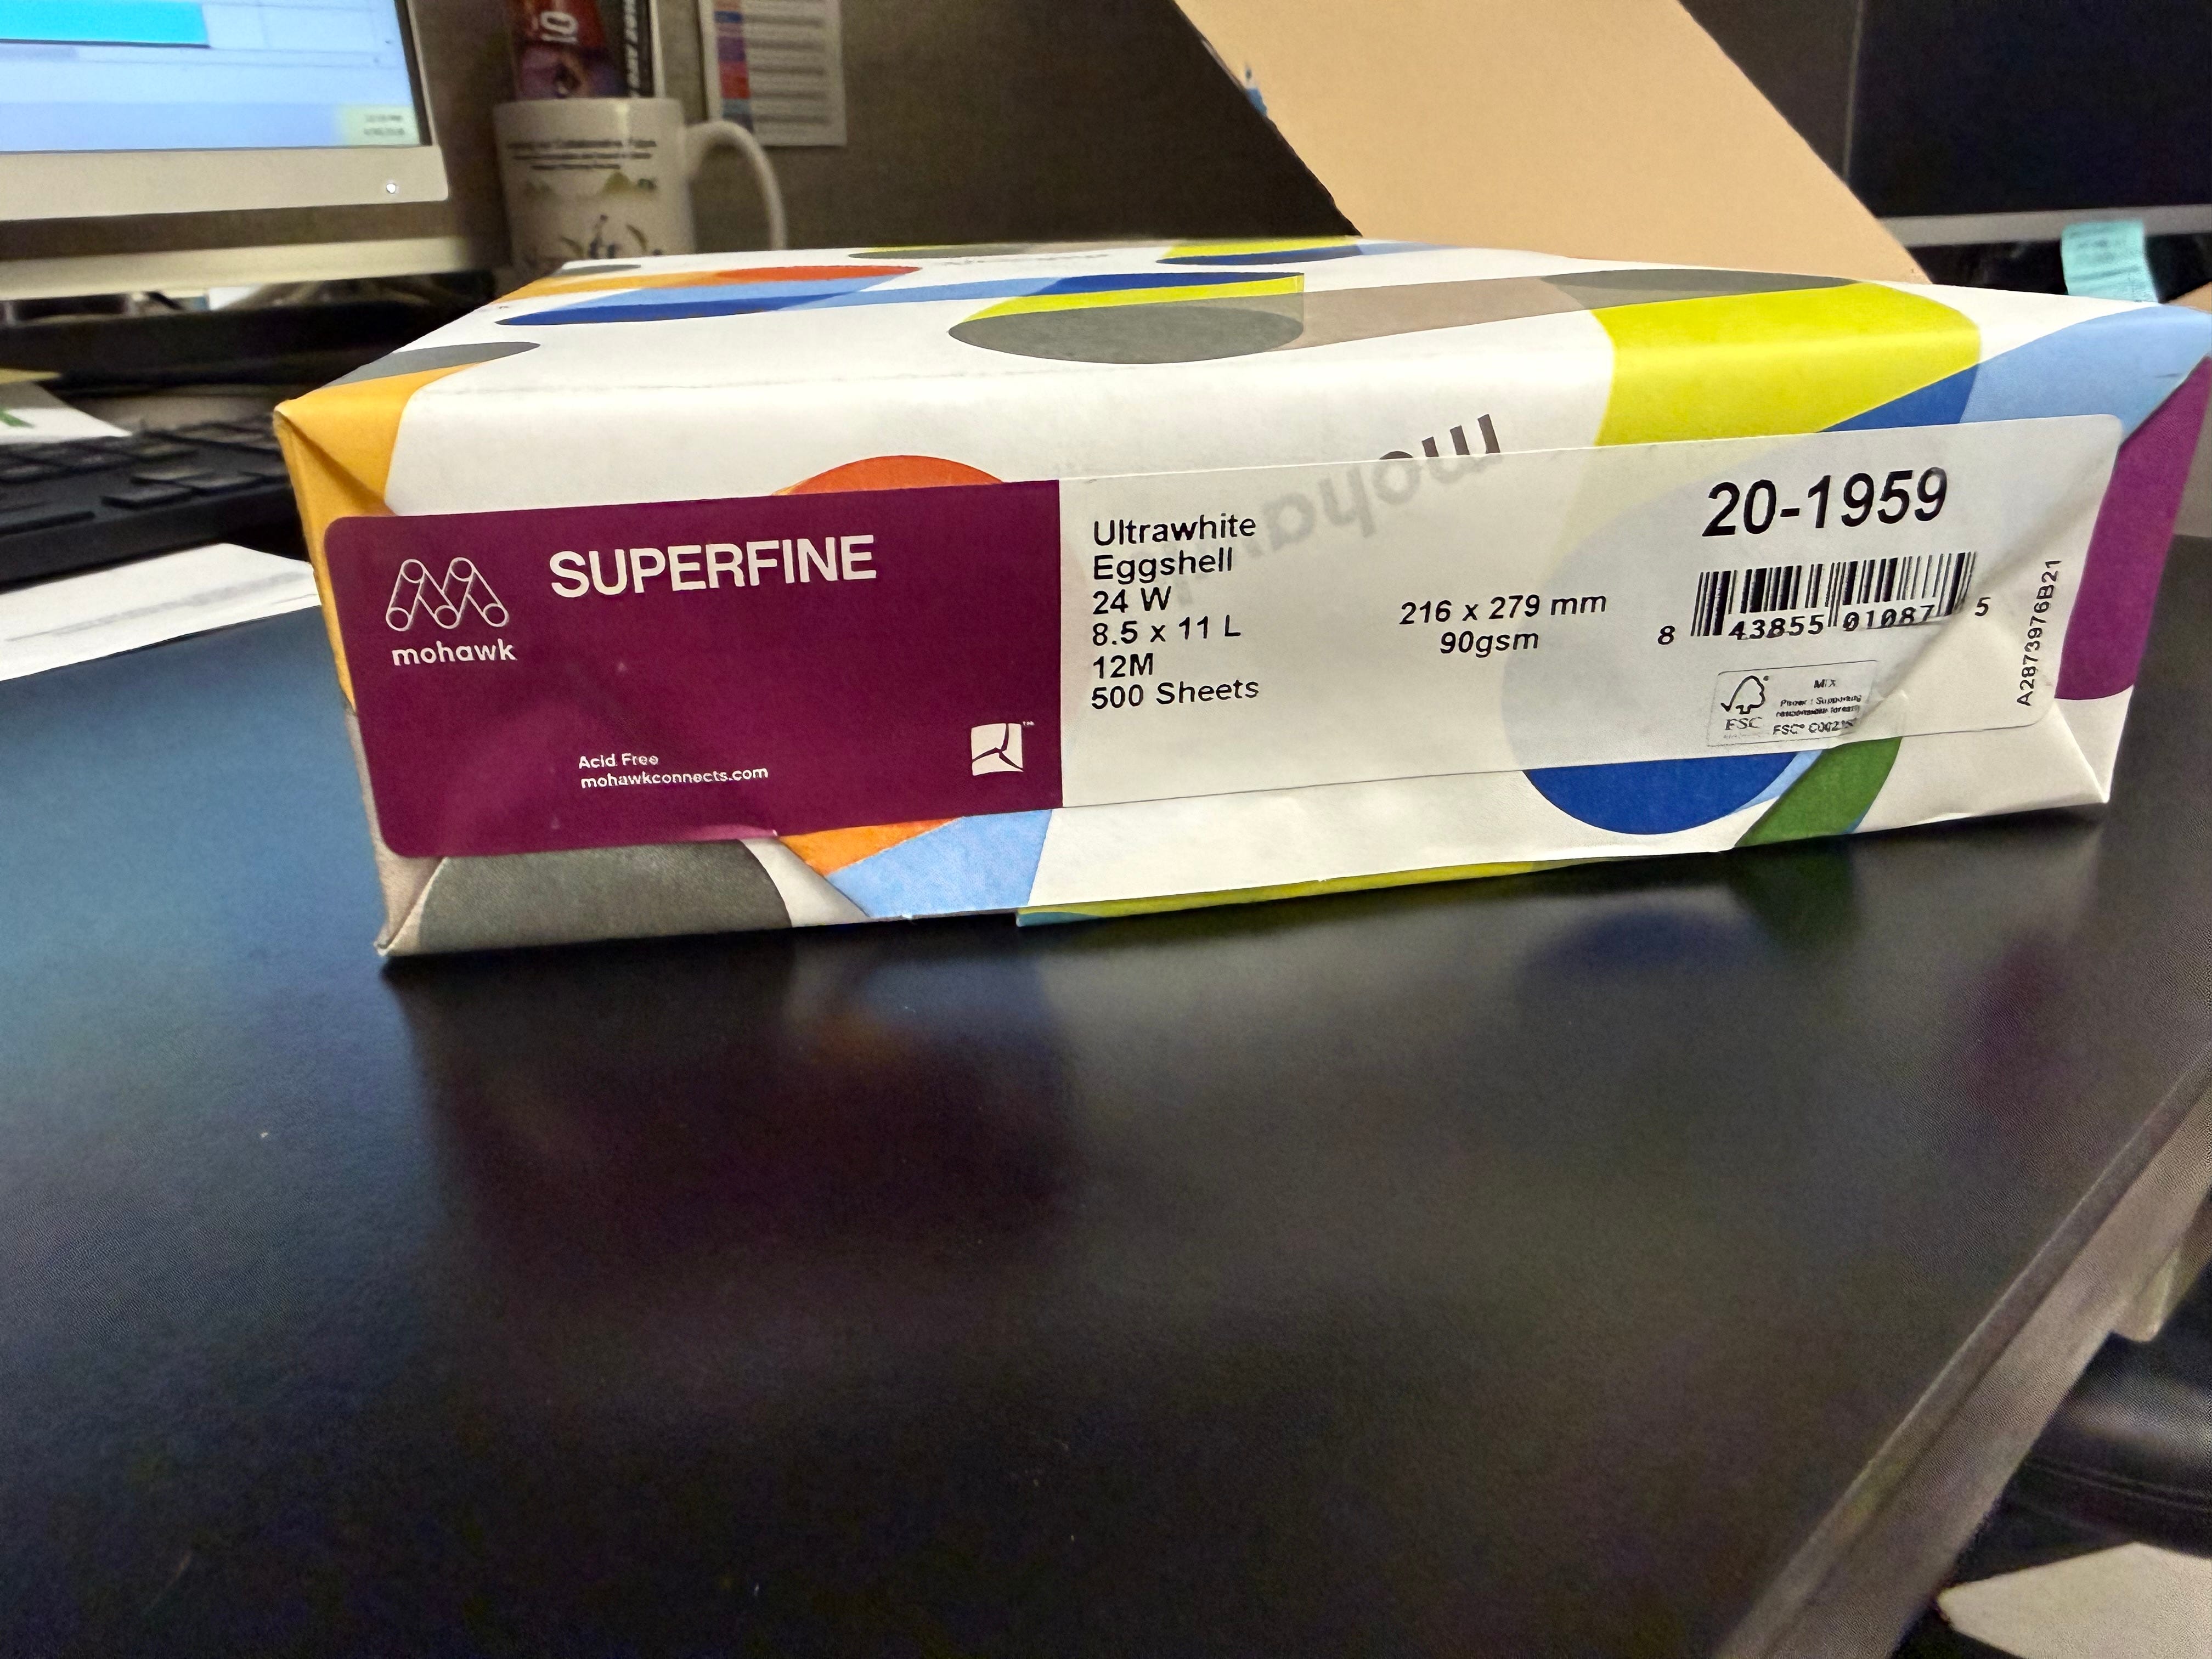
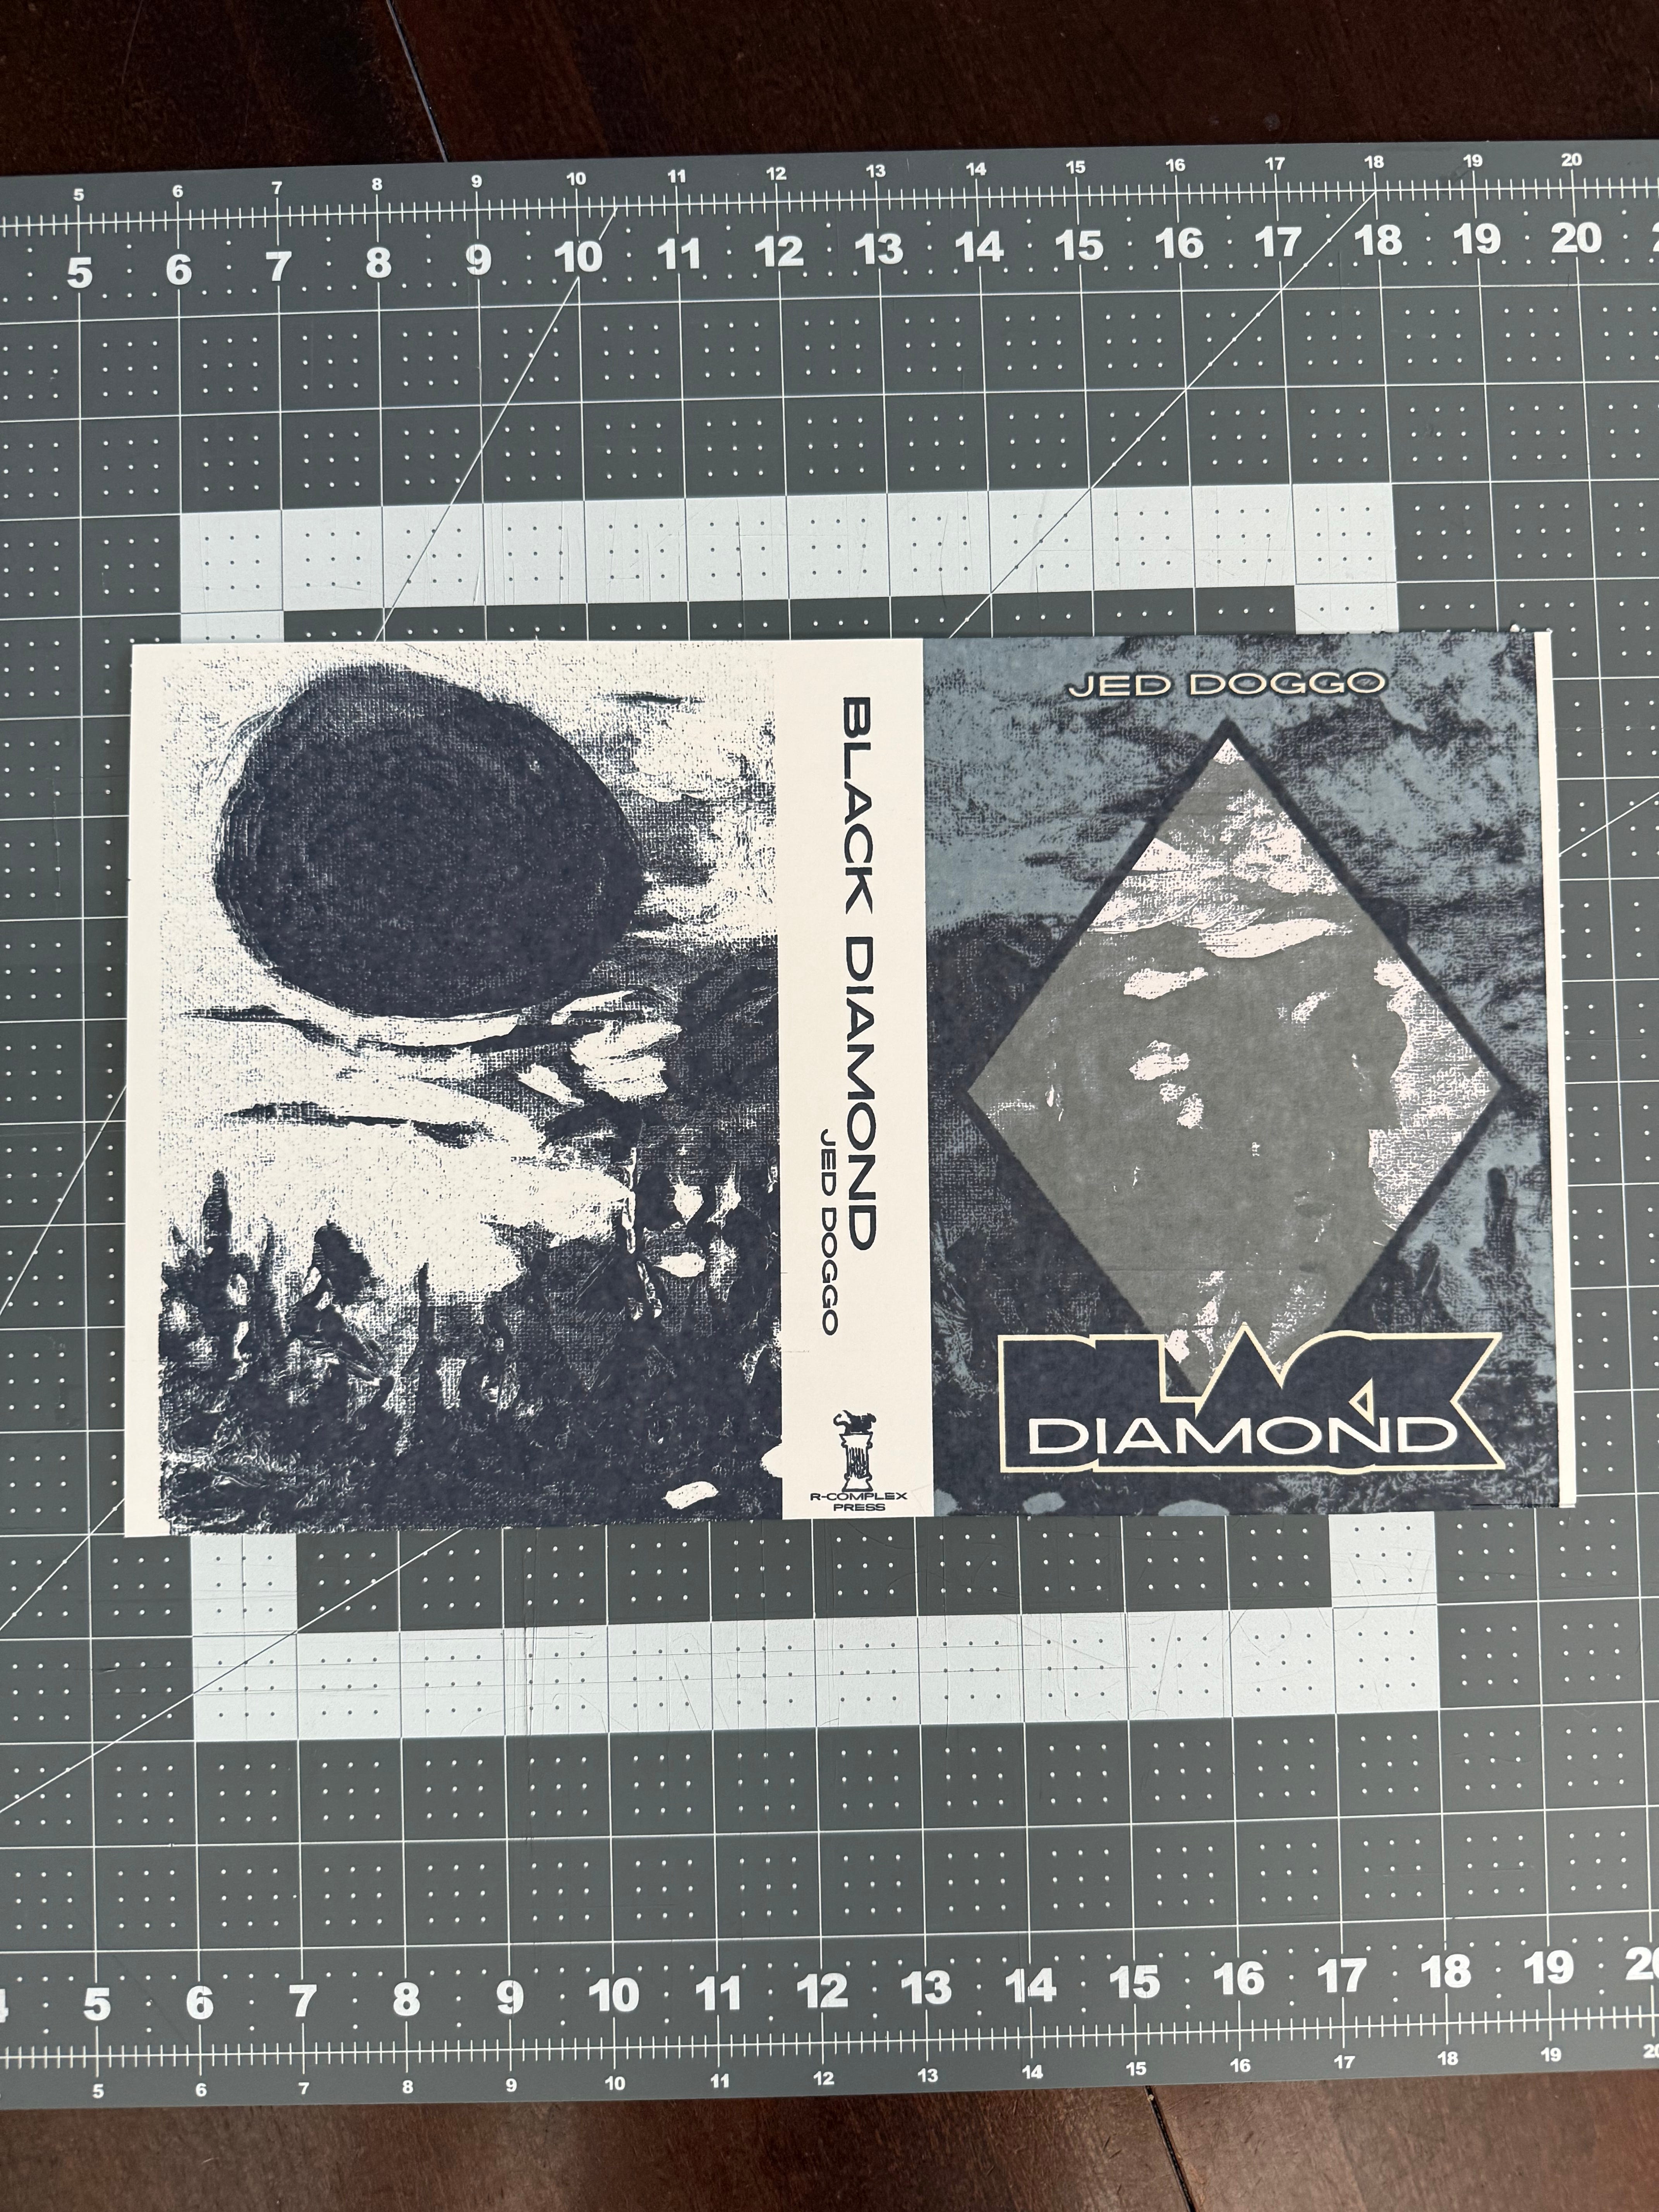
Now, sourcing the proper media for your book is critical. Your run-of-the-mill printer paper will simply not do the work justice. We found this to be the biggest obstacle during our first foray into bookbinding. What you're looking for can’t be found at Walmart, Target, OfficeDepot, Staples, or even art stores like Blick. Especially in regards to media for the wrapper cover. Cardstock from your neighborhood craft store simply won’t do (believe us, we tried) and as nice as their employees might be this is a hobby most won’t know how to help you with. Don’t even bother asking if they’ve heard of “fine art paper”... as DAS Bookbinding calls it. It’s wise in this case to seek out a local paper supplier. Copy and print services don’t offer the paper wholesale and we’ve found they usually get their supplies from the same place. Even they’ll have limitations, for instance, we were recommended to buy Mohawk Superfine 105gsm instead of 90gsm and that switch alone to a thinner paper saved a couple millimeters on the spine of the text block. Just do the best research and ask lots of questions. We ended up having a Kelly Spicers no more than five minutes away which offers the best selection without having to order from a company like Mohawk Paper by the ream online. Nothing’s more daunting than sourcing media online for your wrapper cover when you don’t even know what prints the best. And with inkjet printers like Epson, each model behaves differently. Even your particular unit might just print better on certain brands versus others. There’s plenty of third-party retailers which is fantastic if you already know what you want. It will take much trial and error before you find that golden combo of what you need without hemorrhaging too much potential profit. We burned through over half a dozen test versions before finally narrowing down the final template.

(the first four iterations—note the margins for Template 1)
Pricing:
$13.50- Mohawk Superfine Ultrawhite Eggshell 90gsm 8.5x11in ($40.57/500 sheets)
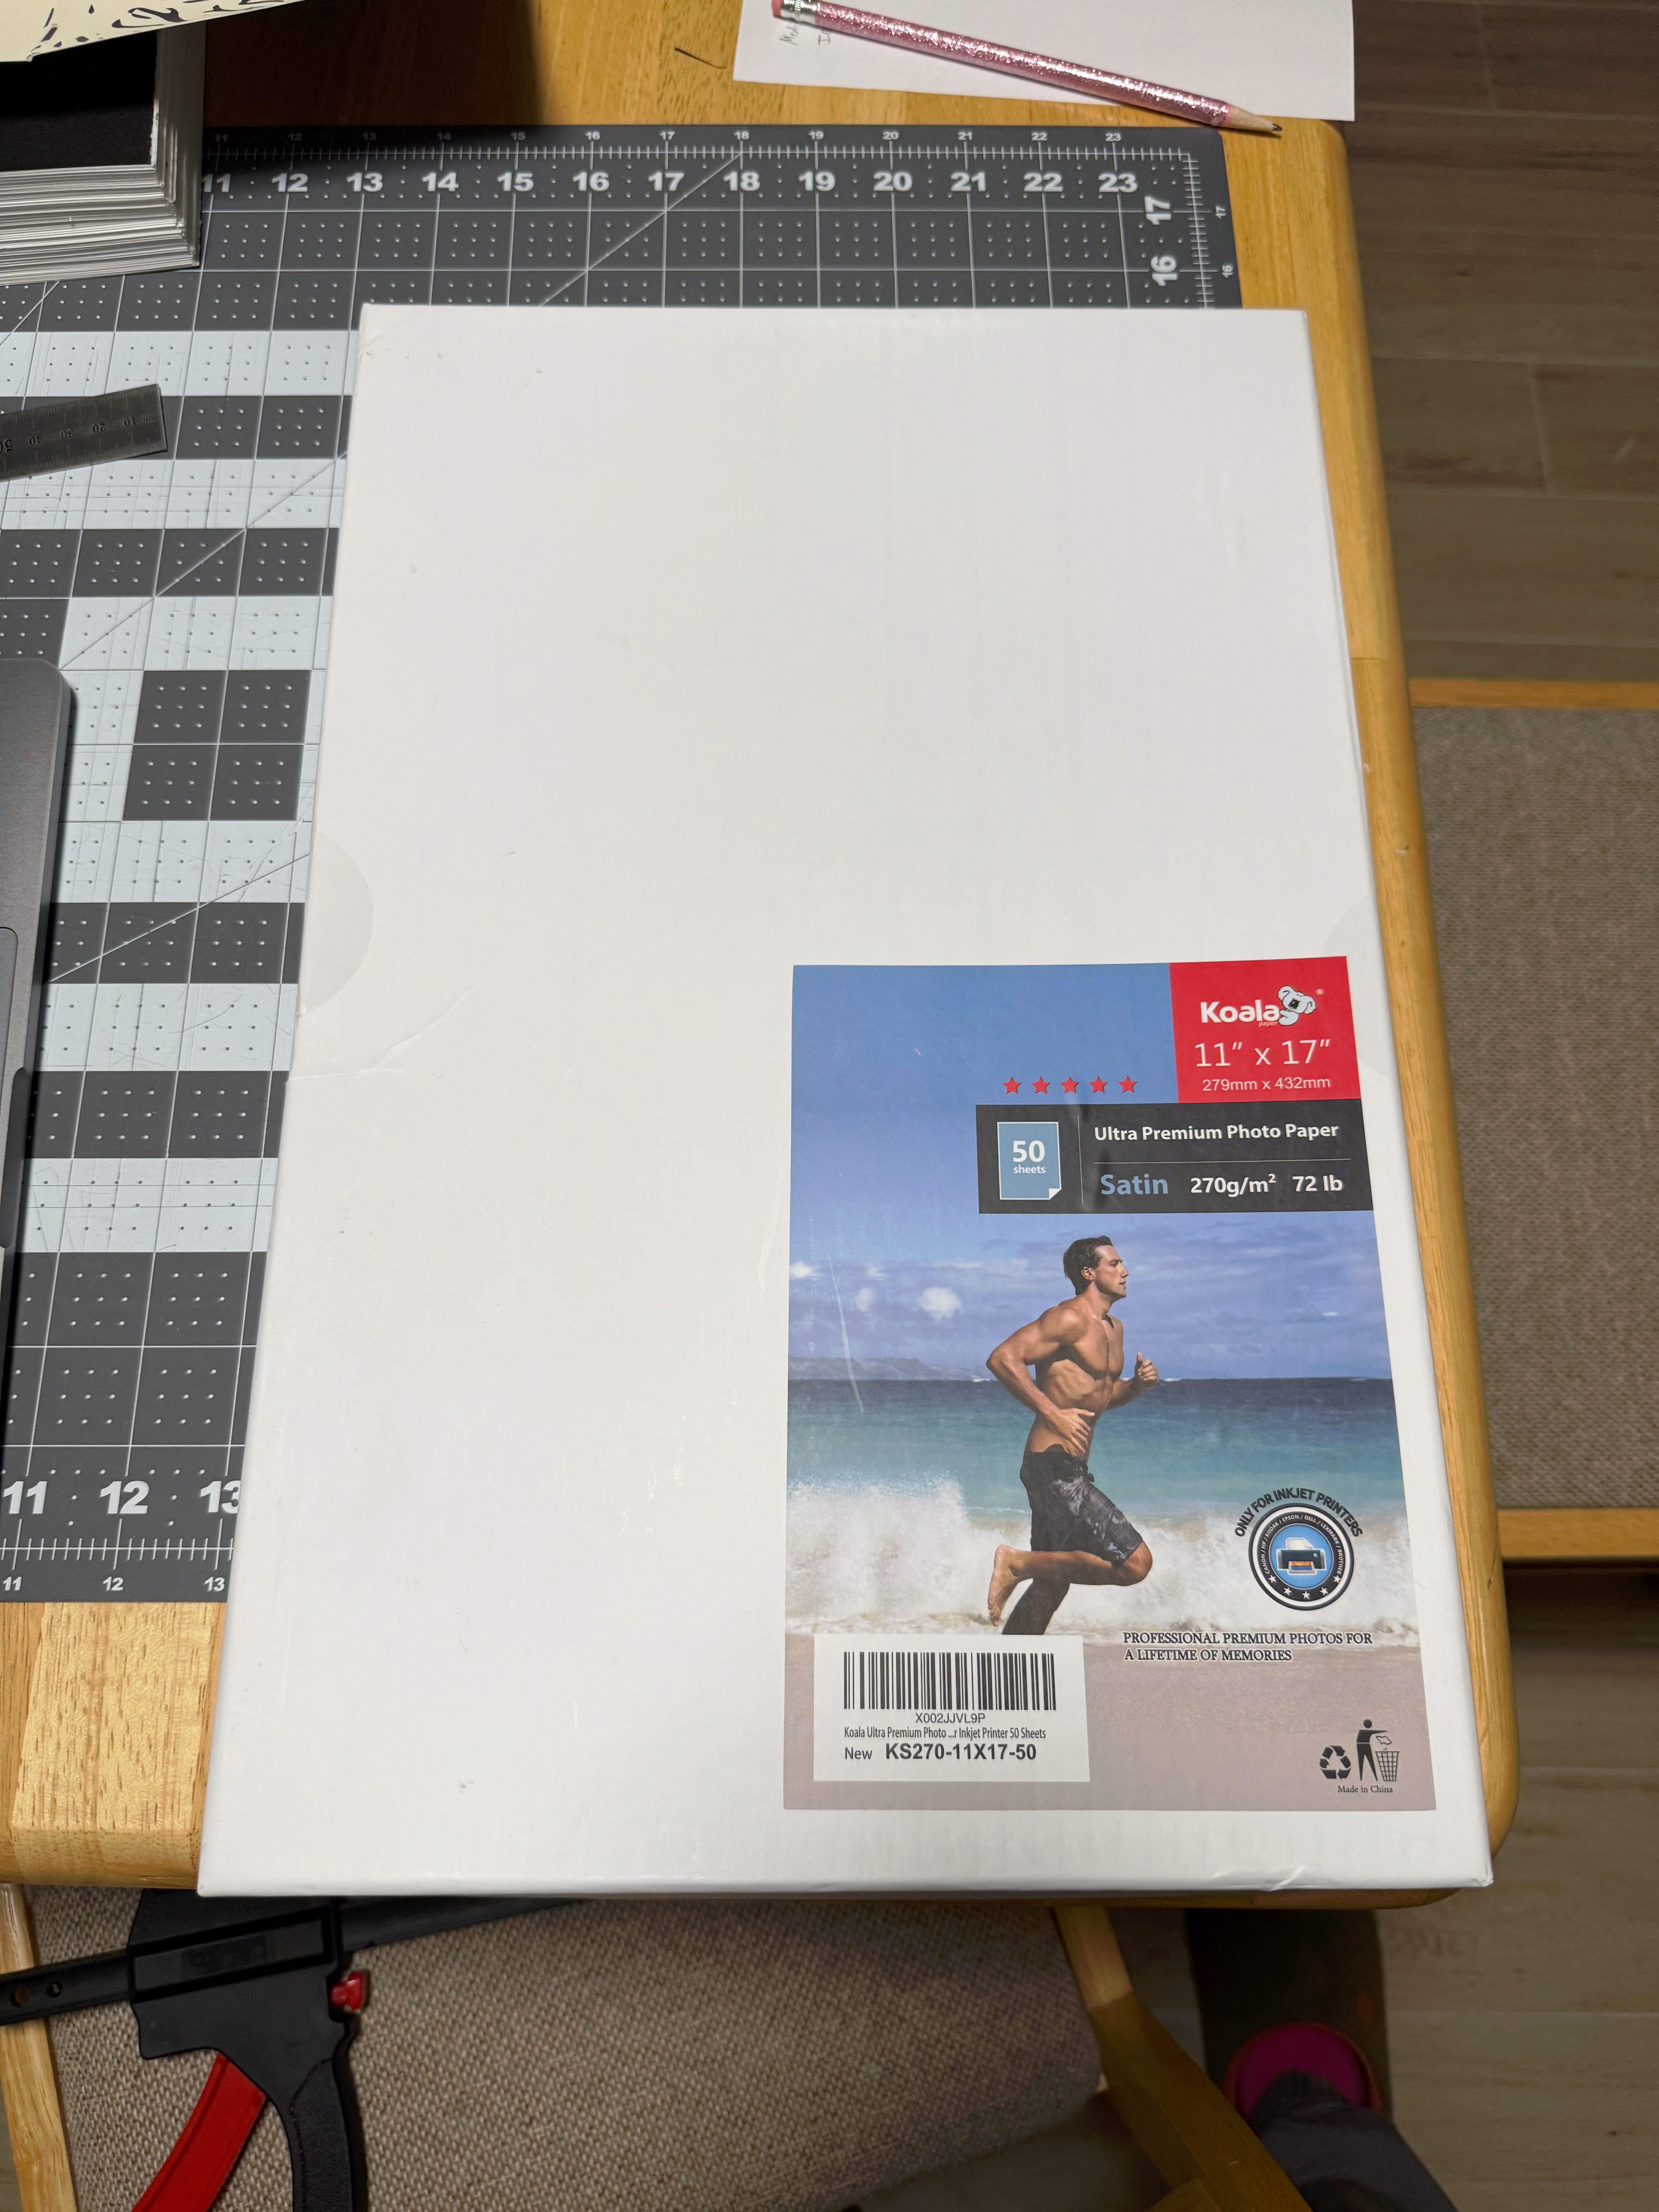
$0.62- Koala Ultra Premium Photo Paper Satin 270 g/m2 72lb 11x17in ($30.98/50 sheets)
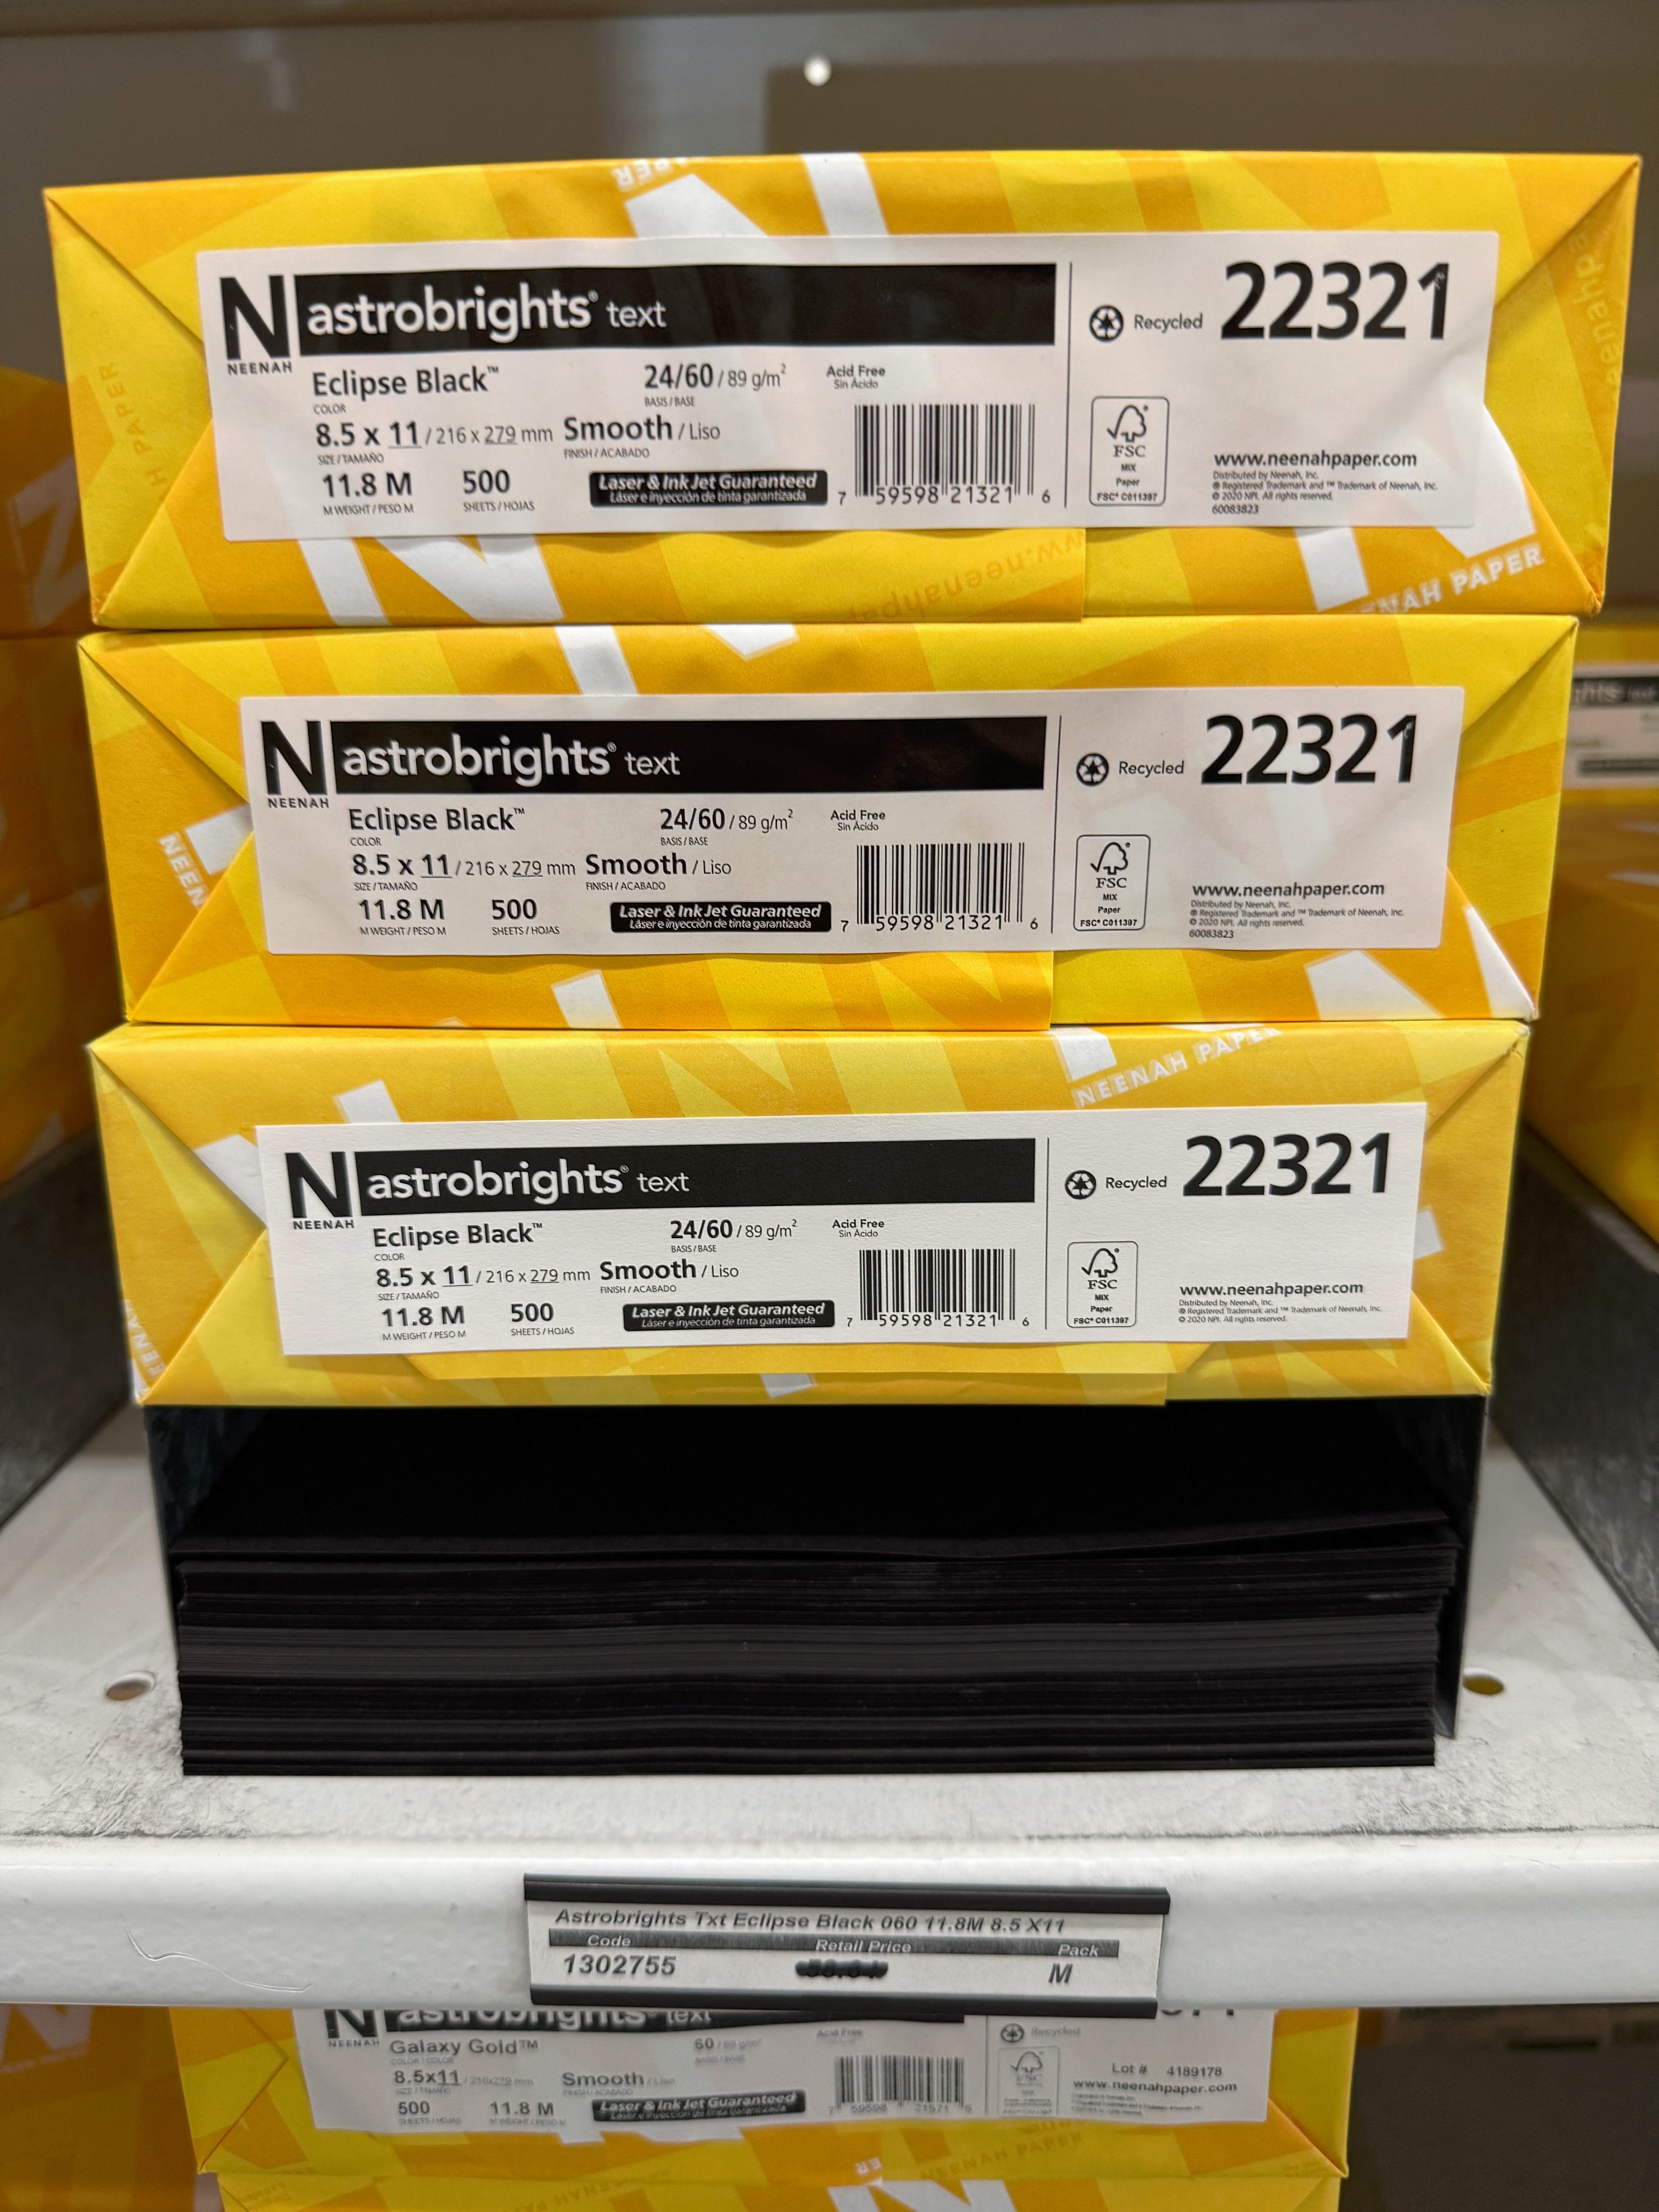
$0.08- Astrobrights Eclipse Black ($40/500 sheets)
~$0.05- toner
~$0.05- PVA glue
= $14.30/book
Pro Tip: To save extra $$$ then go with Accent Opaque Text Smooth which is half the cost. We’re partial towards Mohawk Superfine because it’s got this amazing buttery feel to it but would likely make the switch if producing at a higher volume.
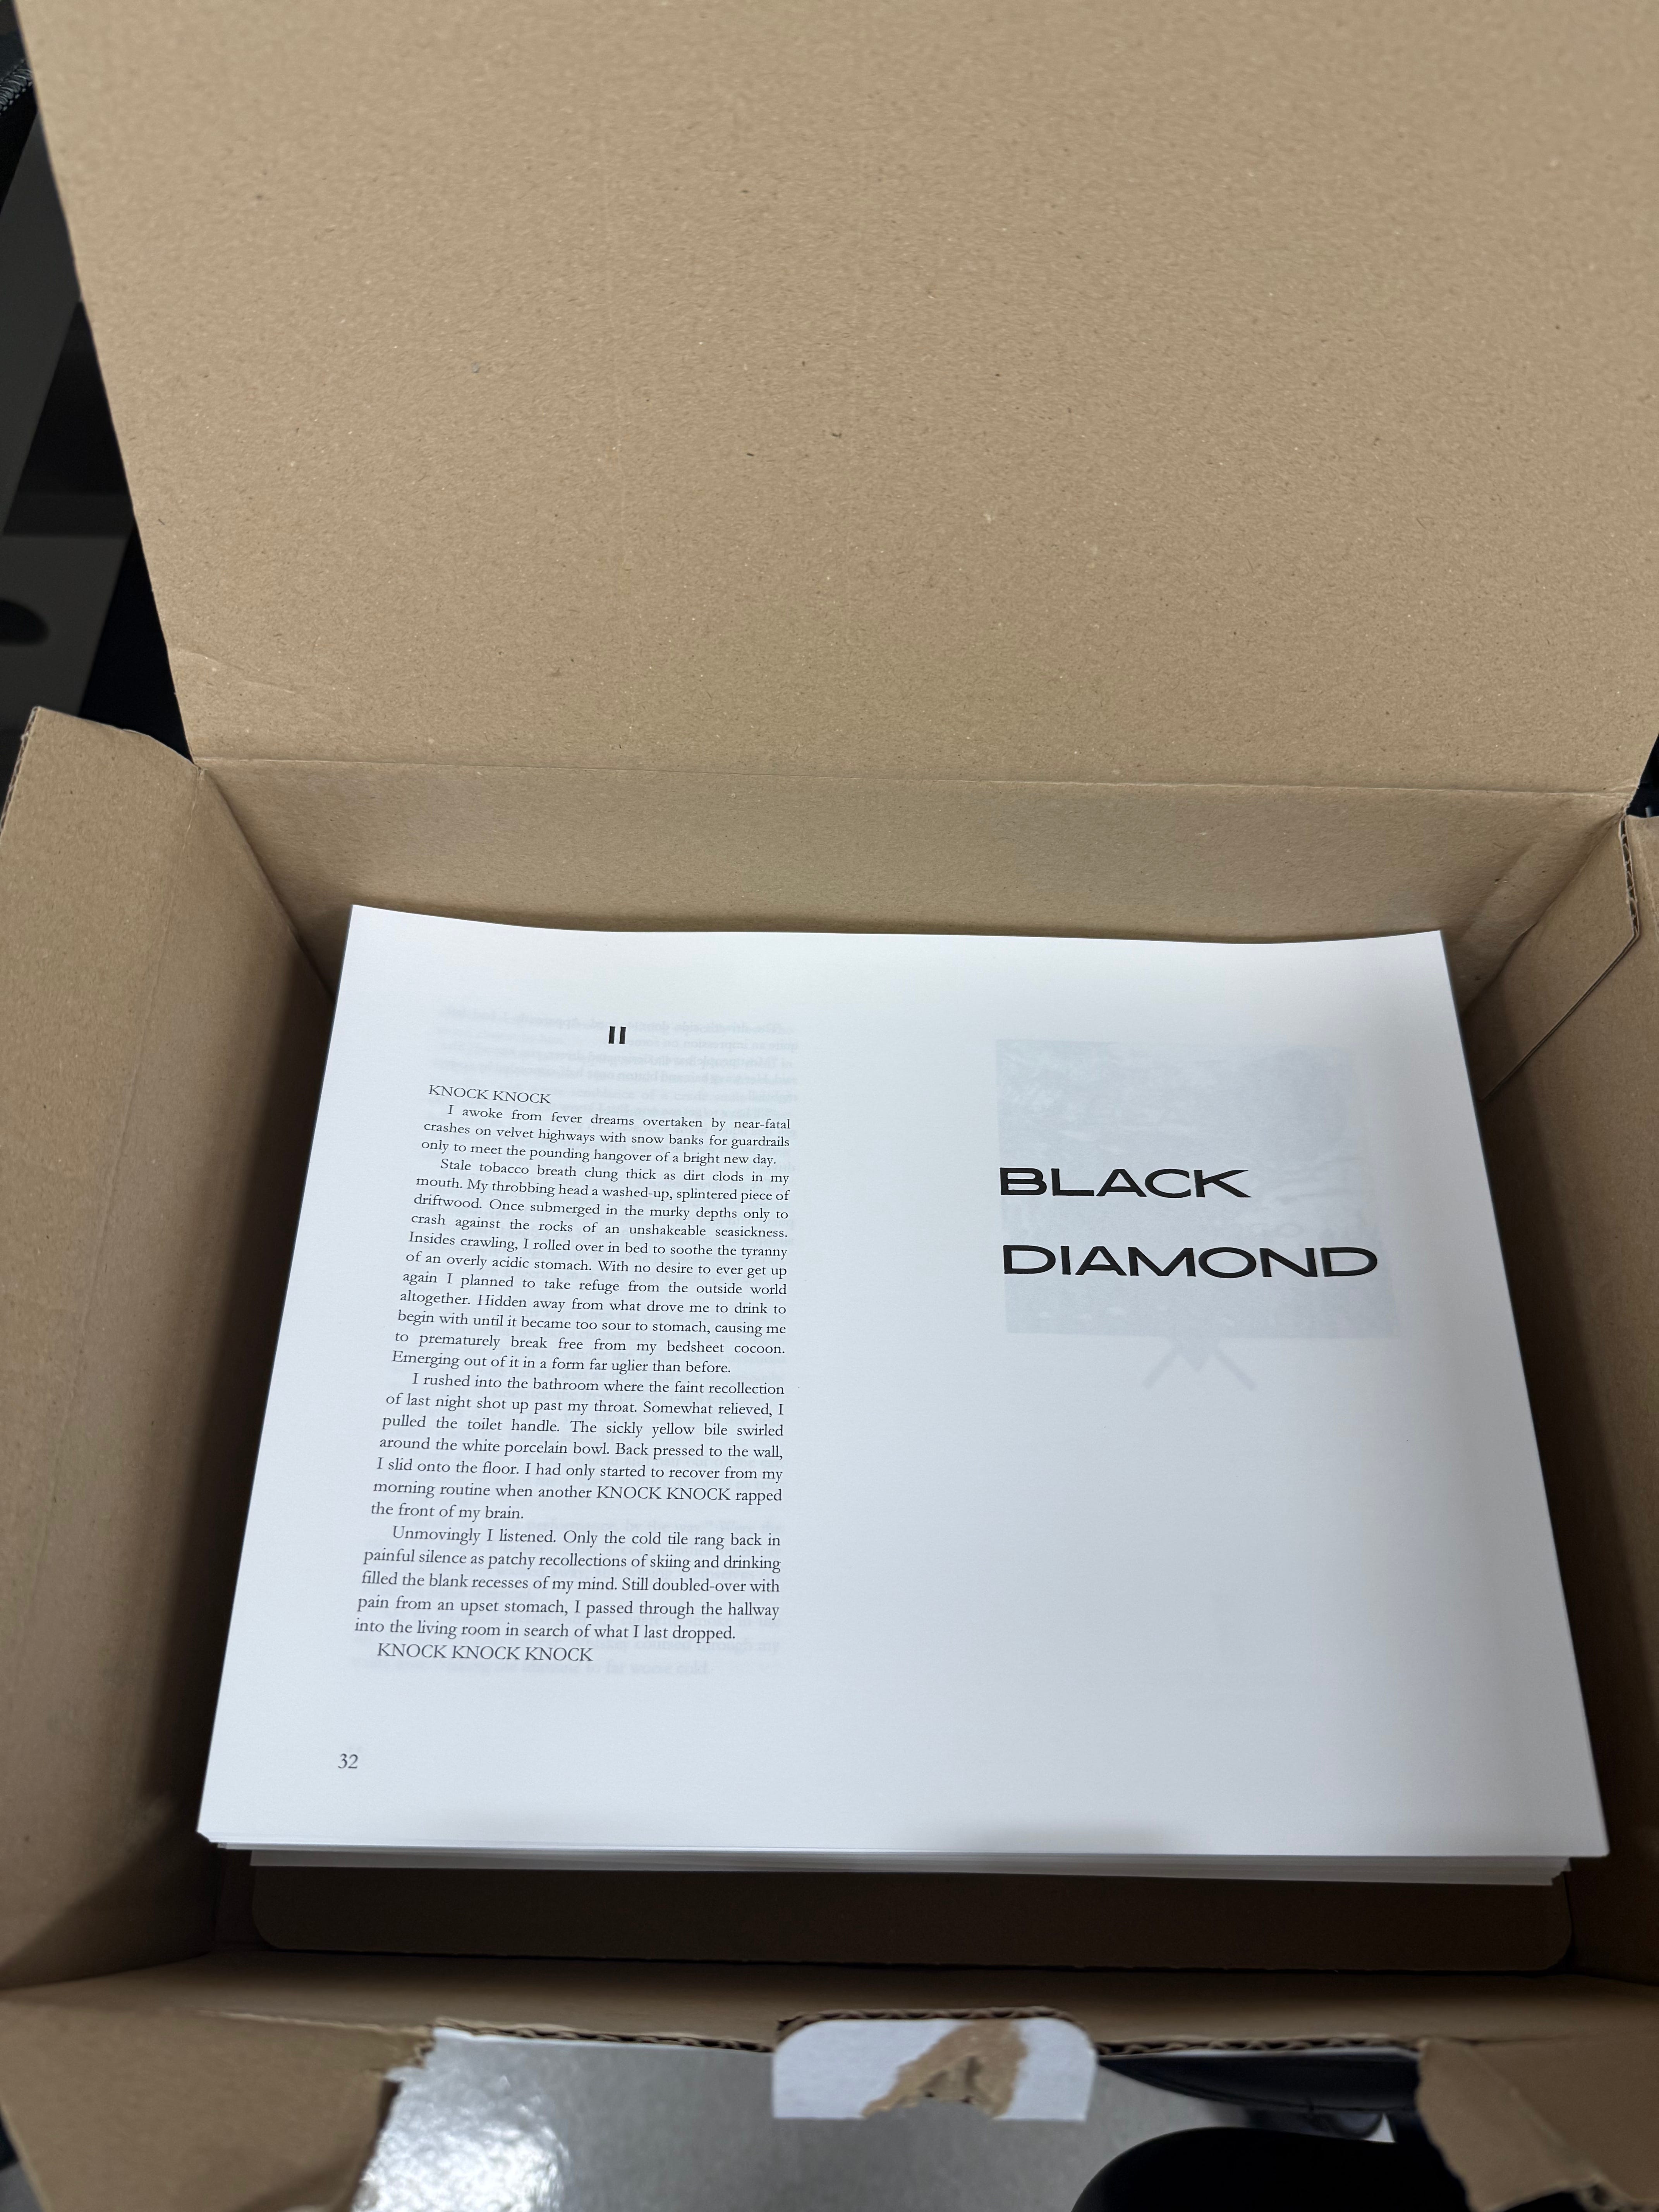
2. Text Block
Pages: 576
Font: 11-pt
Spine: 38mm (~1.5in)
Margins: 1” Top, 1” Inside, 1” Bottom, 1” Out, 0” Gutter
Text blocks are comprised of end papers and your text, including front matter which are the pages that appear before the main story. For which, you can follow the traditional standard as much as you want for what appears on the right or left-hand page. Or recto and verso, respectively.
Page i (Recto): Half-Title Page
Page ii (Verso): Frontispiece
Page iii (Recto): Title Page
Page iv (Verso): Copyright Page
Page v (Recto): Dedication (Optional)
Page vi (Verso): Blank
Page vii (Recto): Epigraph (Optional)
Page viii (Verso): Blank.
Page ix (Recto): Table of Contents
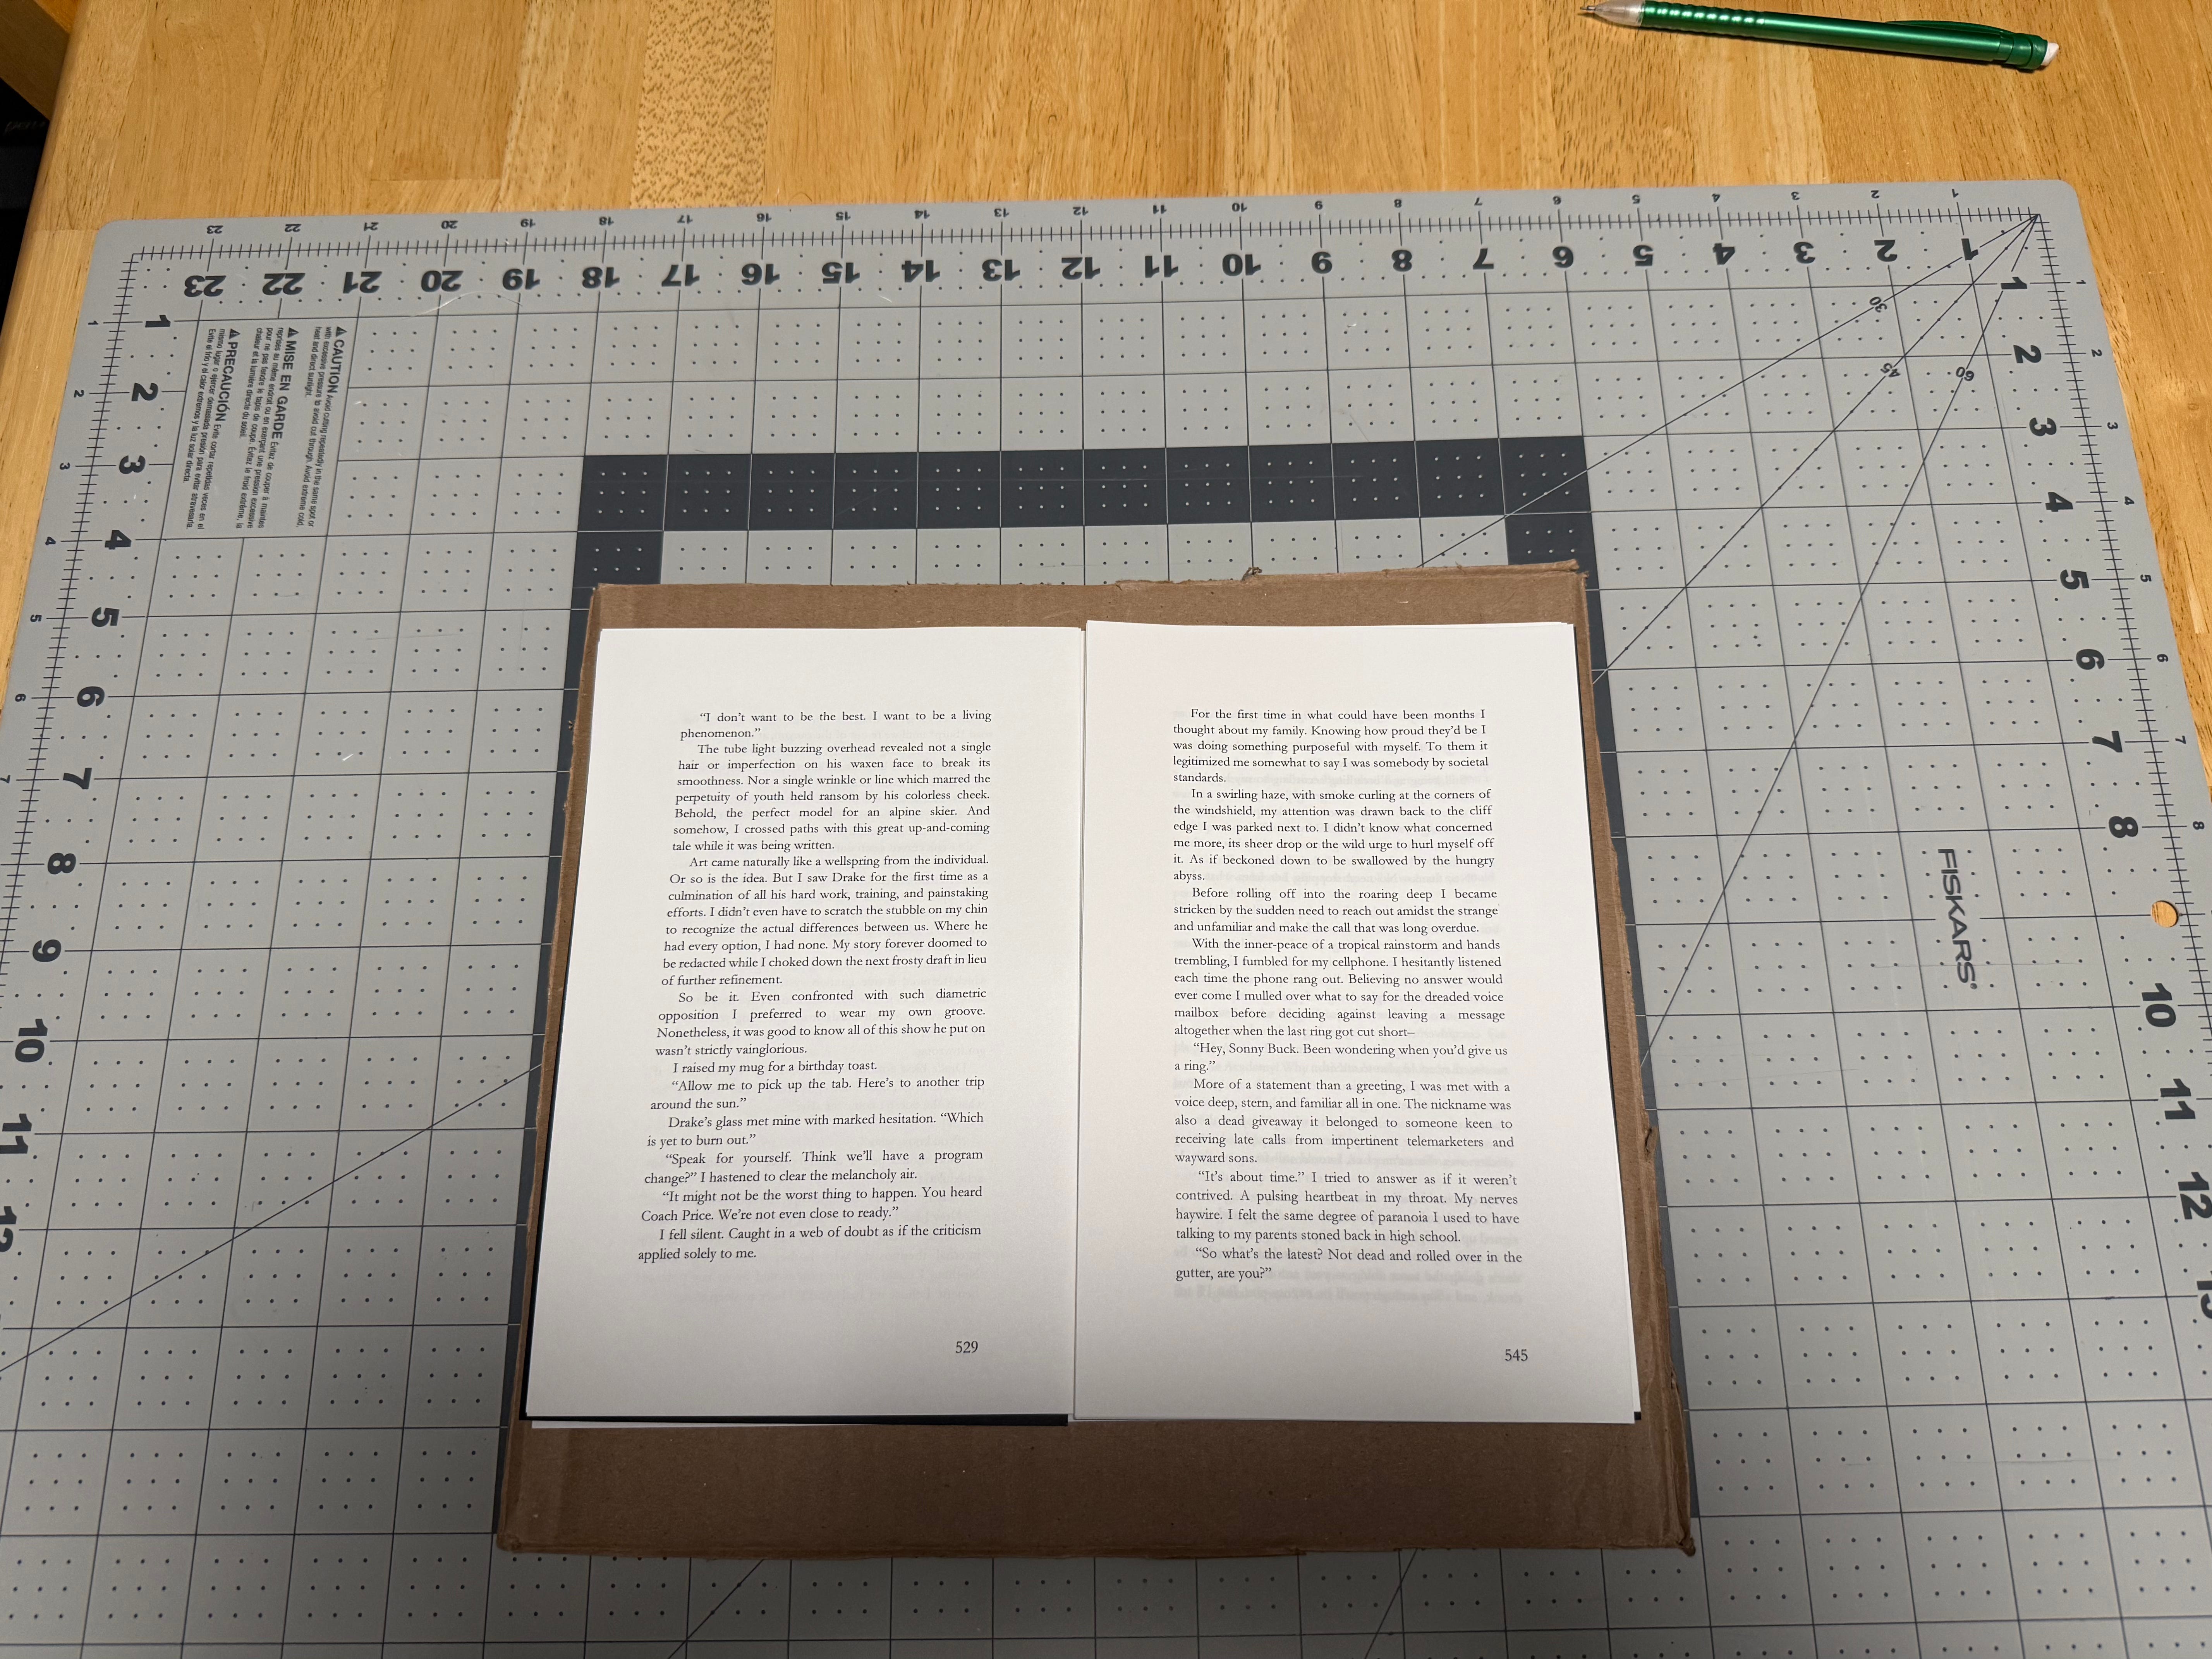
There have been several breakthroughs as we began making the text blocks. The first was formatting to print in Book Fold with Microsoft Word. Not only does it save paper by arranging four pages per sheet, its landscape orientation makes US Letter paper (8.5x11in) the perfect size for a text block. All you have to do is cut the sheets in half. A wrapper cover should be as easy as printing on US Legal paper (8.5x14in) and calling it a day. However, most lasers printers cannot print borderless. So you’ll either have to settle for the white border (which might work stylistically for some designs) or trim the top and bottom of your text block in Part Two. Hence why we opted for a printer that supports wide formats. We use Tabloid size (11x17in) for Black Diamond’s cover so that no additional cuts to the text block are necessary.
In the effort to reduce the text block’s size as much as possible, for this we fault Jed for writing such a long debut novel, we tinkered with everything from margins to the font size. 12-pt is the golden standard for school but too large and distracting for a novel unless you’re really trying to fill up space. Conversely, 10-pt is much too small despite saving on the page count. 11-pt occupies that sweet spot where the words are clearly visible without having to strain your eyes or squint at the page. Lastly, there are definitely limitations (stylizing page numbers, for example) to using Word and we plan to further investigate formatting text blocks with InDesign. Stay tuned.
Part One: FORMAT & PRINT
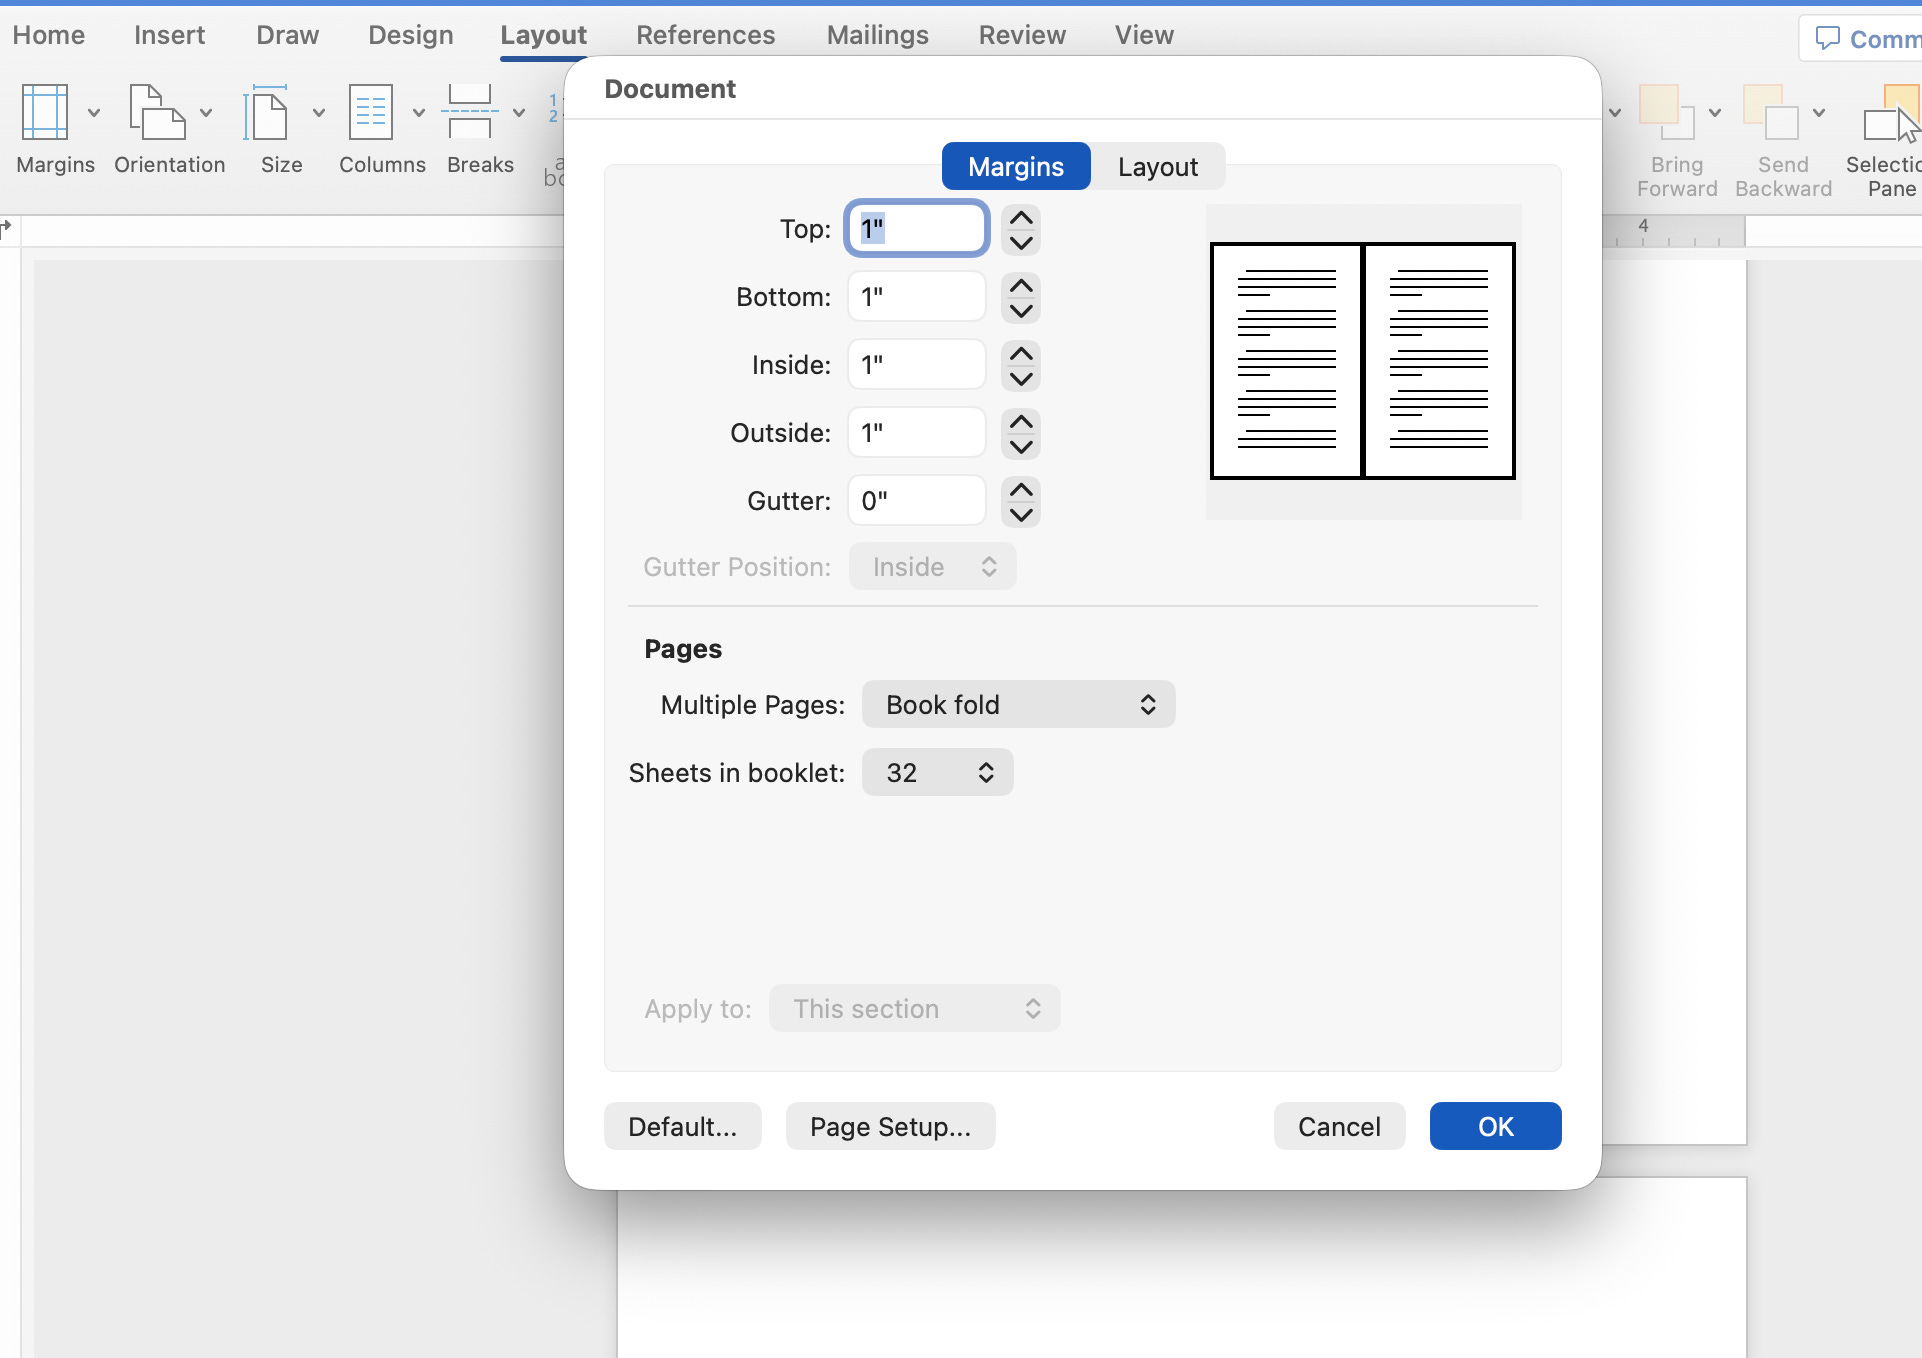
Format your manuscript as Book Fold in Word by clicking Layout→Margins→Custom Margins…
Then under Pages, select “Book fold” and “32”. Although changing sheets in booklet isn’t a requirement, we found that the default “All” creates a weird split in the sheets once the text block is cut.
Ready to print? Just remember these crucial steps before you click!
double-sided
flip on short edge (landscape printing)
Part Two: CUT & PRESS
We picked up this paper cutter (guillotine) from Walmart for only $30. Is it the best? No. But it gets the job done.

(make your cuts halfway down the sheet, approx. 13.9cm)
This is one of my favorite parts of the process. Affording a great opportunity to listen to podcasts or zen out. It takes about an hour to get through the entire text block if cutting nonstop. Next comes imposition. A fancy word for arranging the sheets for the next step—pressing. Breaking up the signatures every 8 pages helps to ensure a consistent print job. There’s nothing worse than wasting paper due to silly goofs or hiccups. Both of which are part of the process. Remember: each book is another opportunity to keep refining the steps.
End papers = 1 sheet cut in half
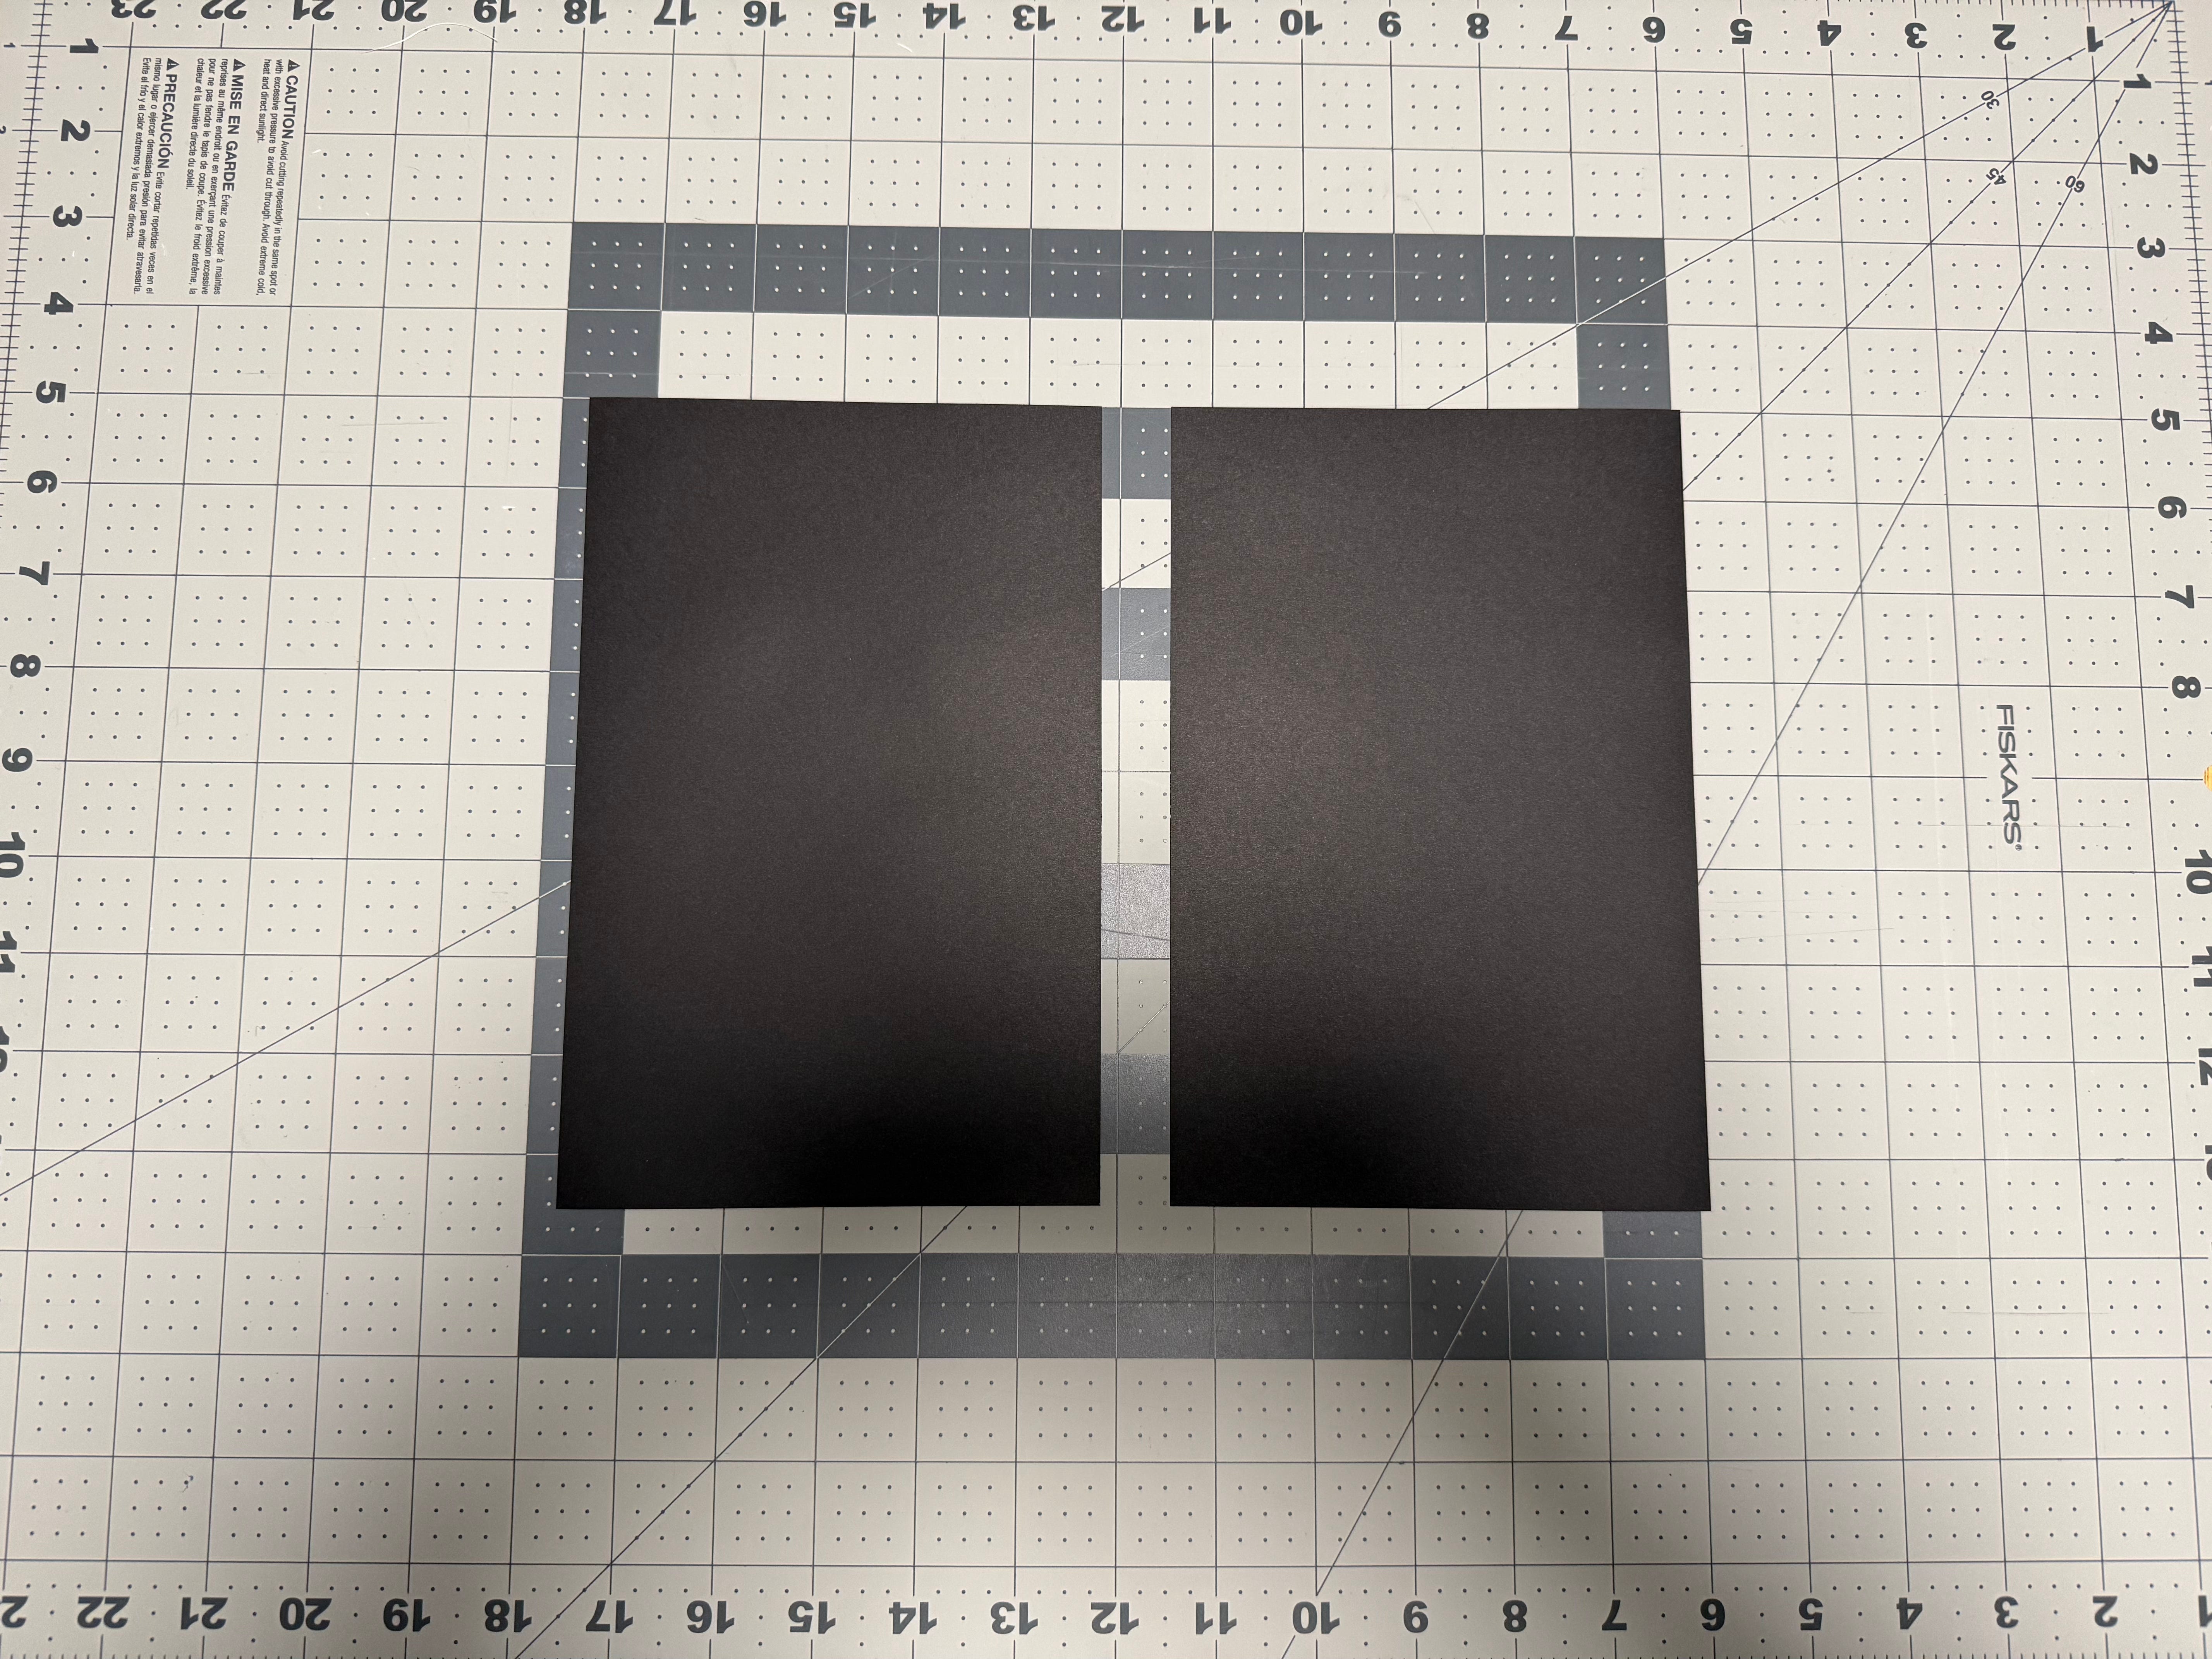
Place your text block between two boards or pieces of cardboard. Place bricks on top. Let sit overnight.
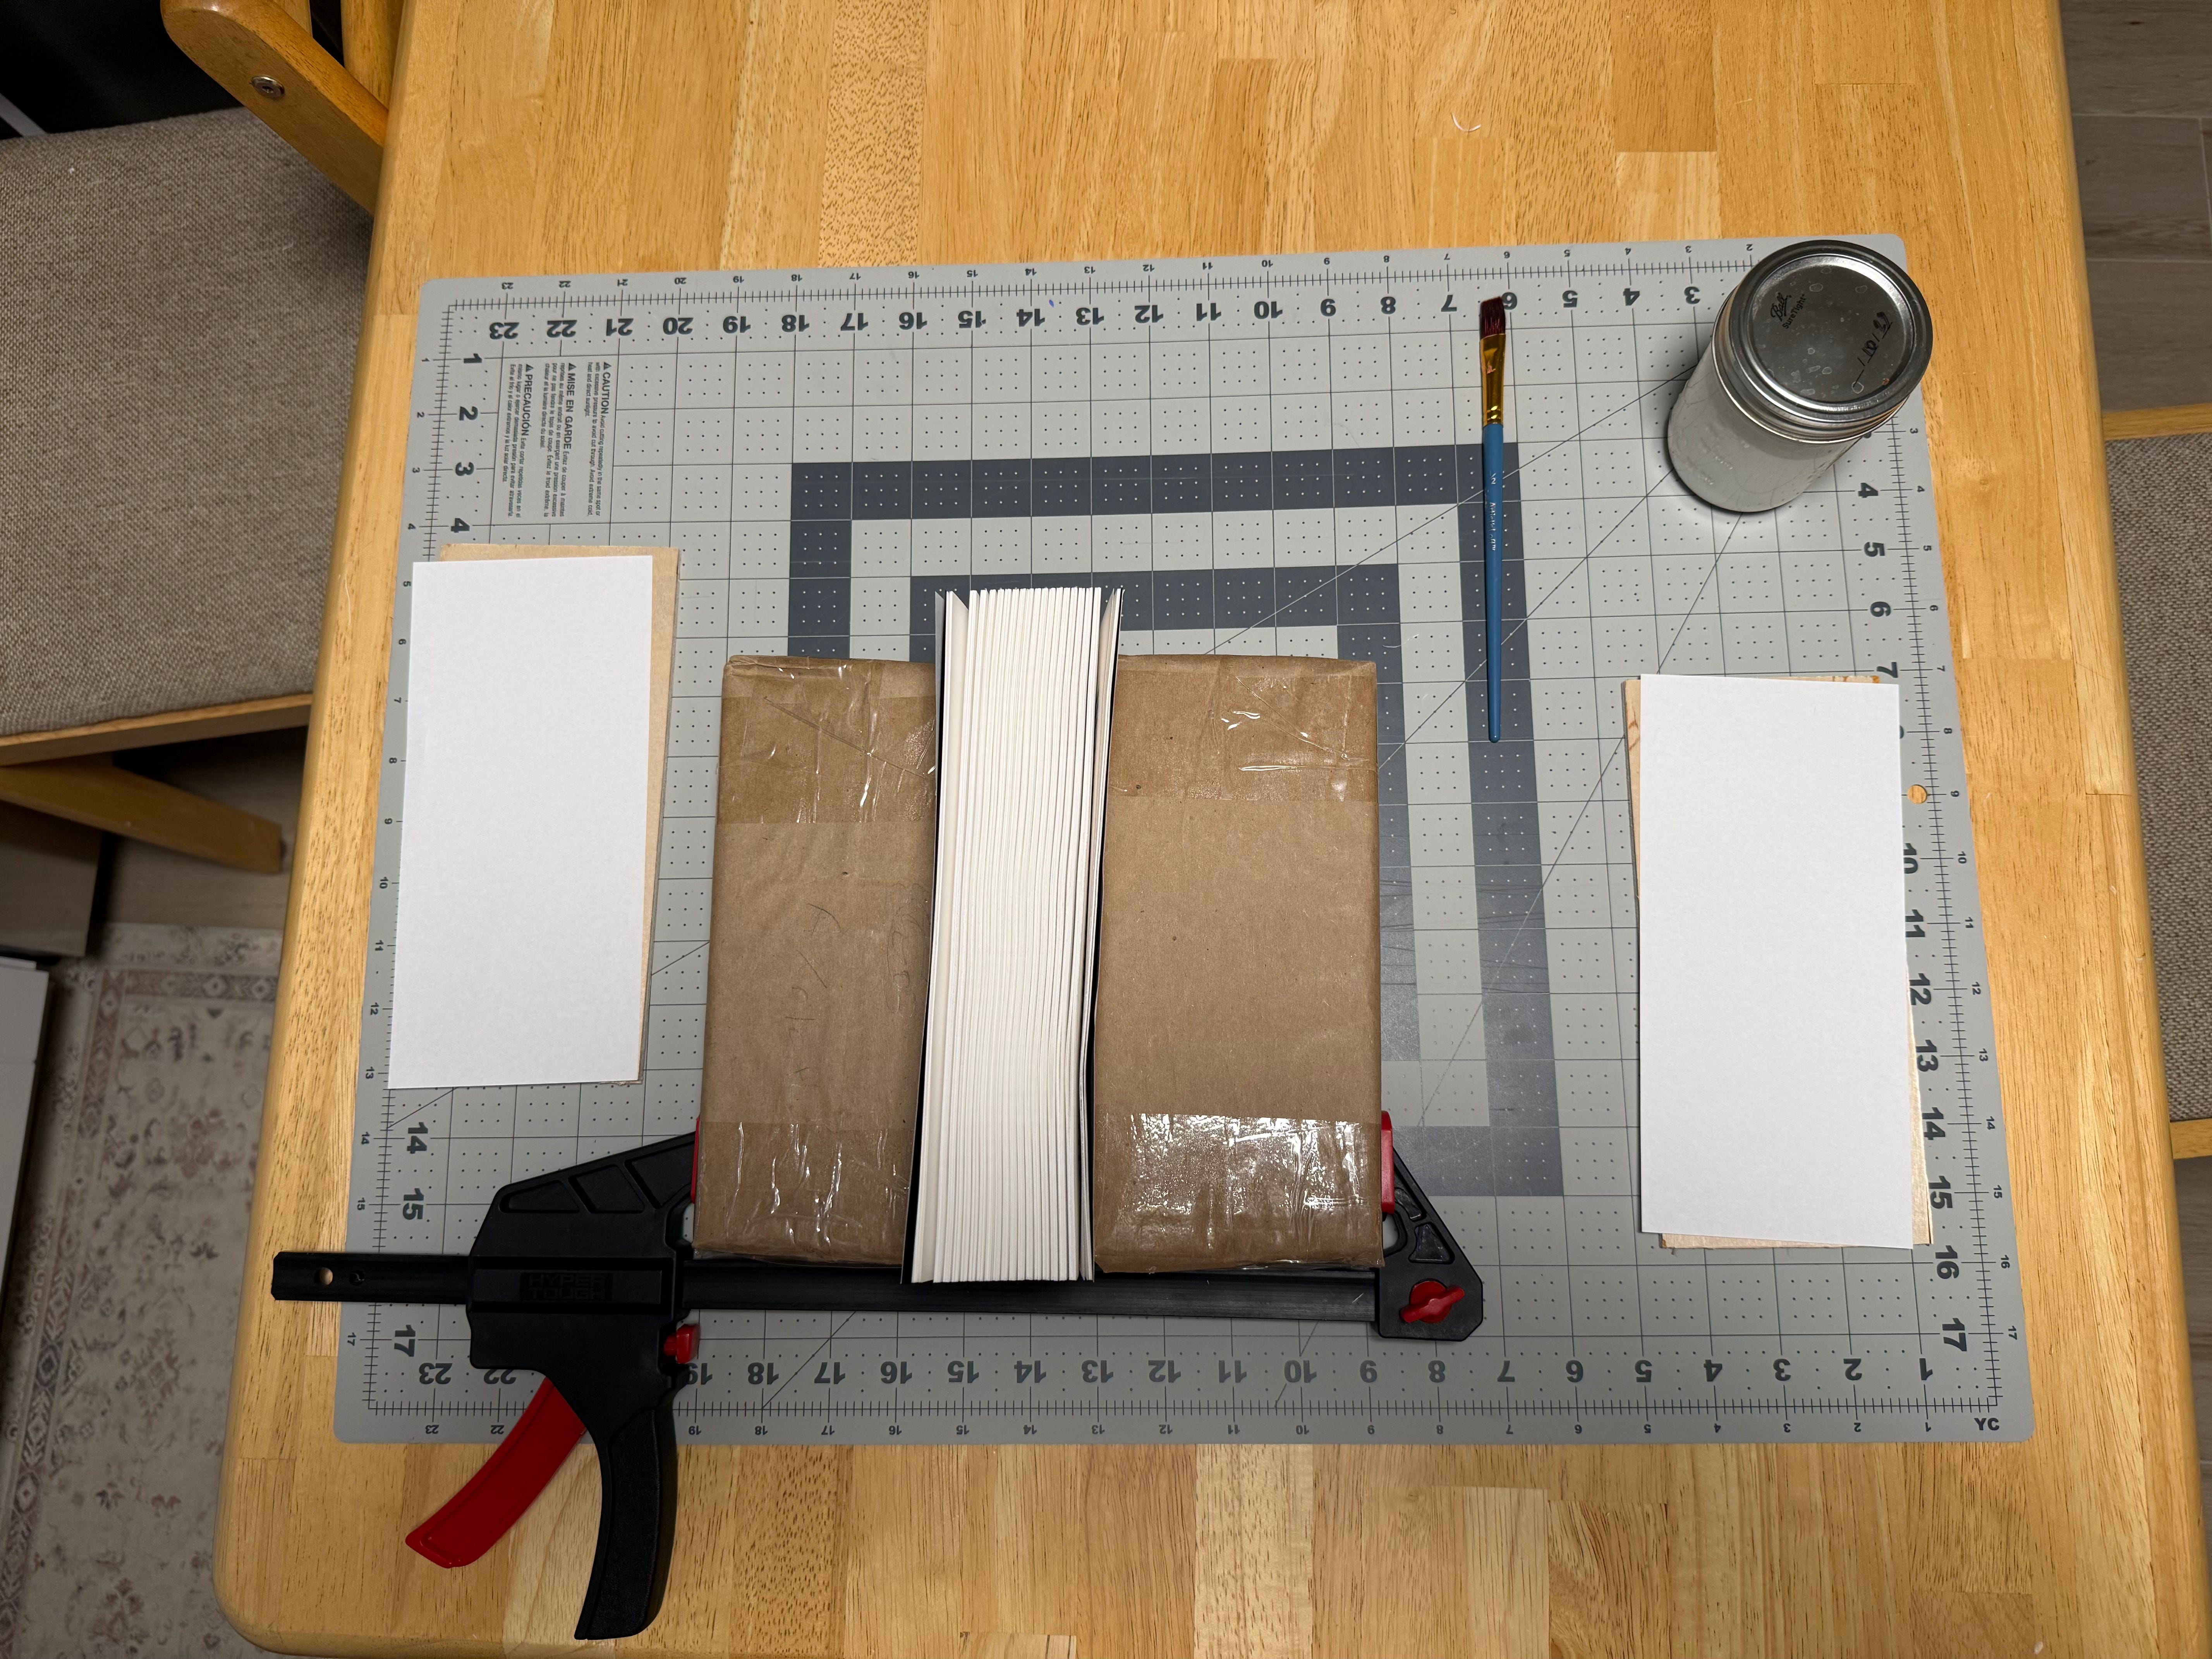
Part Three: GLUE & PRESS
Time for my next favorite step. Wedge the text block between bricks laid out side by side. Cut a sheet of scrap paper (Letter) in half. These will be your waste sheets. Place them on either side of the text block. // This would be the perfect time to DOUBLE-CHECK YOU’RE GLUING THE CORRECT SIDE!
Secure bricks with 12in bar clamp. Please note: bend the pages while gluing to “fan” the text block in both directions. Increasing the points of contact with the adhesive.
Add the smaller rectangular pieces of paper to the inside of your thin wood pieces. Secure the wood pieces with spring clamps. Let sit overnight.
(before)

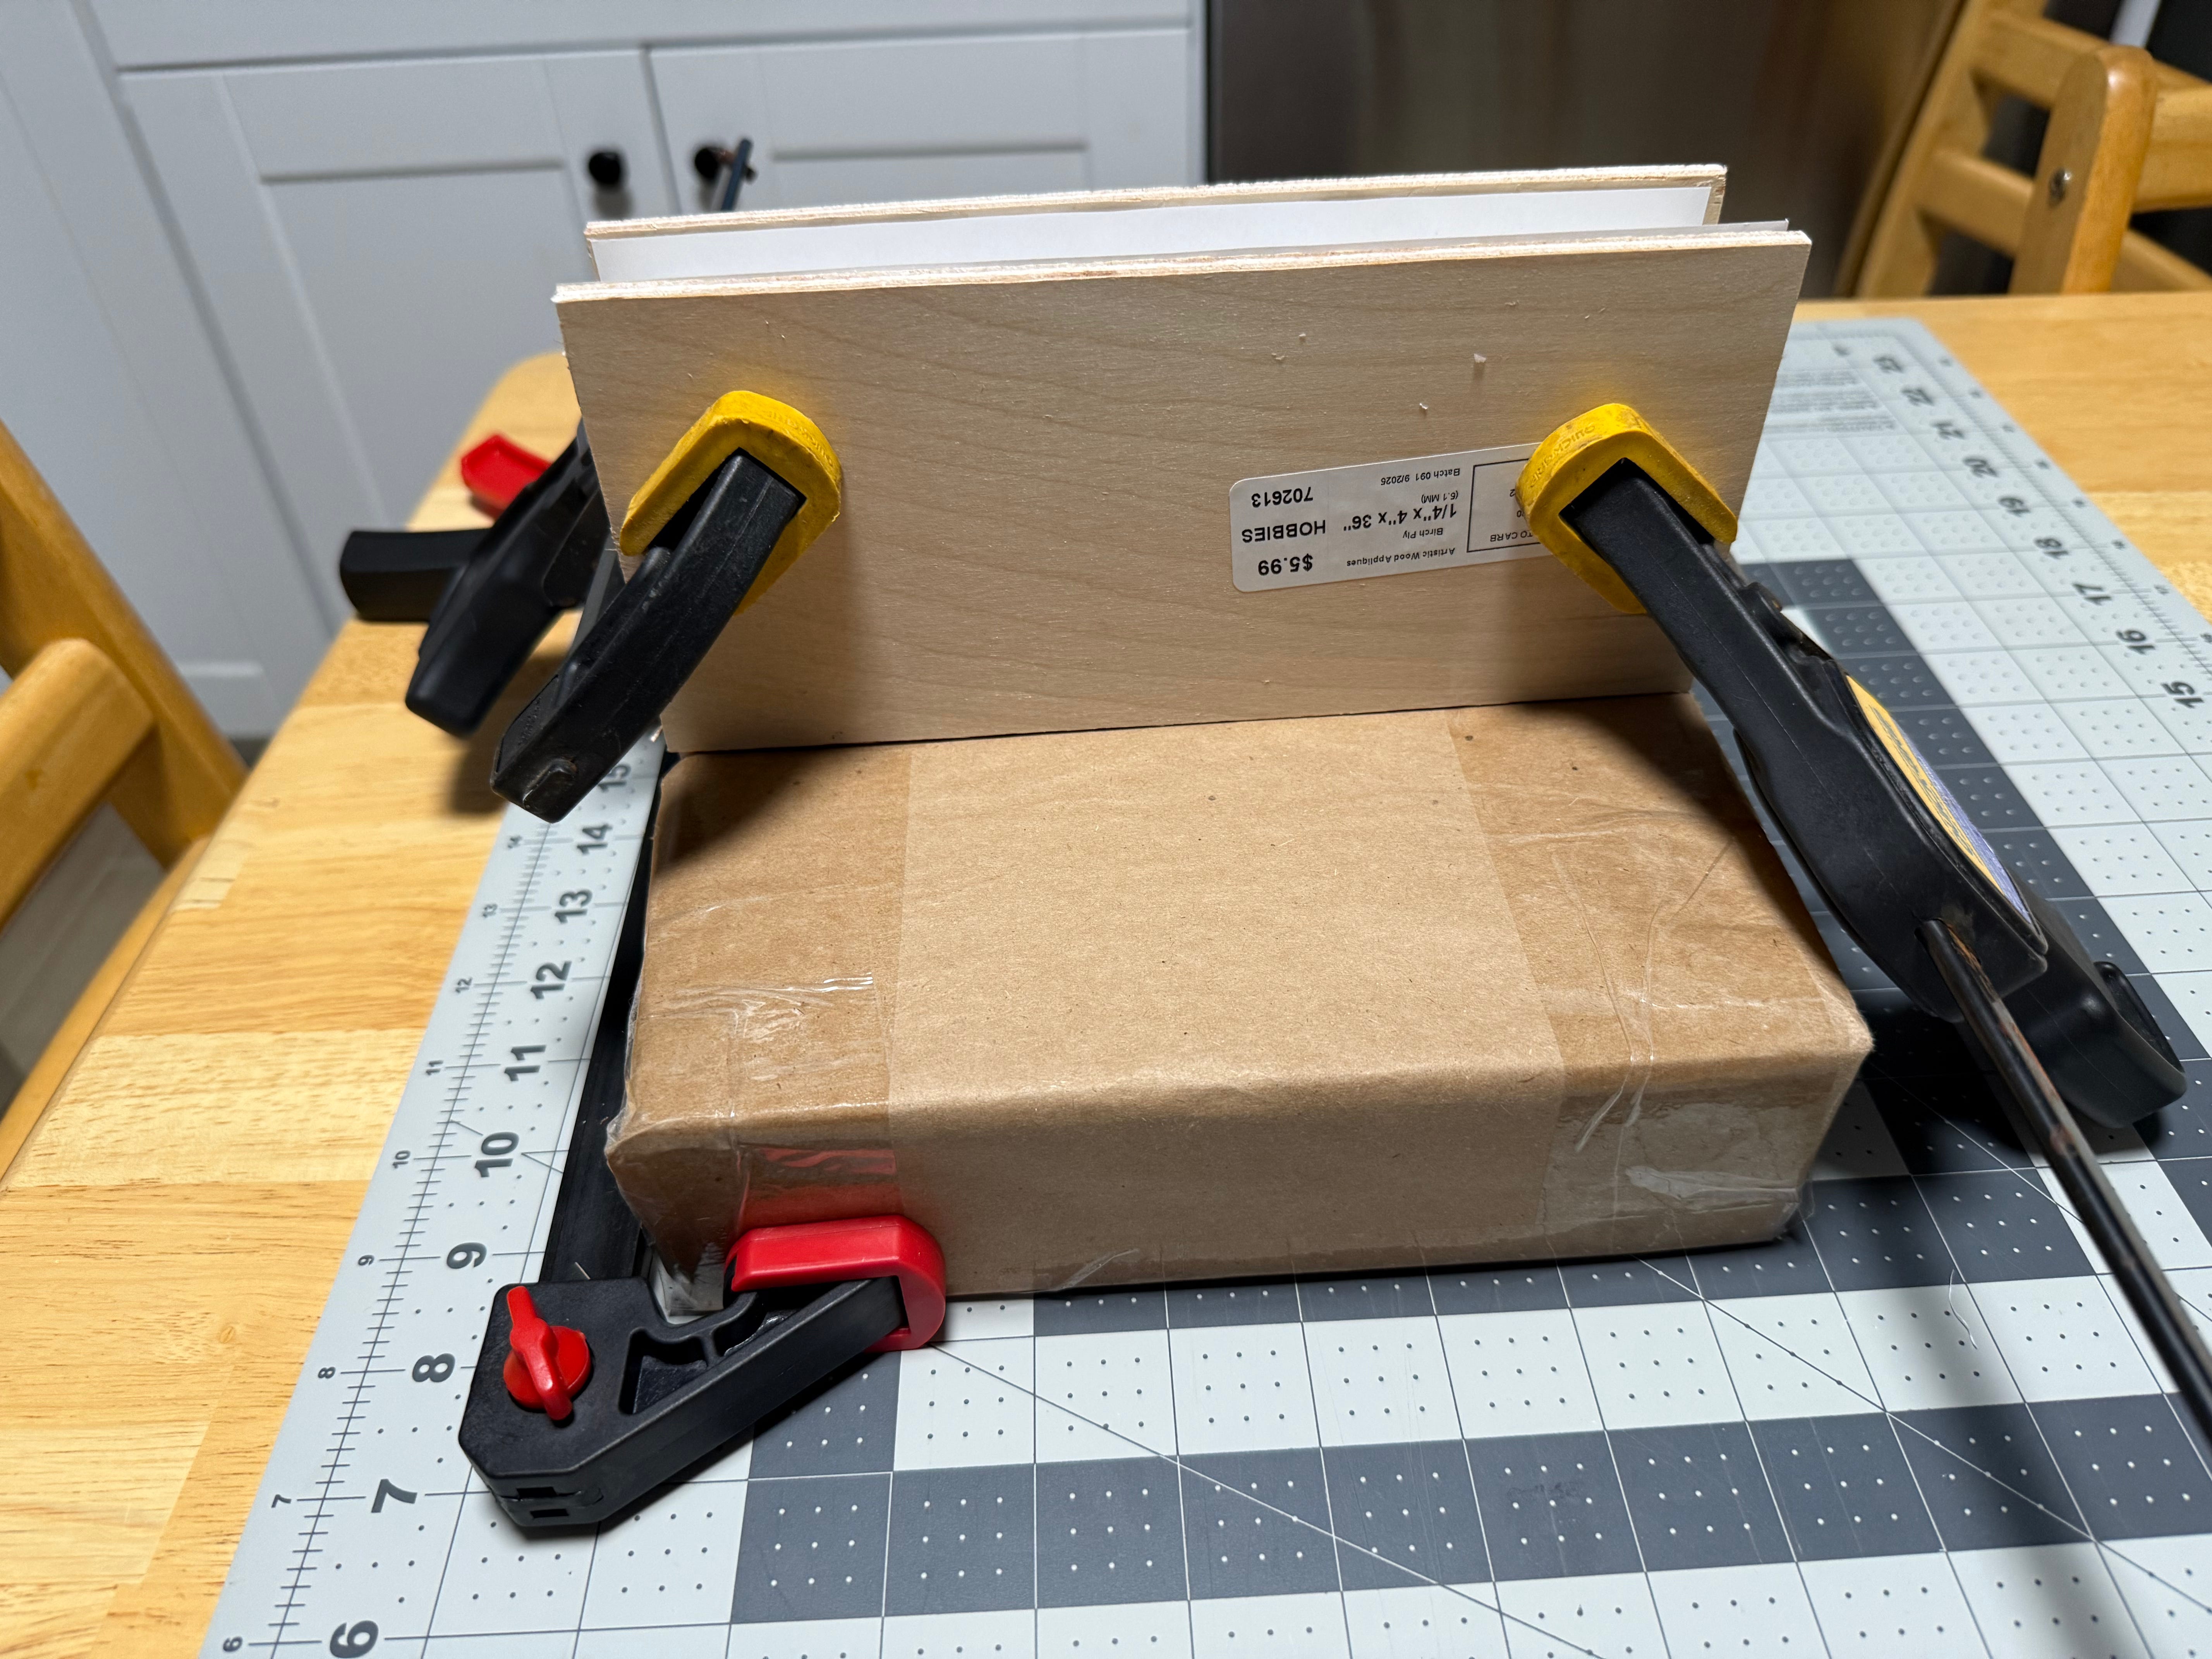
(after)
3. Cover
Design your image on Adobe InDesign or alternatively, a free service like Canva. In some ways this is the easy part.
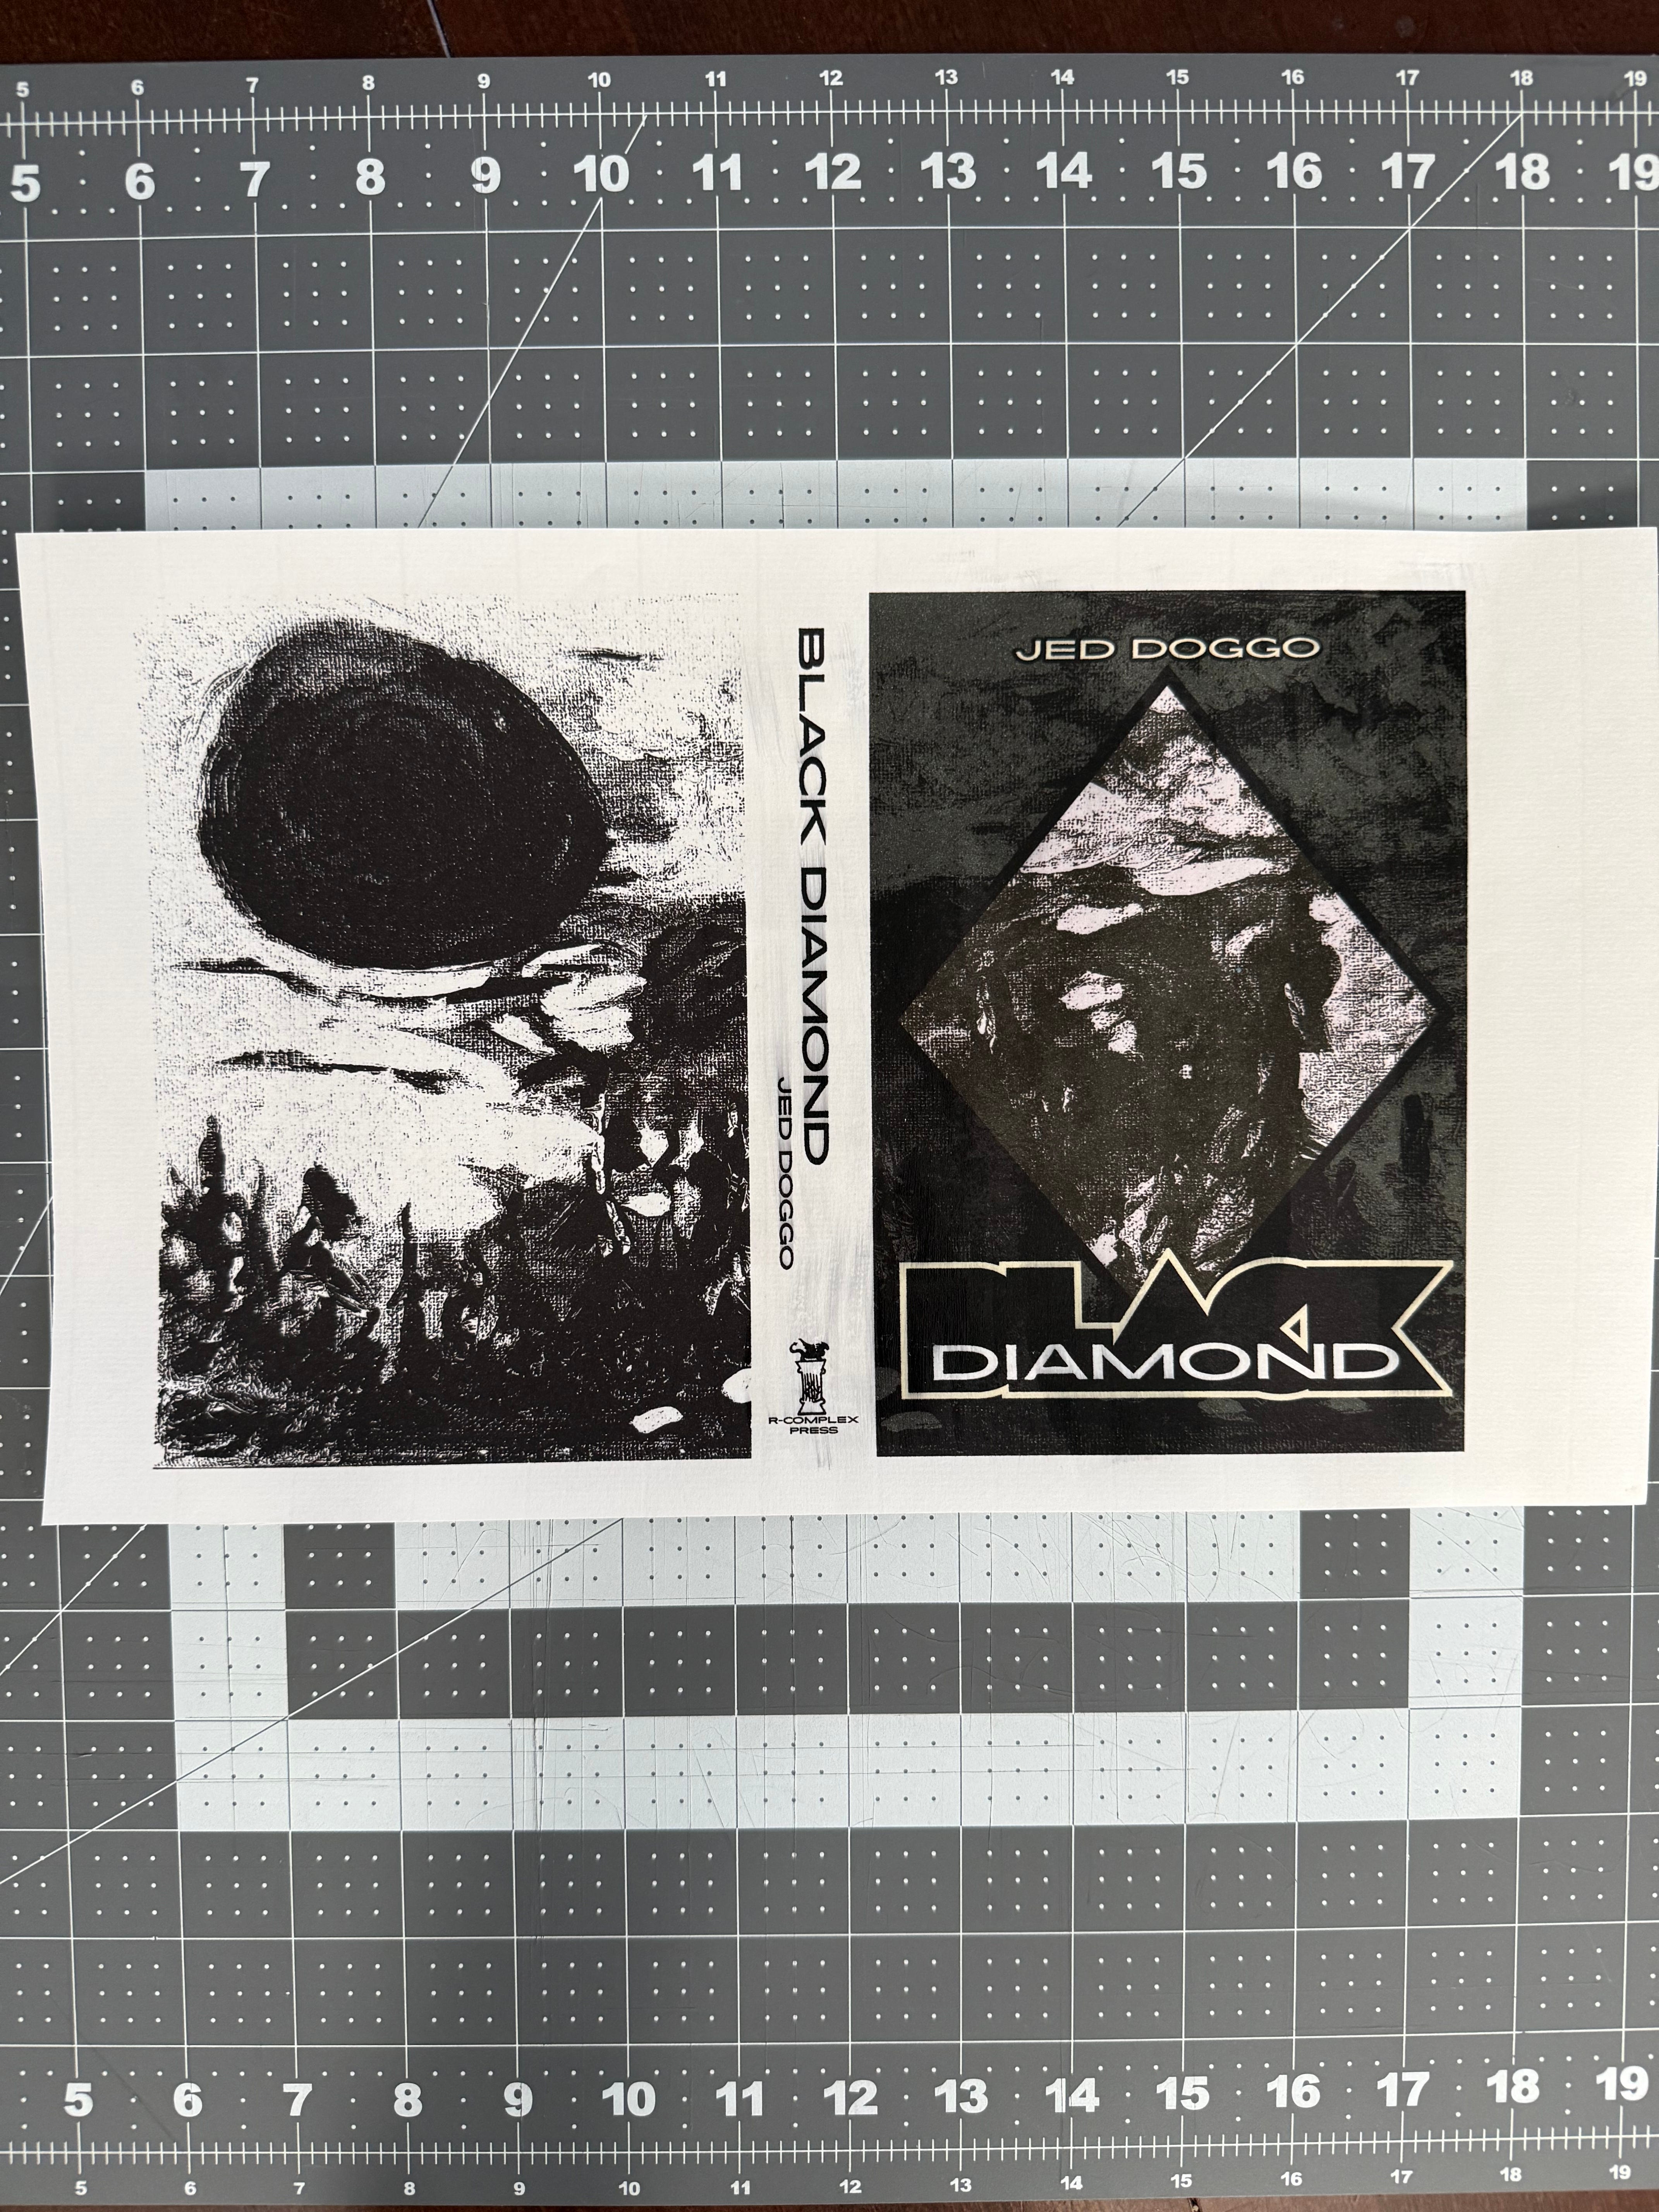
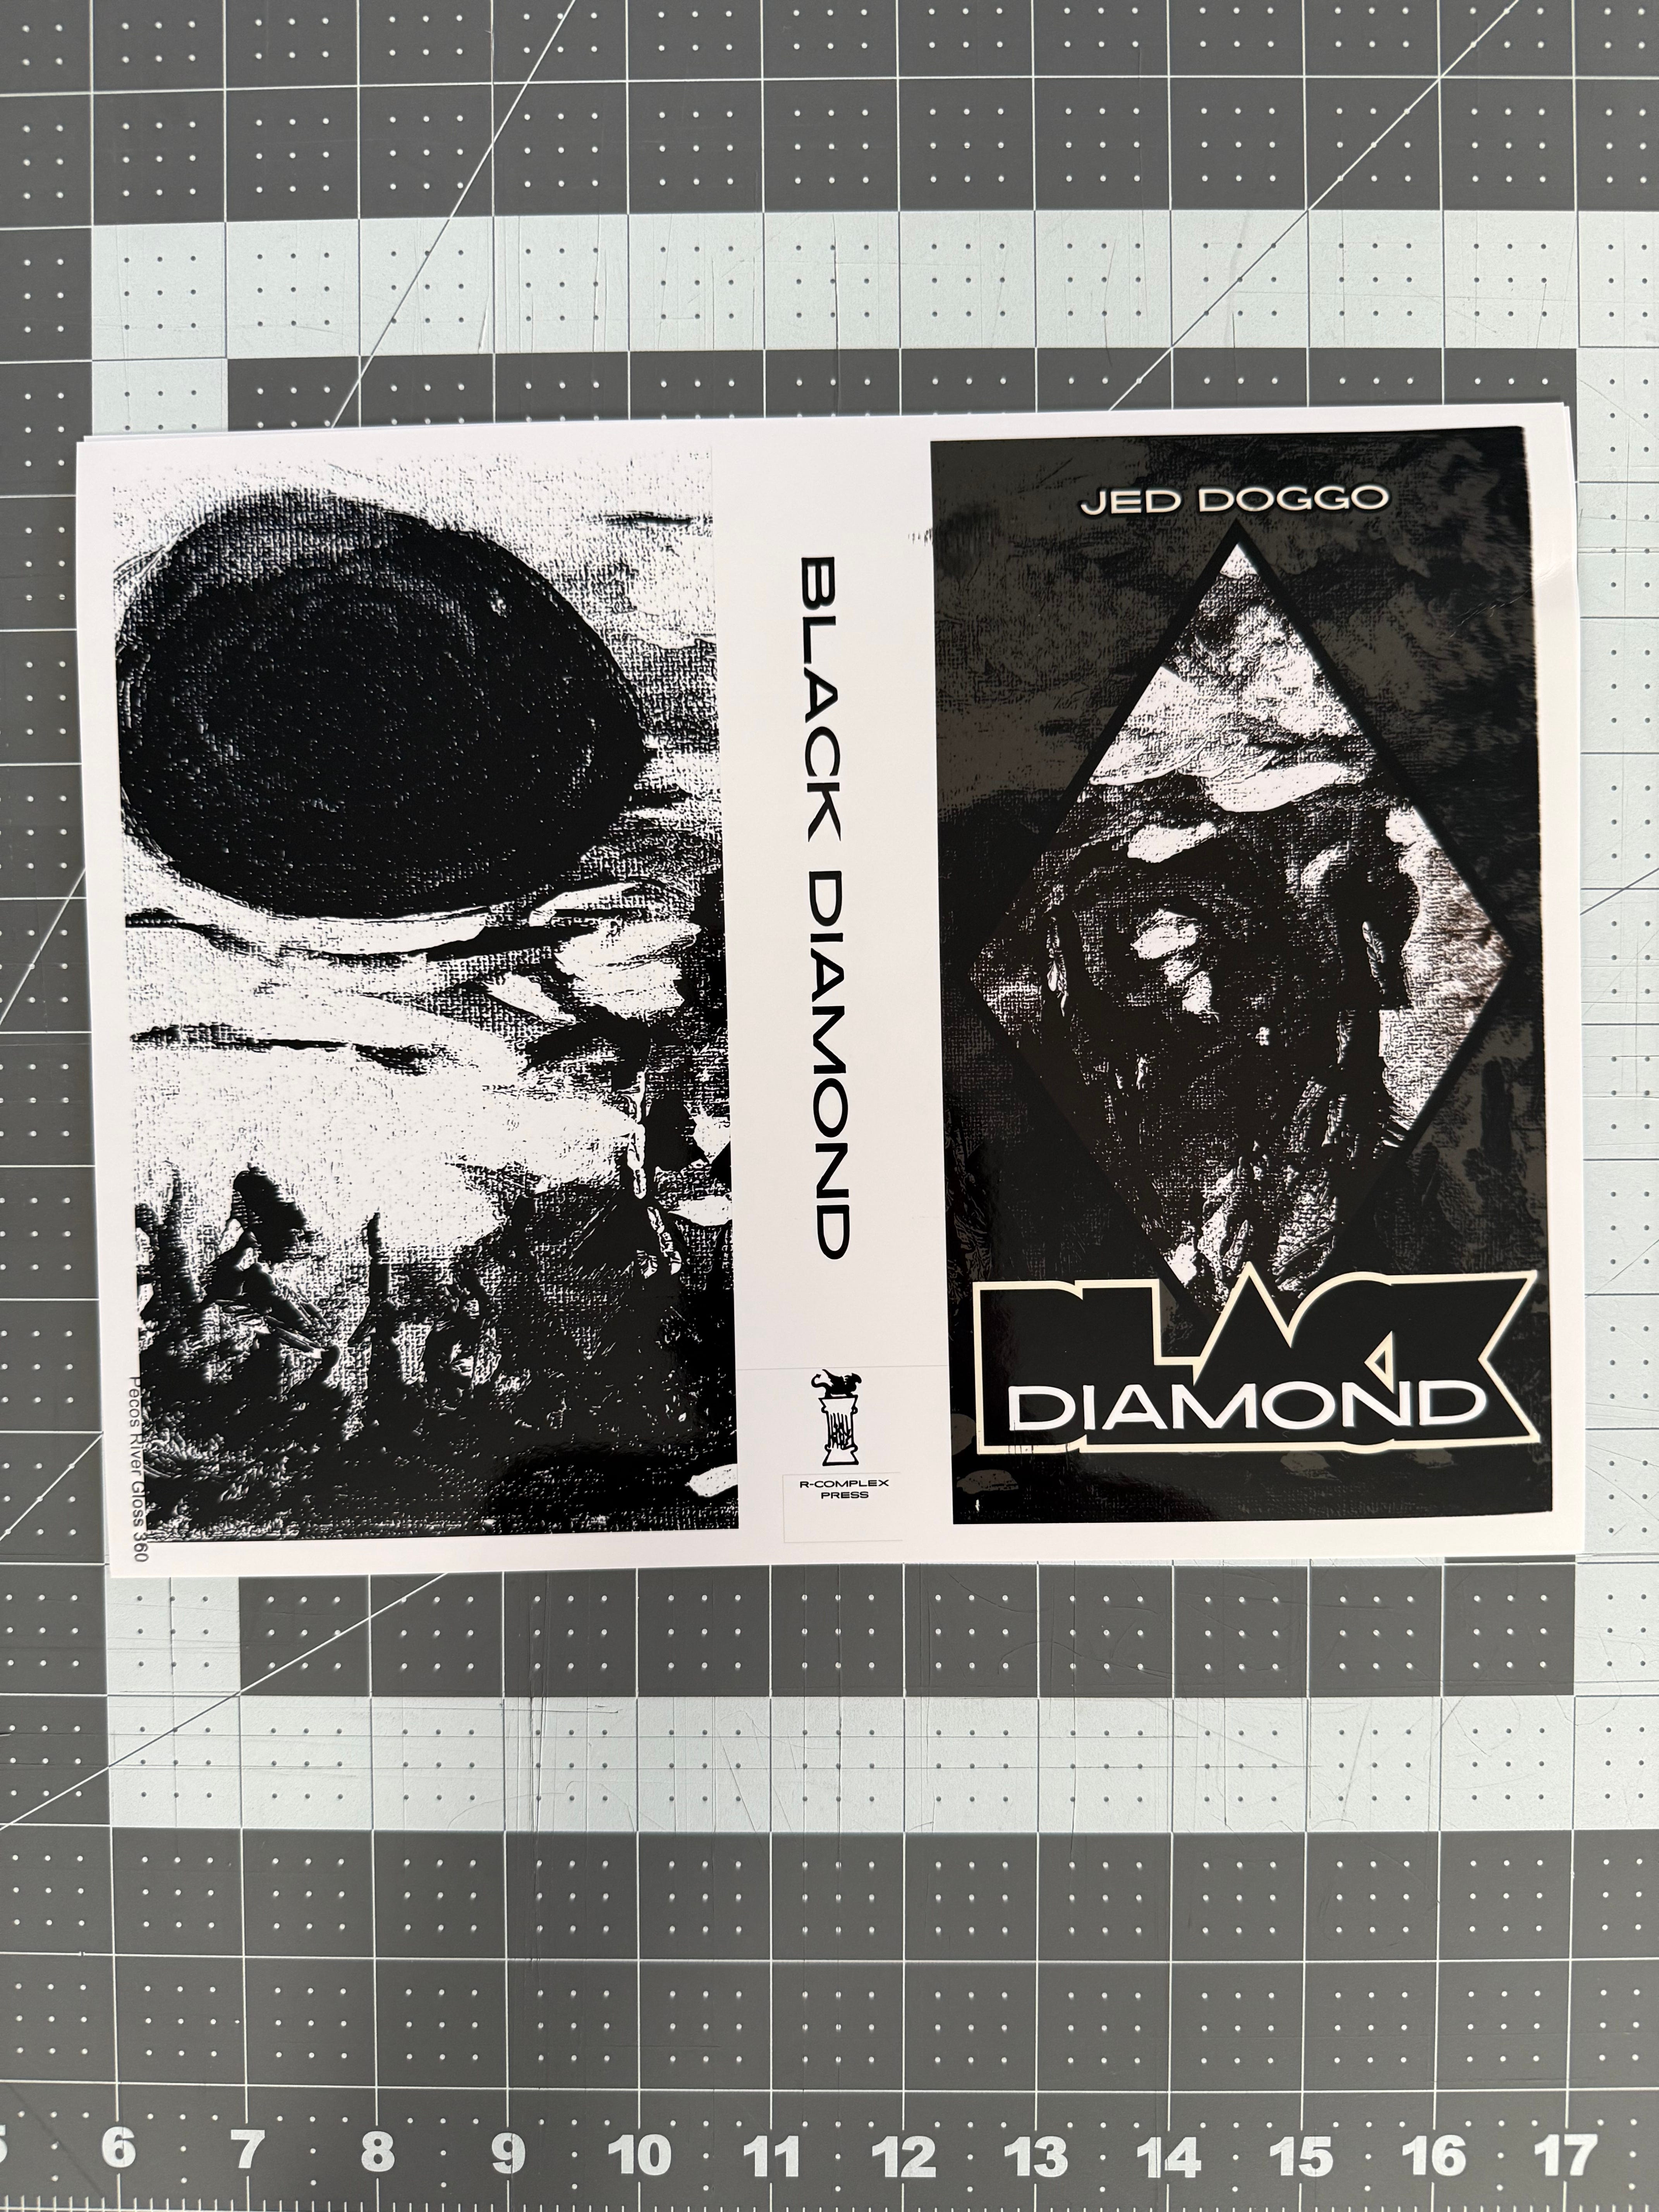
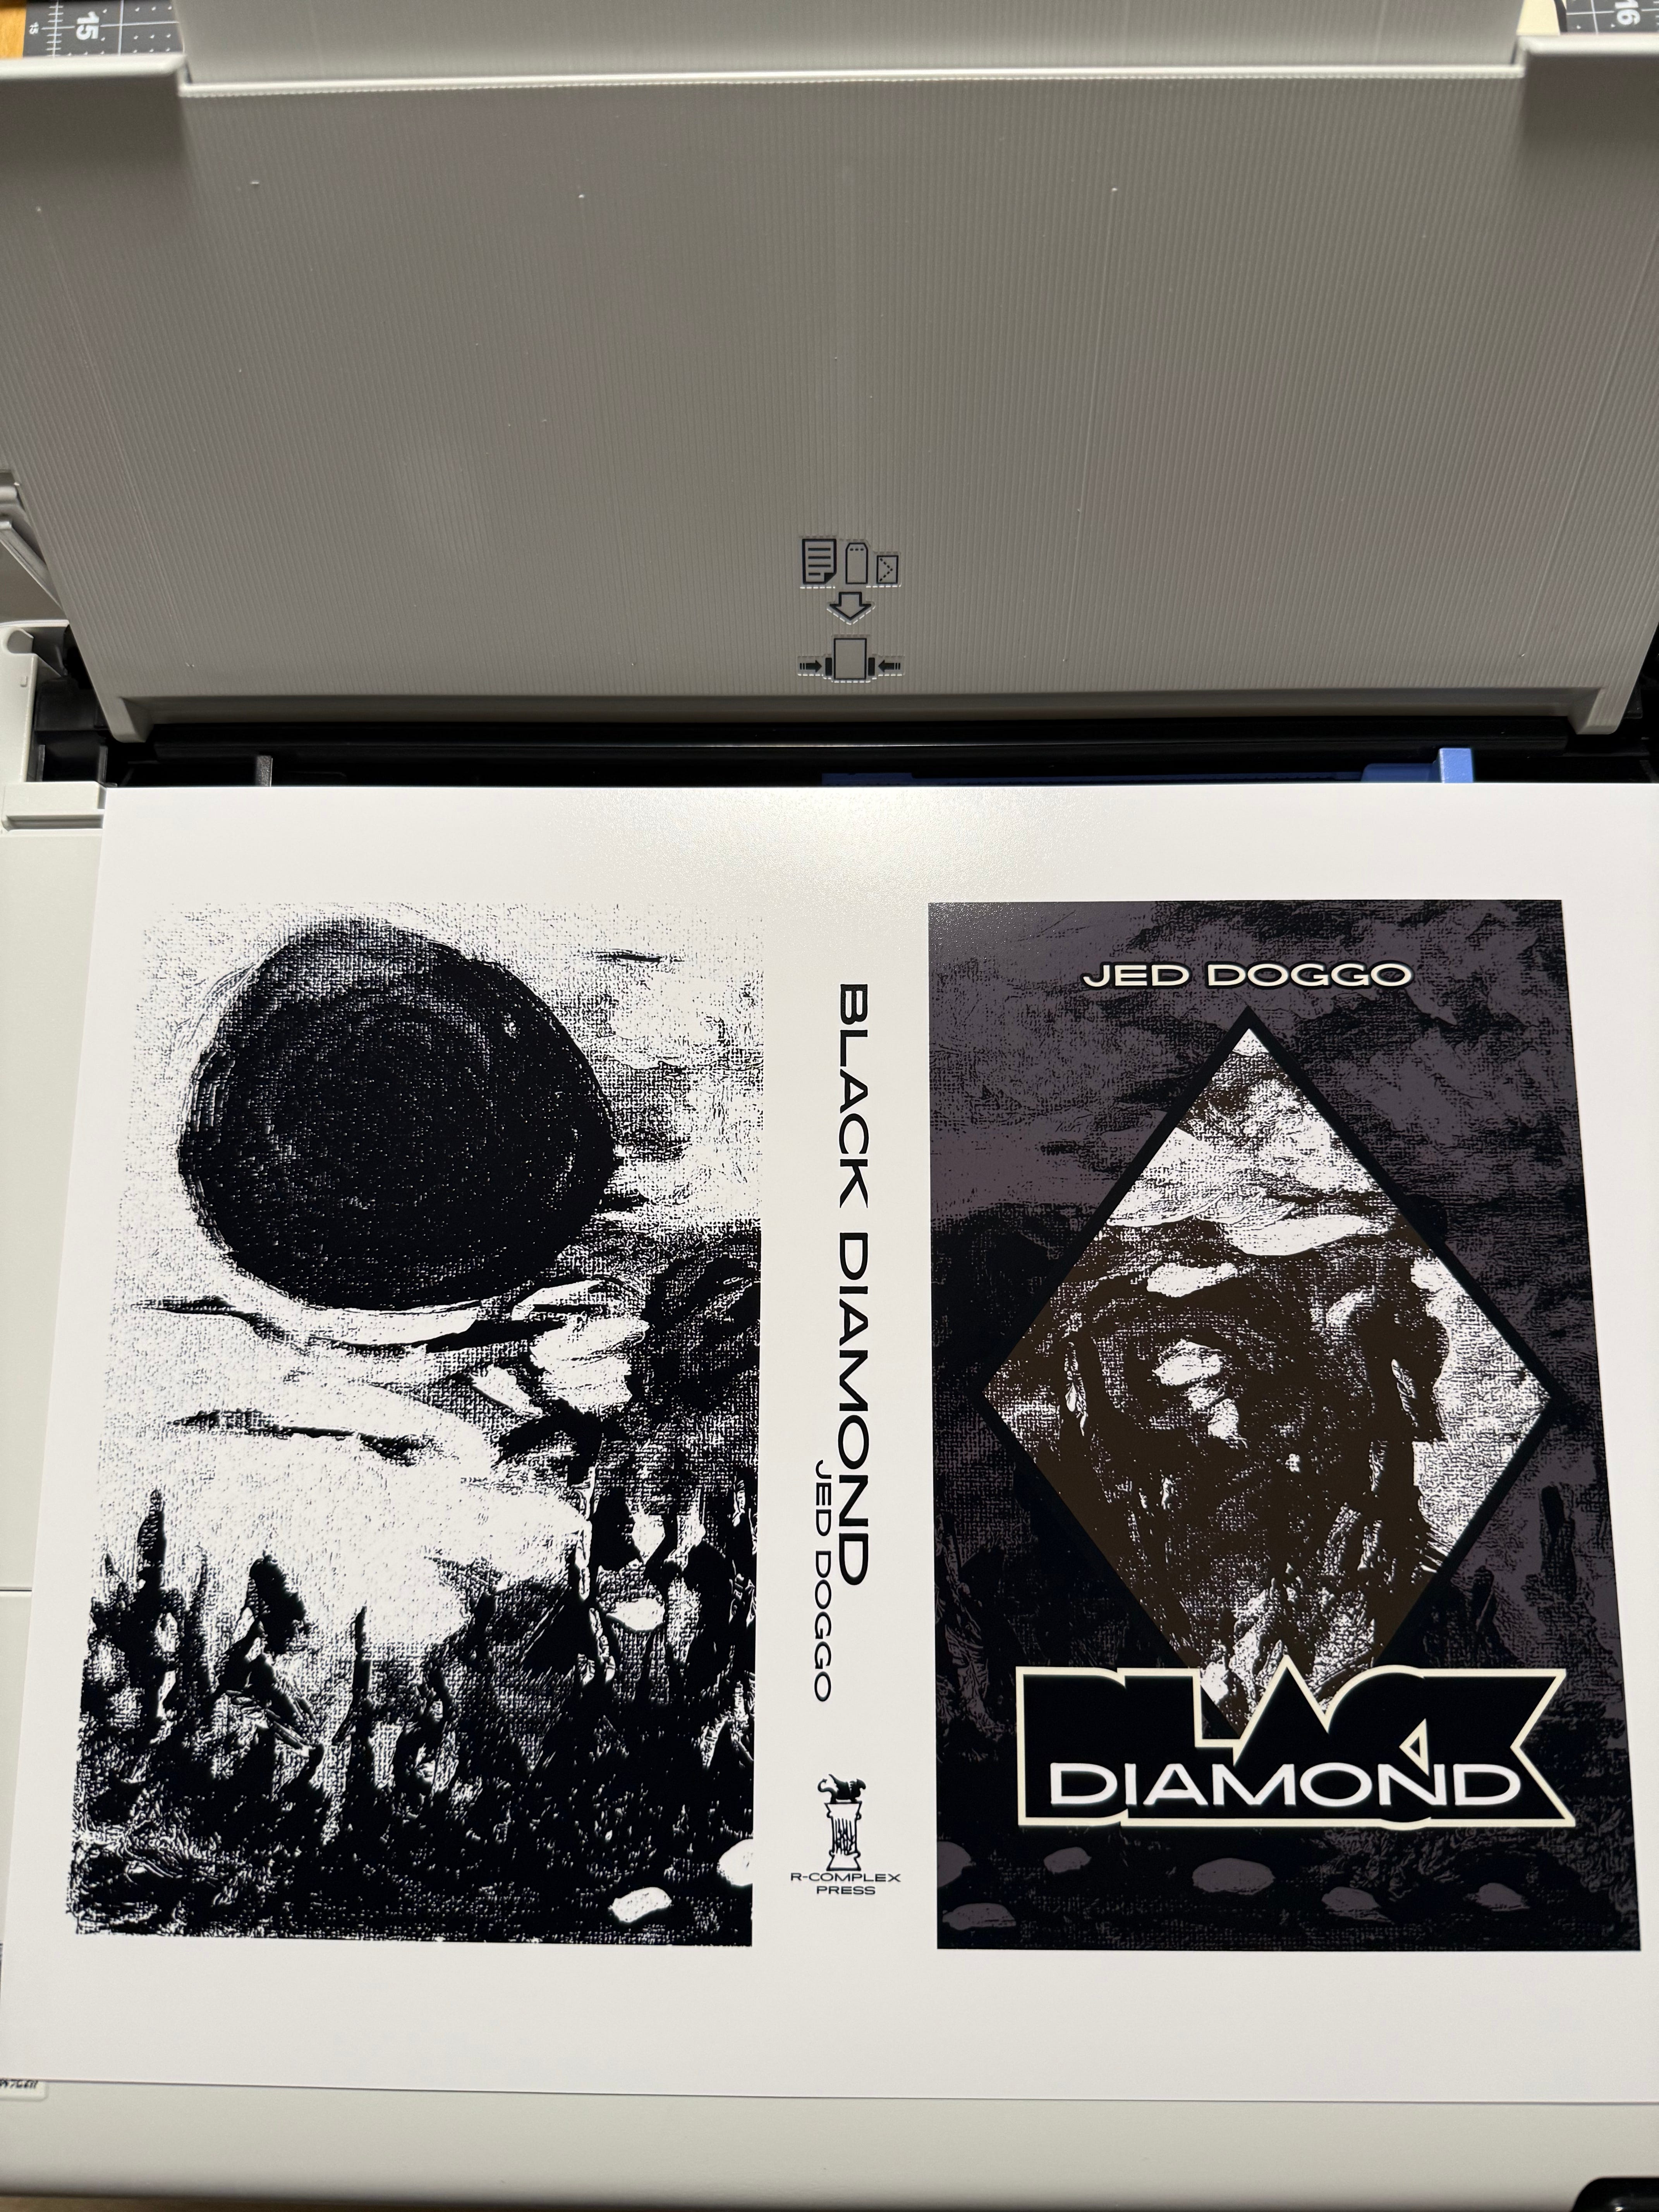
Our reference video conveniently glosses over exactly what product they actually purchased for their wrapper cover. Something which you want to be weighty enough and with the right finish and feel that—here’s the kicker—actually prints well. DAS Bookbinding claims to use a “semigloss art paper” which is then “laminated” to cardstock to make it thicker. Resulting in nothing short of a goose chase to search for something nobody at any of the craft or office and supplies stores could point me to. In the end we followed the rule of simplification by removing both the need for spraying a glossy varnish (a necessity for prints on matte cardstock) and gluing two pieces of paper together for a thicker gsm. This was achieved miraculously by what Keith Cooper deems to be a “cheap photo paper”. Effectively saving two steps in the process. A net positive when each step is rife with potential to fail. For whatever reason Koala Photo Paper prints beautifully on my ET-8550 even without a custom ICC print profile. Which was a godsend after many months of witnessing so many horrid, god-awful print jobs that we nearly threw up our hands and quit altogether. The most disappointing example was testing Pecos River Gloss 360 from Red River Papers, a company which happens to provide their own print profiles for Epson printers. Fortunately, I had only purchased a 2-sheet sample pack. But coming in at 16mil thickness, 360 gsm weight, it sounded like a match made in heaven. C’est la vie.
Here are but a few examples of test prints which yielded poor results. Notice the subtle bleeds and wide-range of quality in the black-and-whites.
Part One: PRINT & CUT
Match the size of your image file with your paper size. Print. Cut the borders using a ruler and X-acto knife.
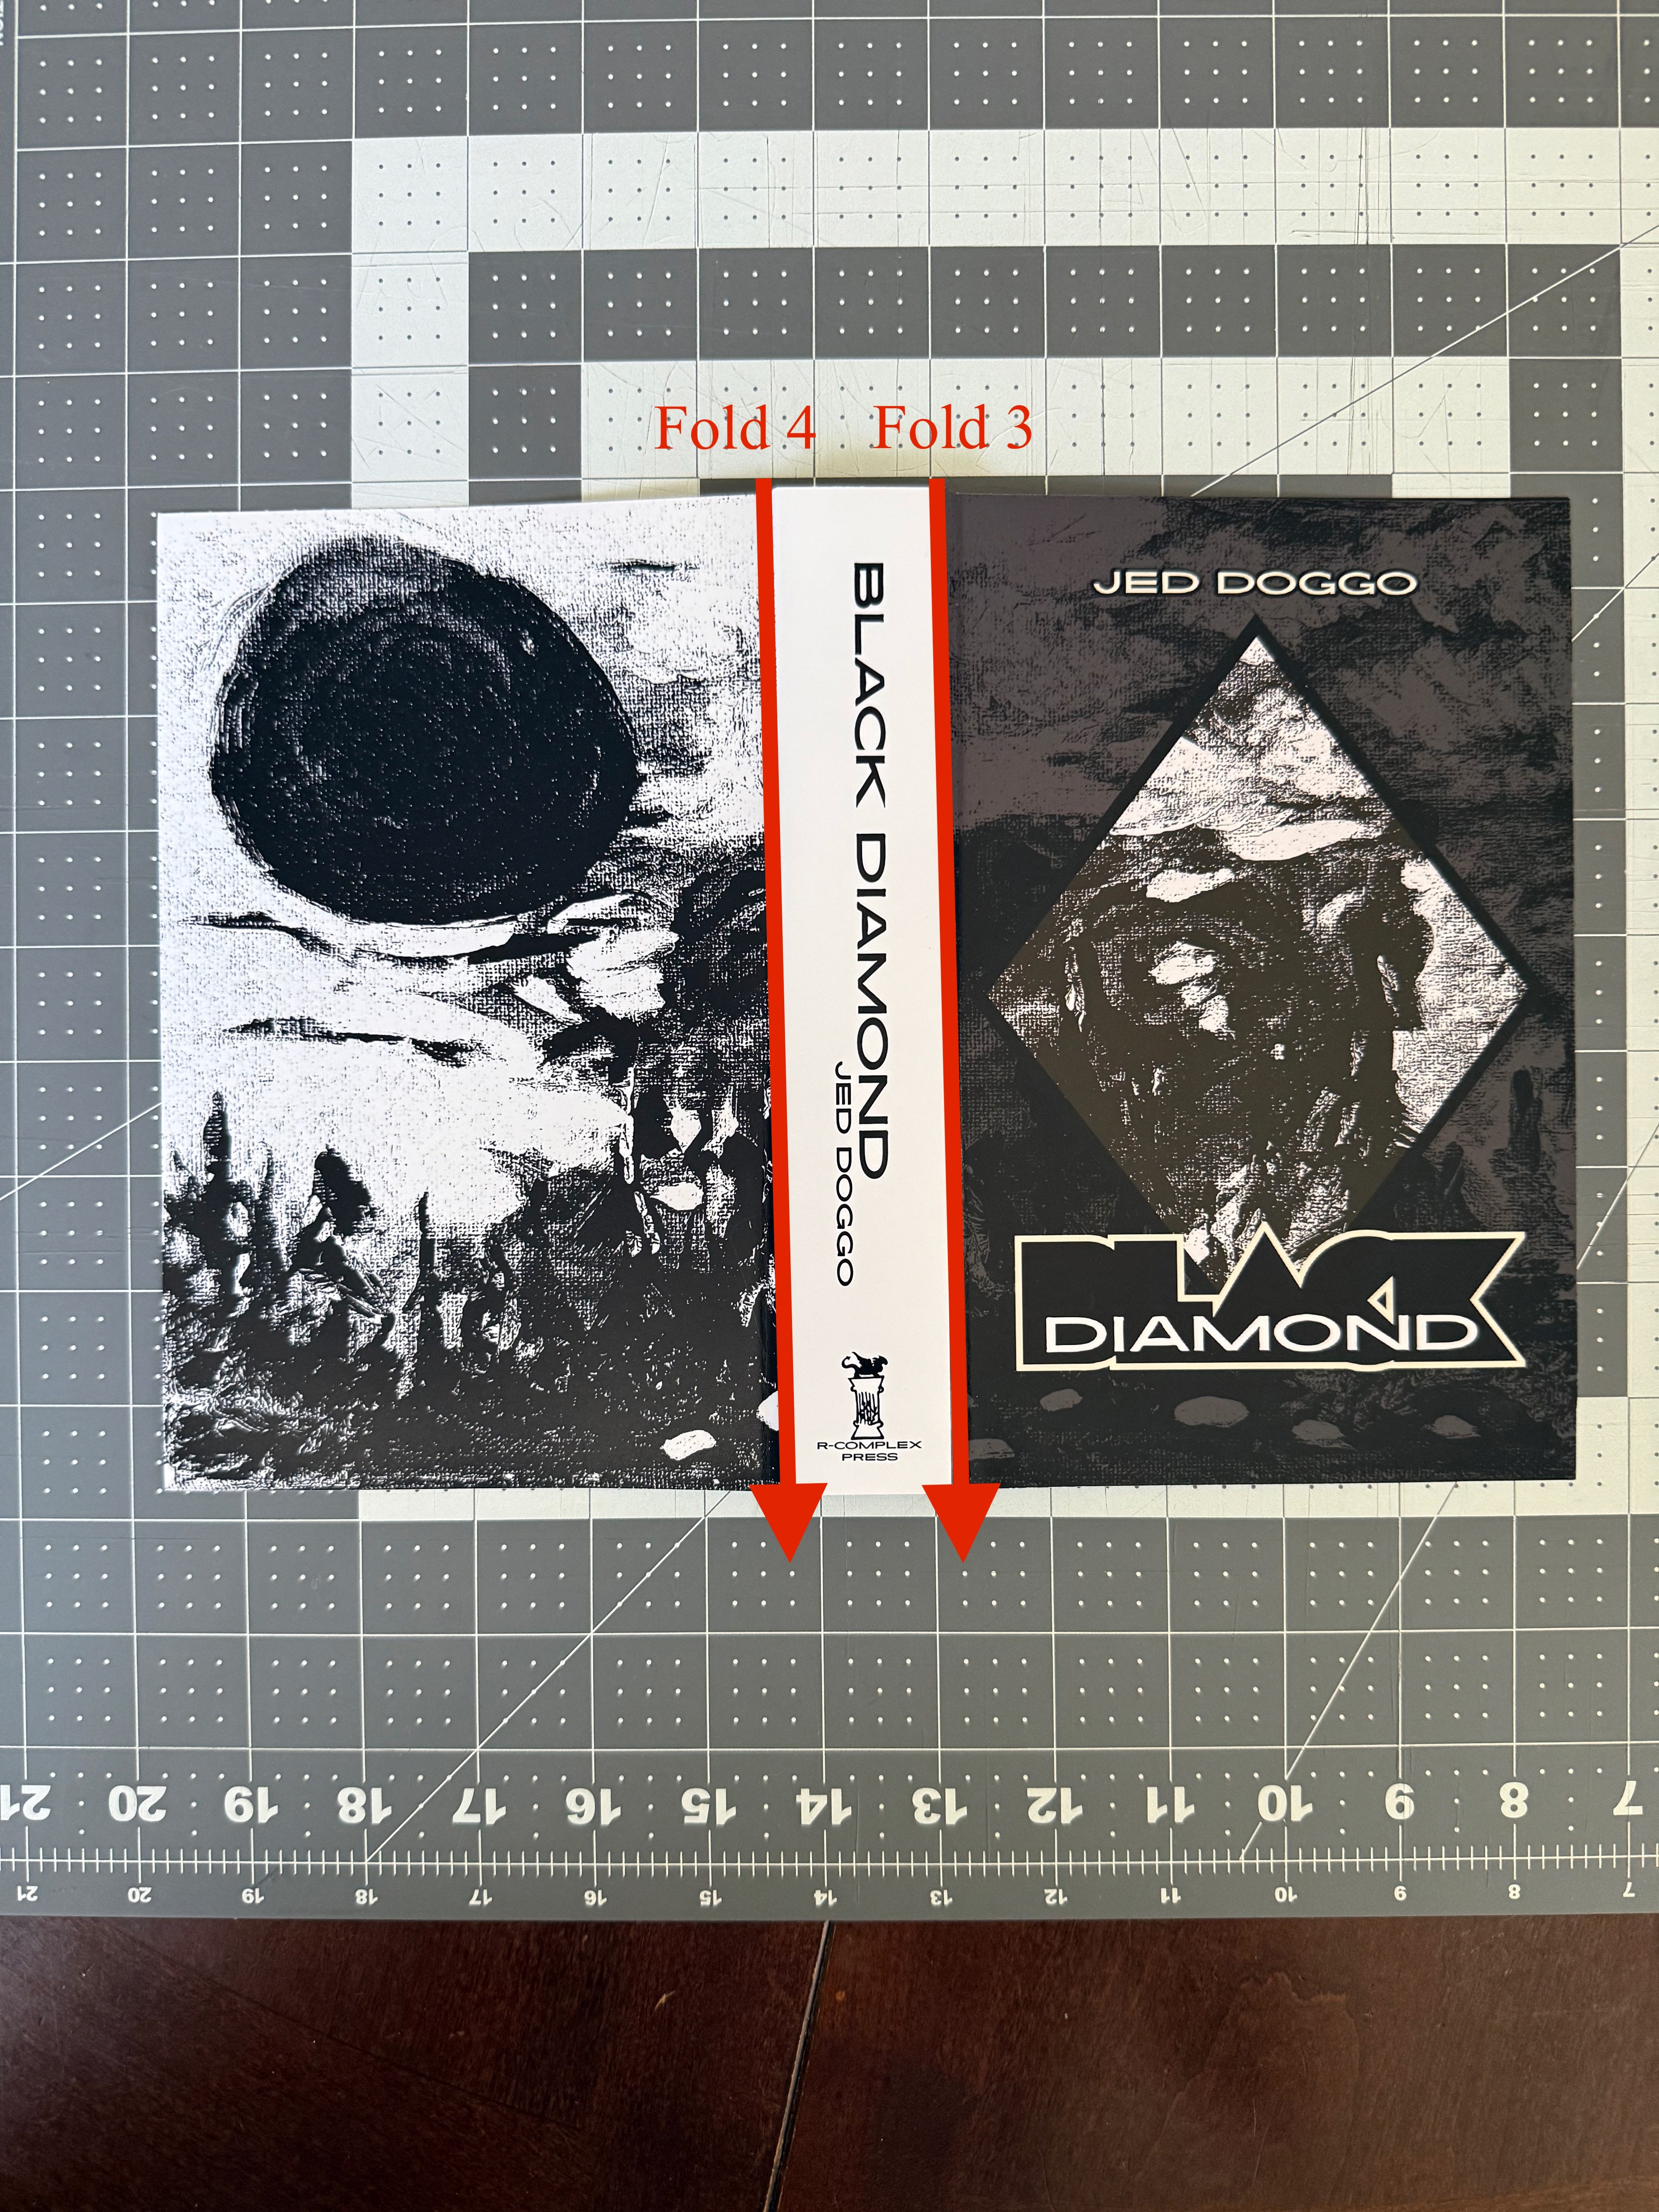
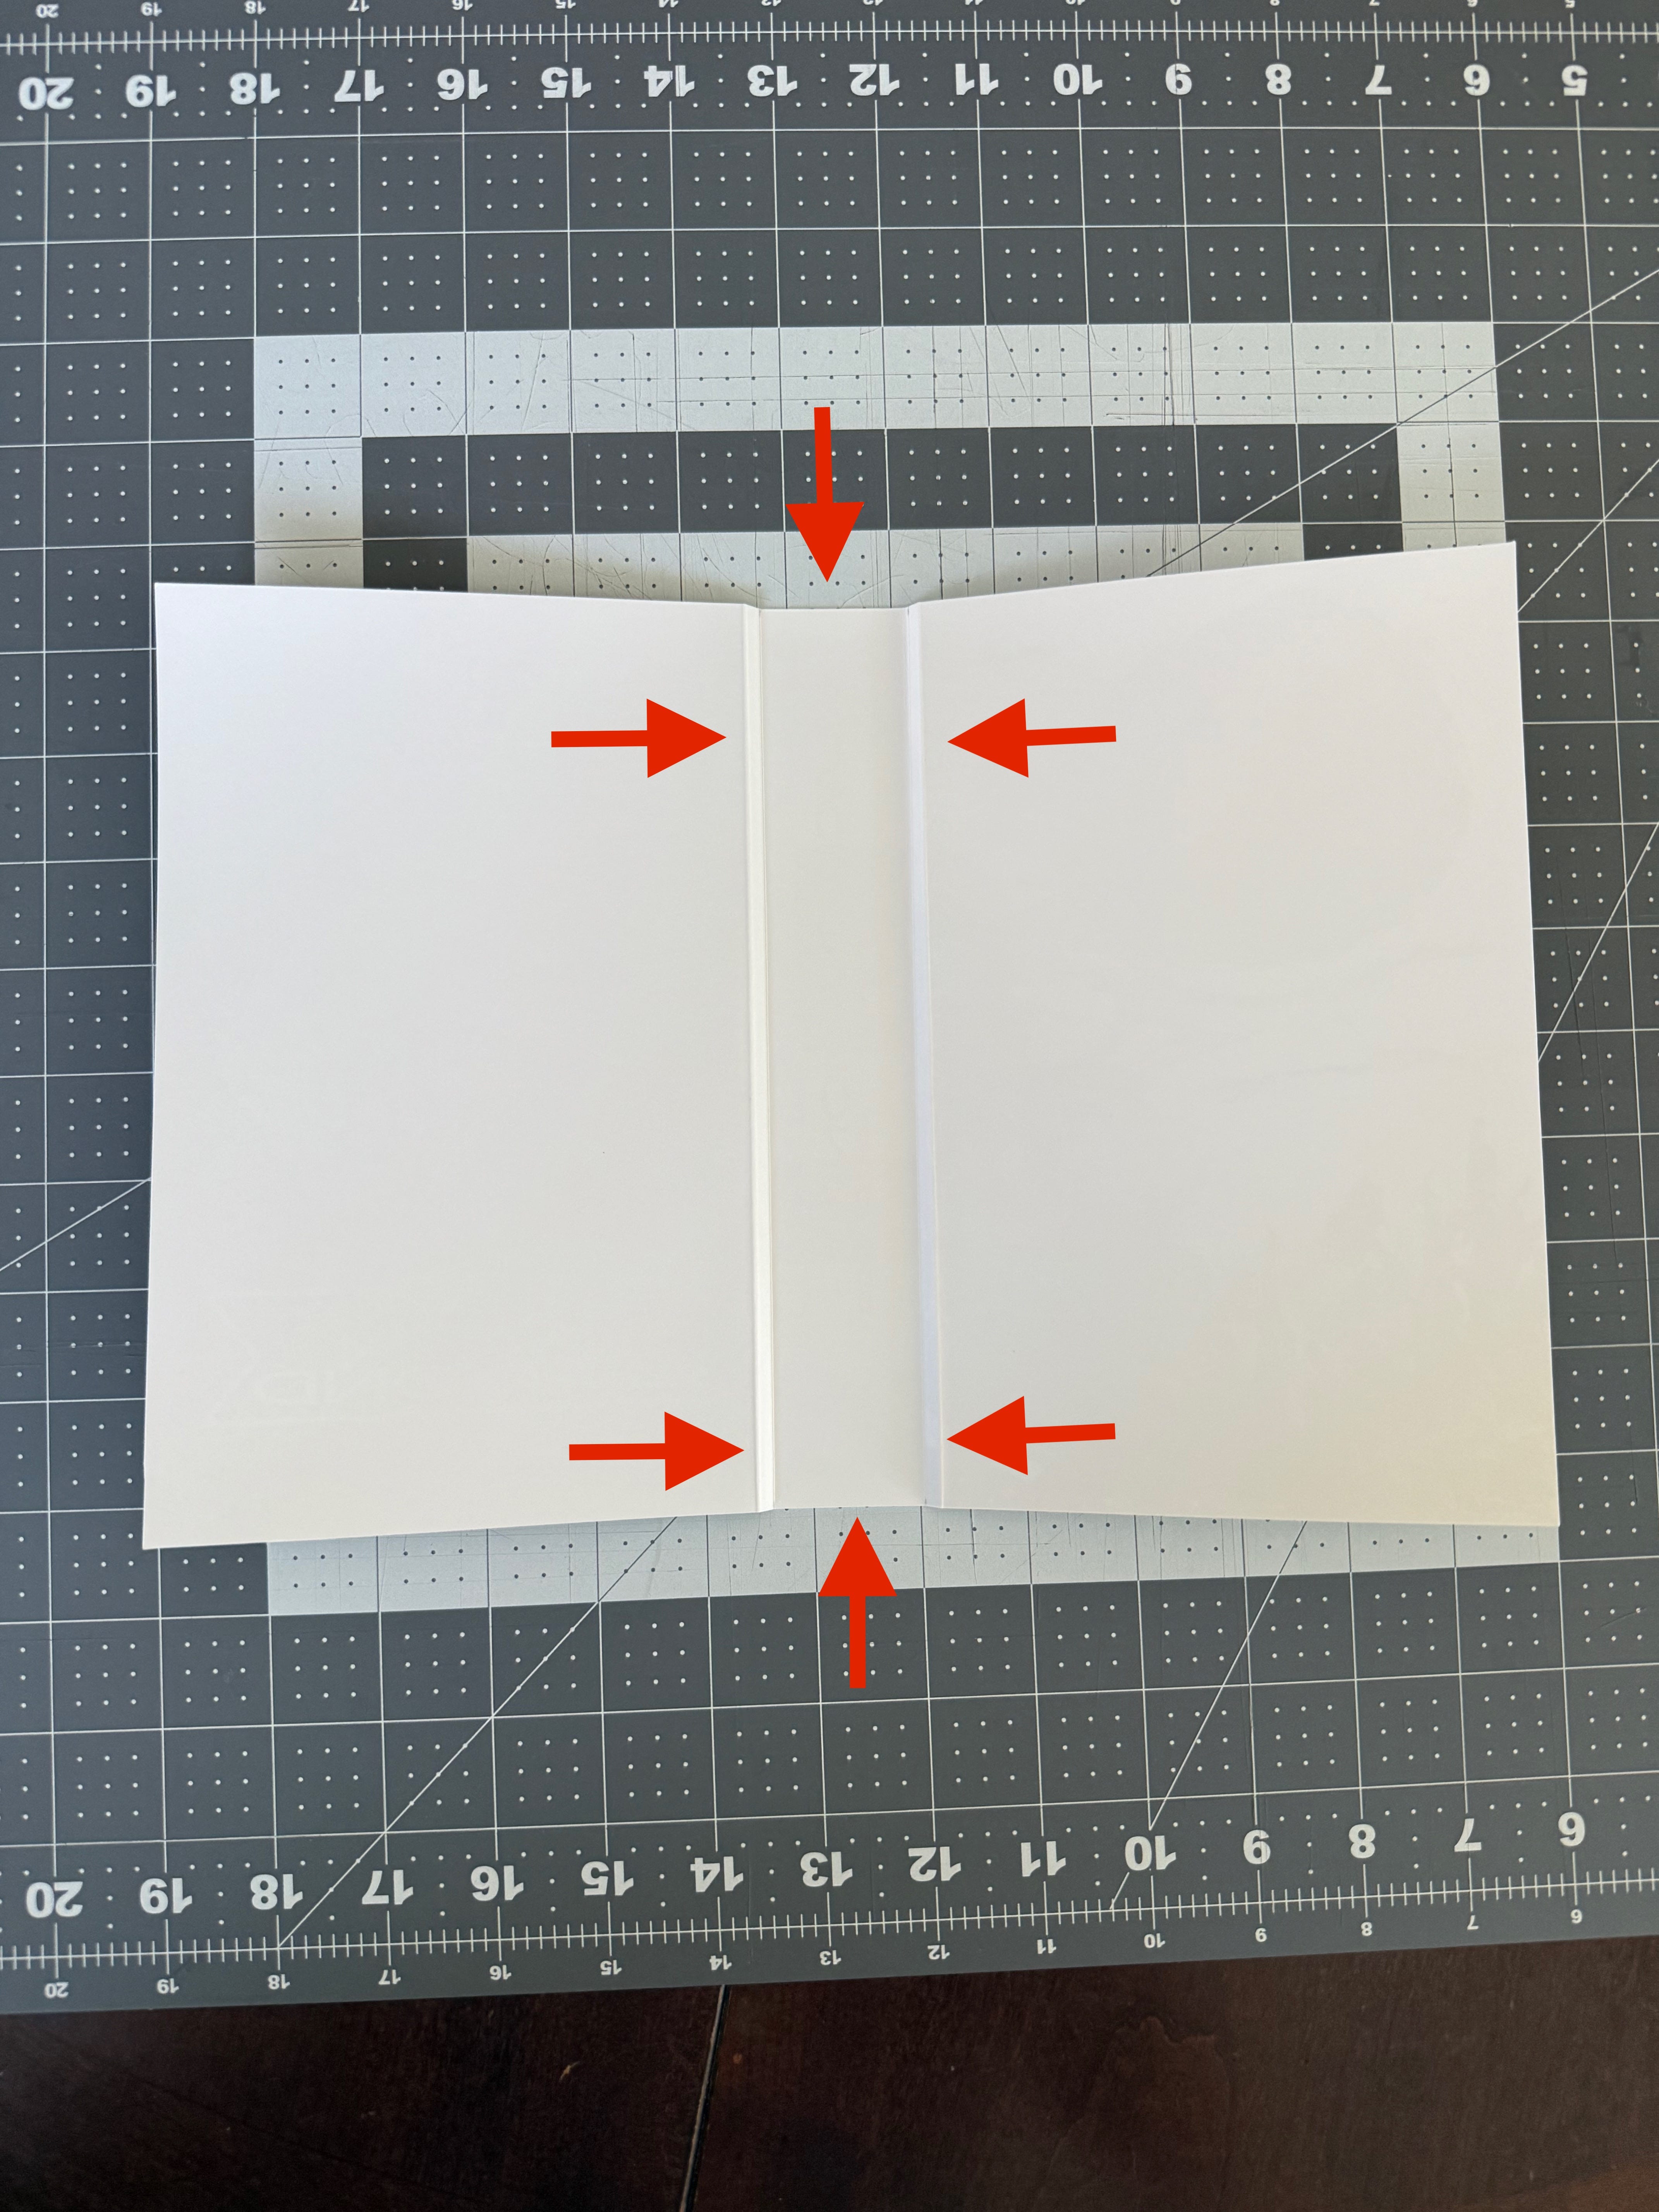
Part Two: SCORE & FOLD
You’ll be making four folds total. Two on the inside (reverse from printed image). Two on the outside—approx. 7mm away from the spine.
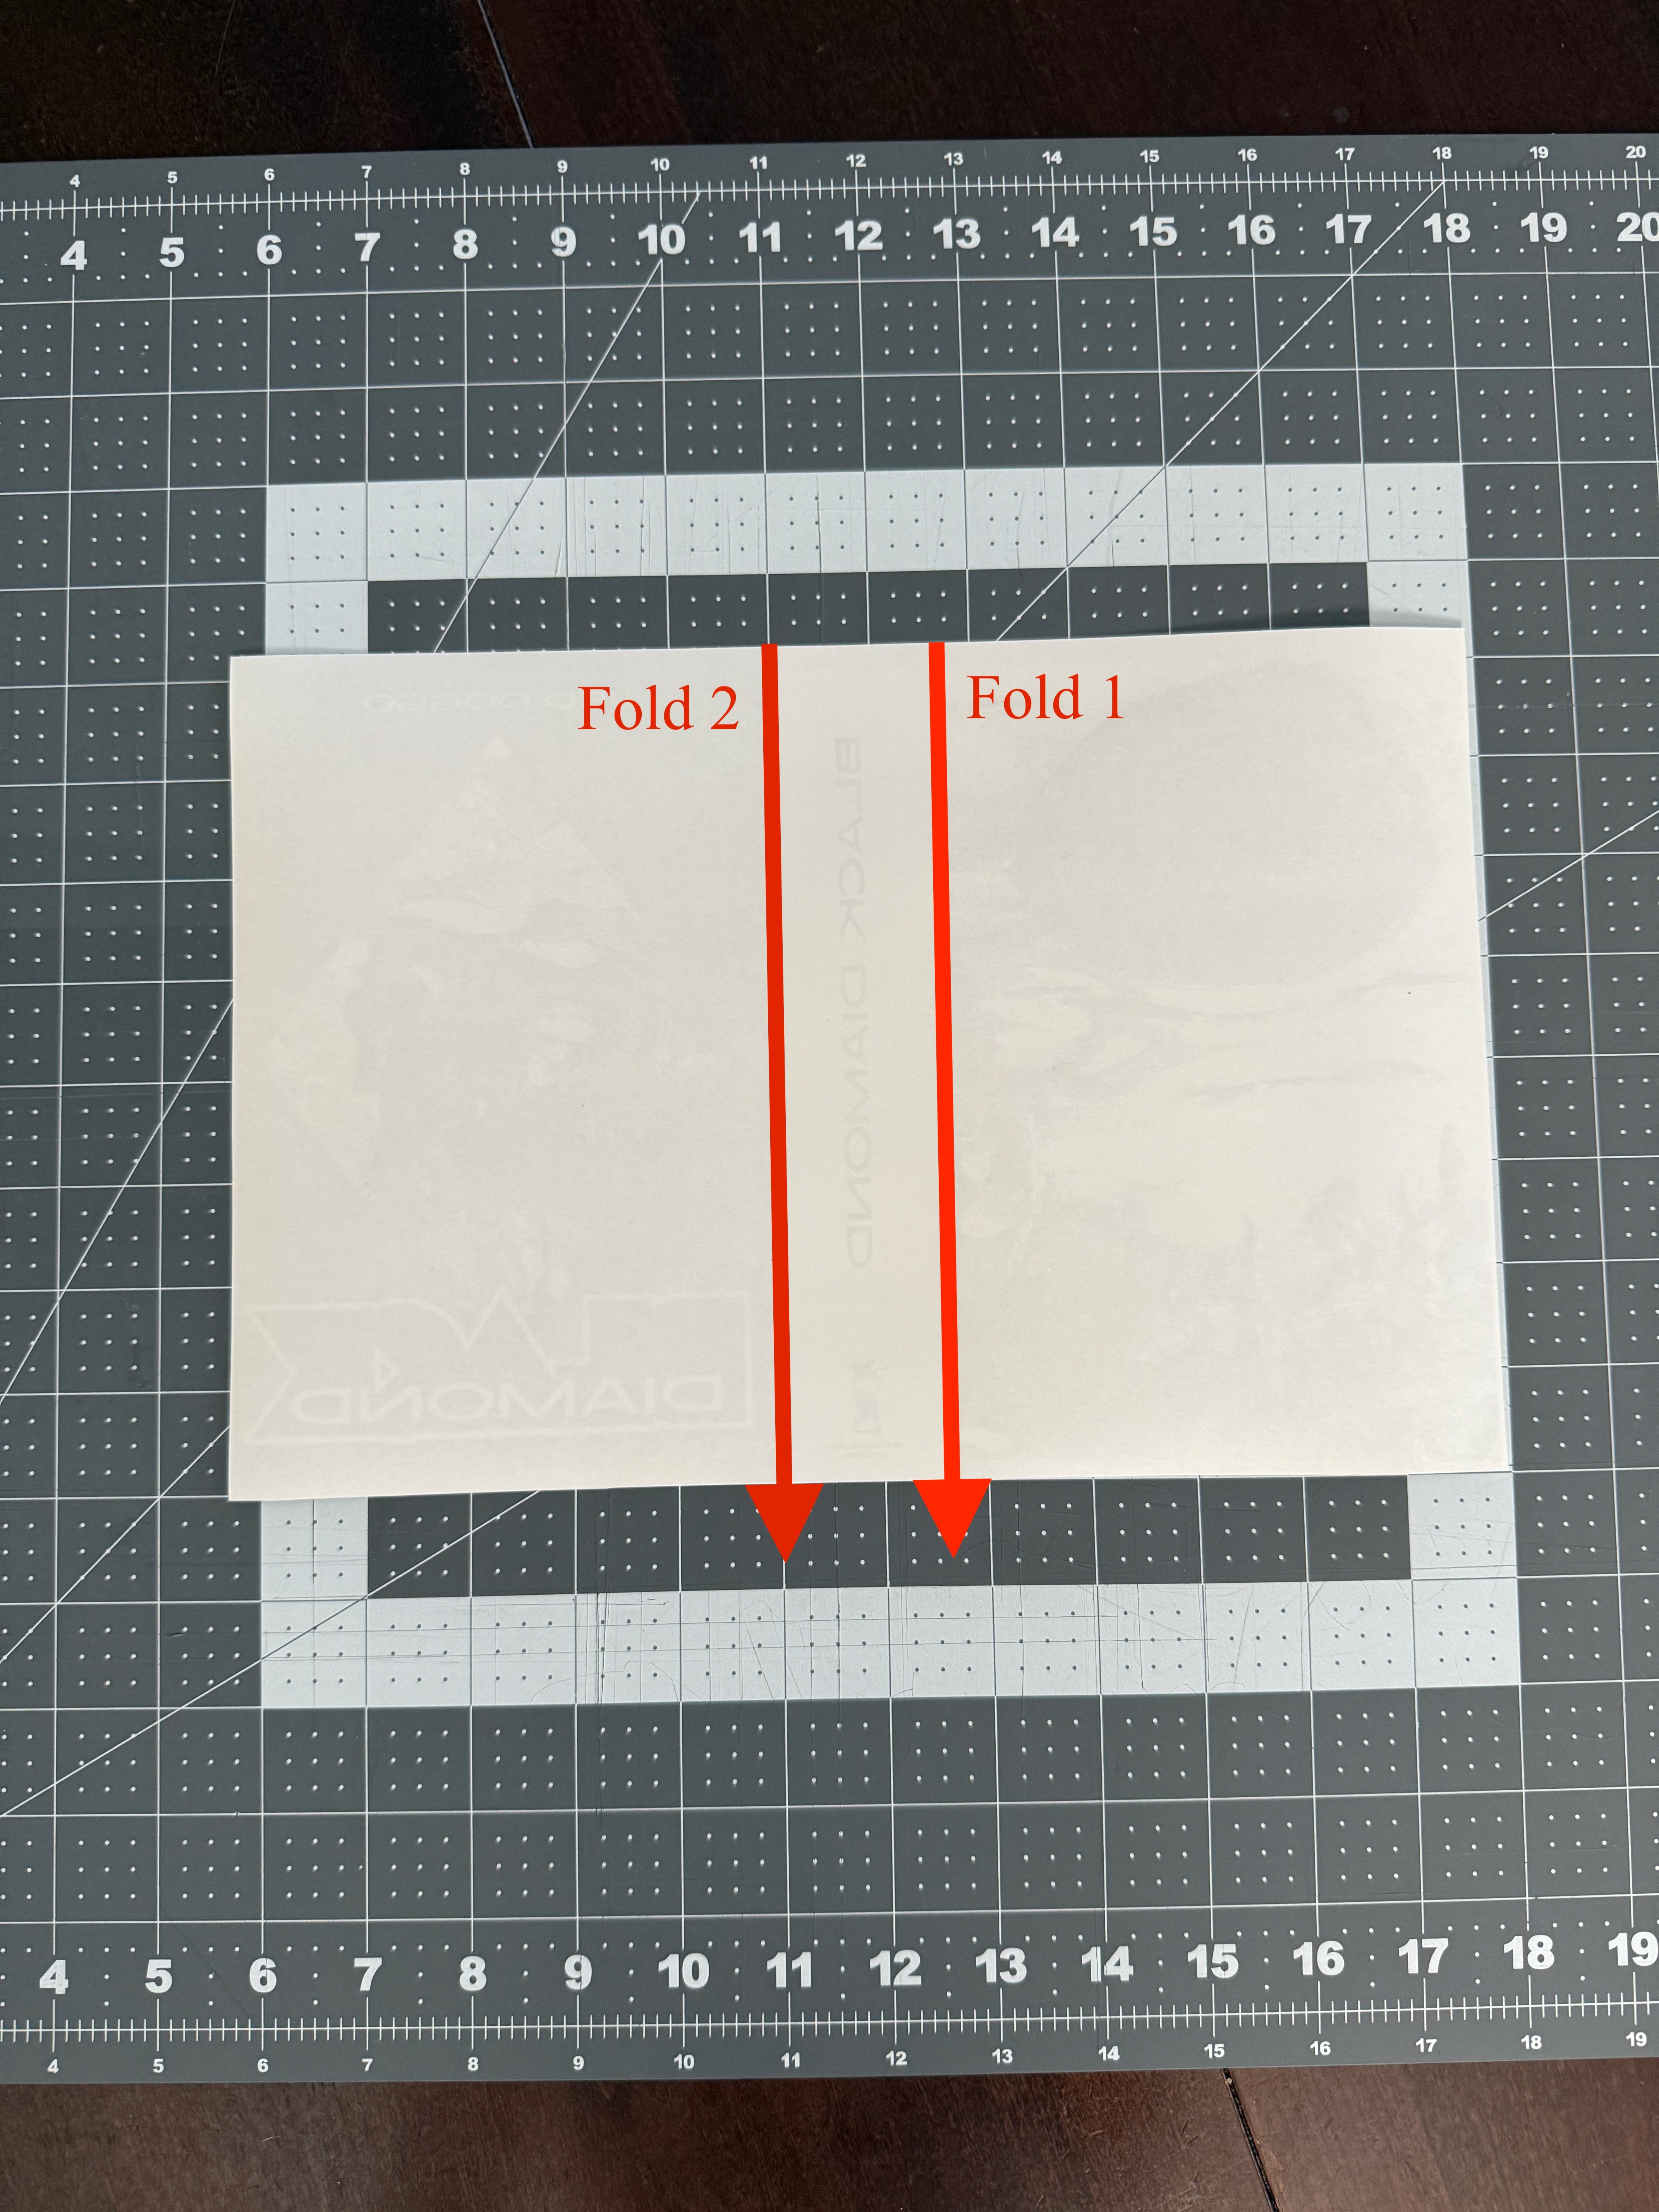
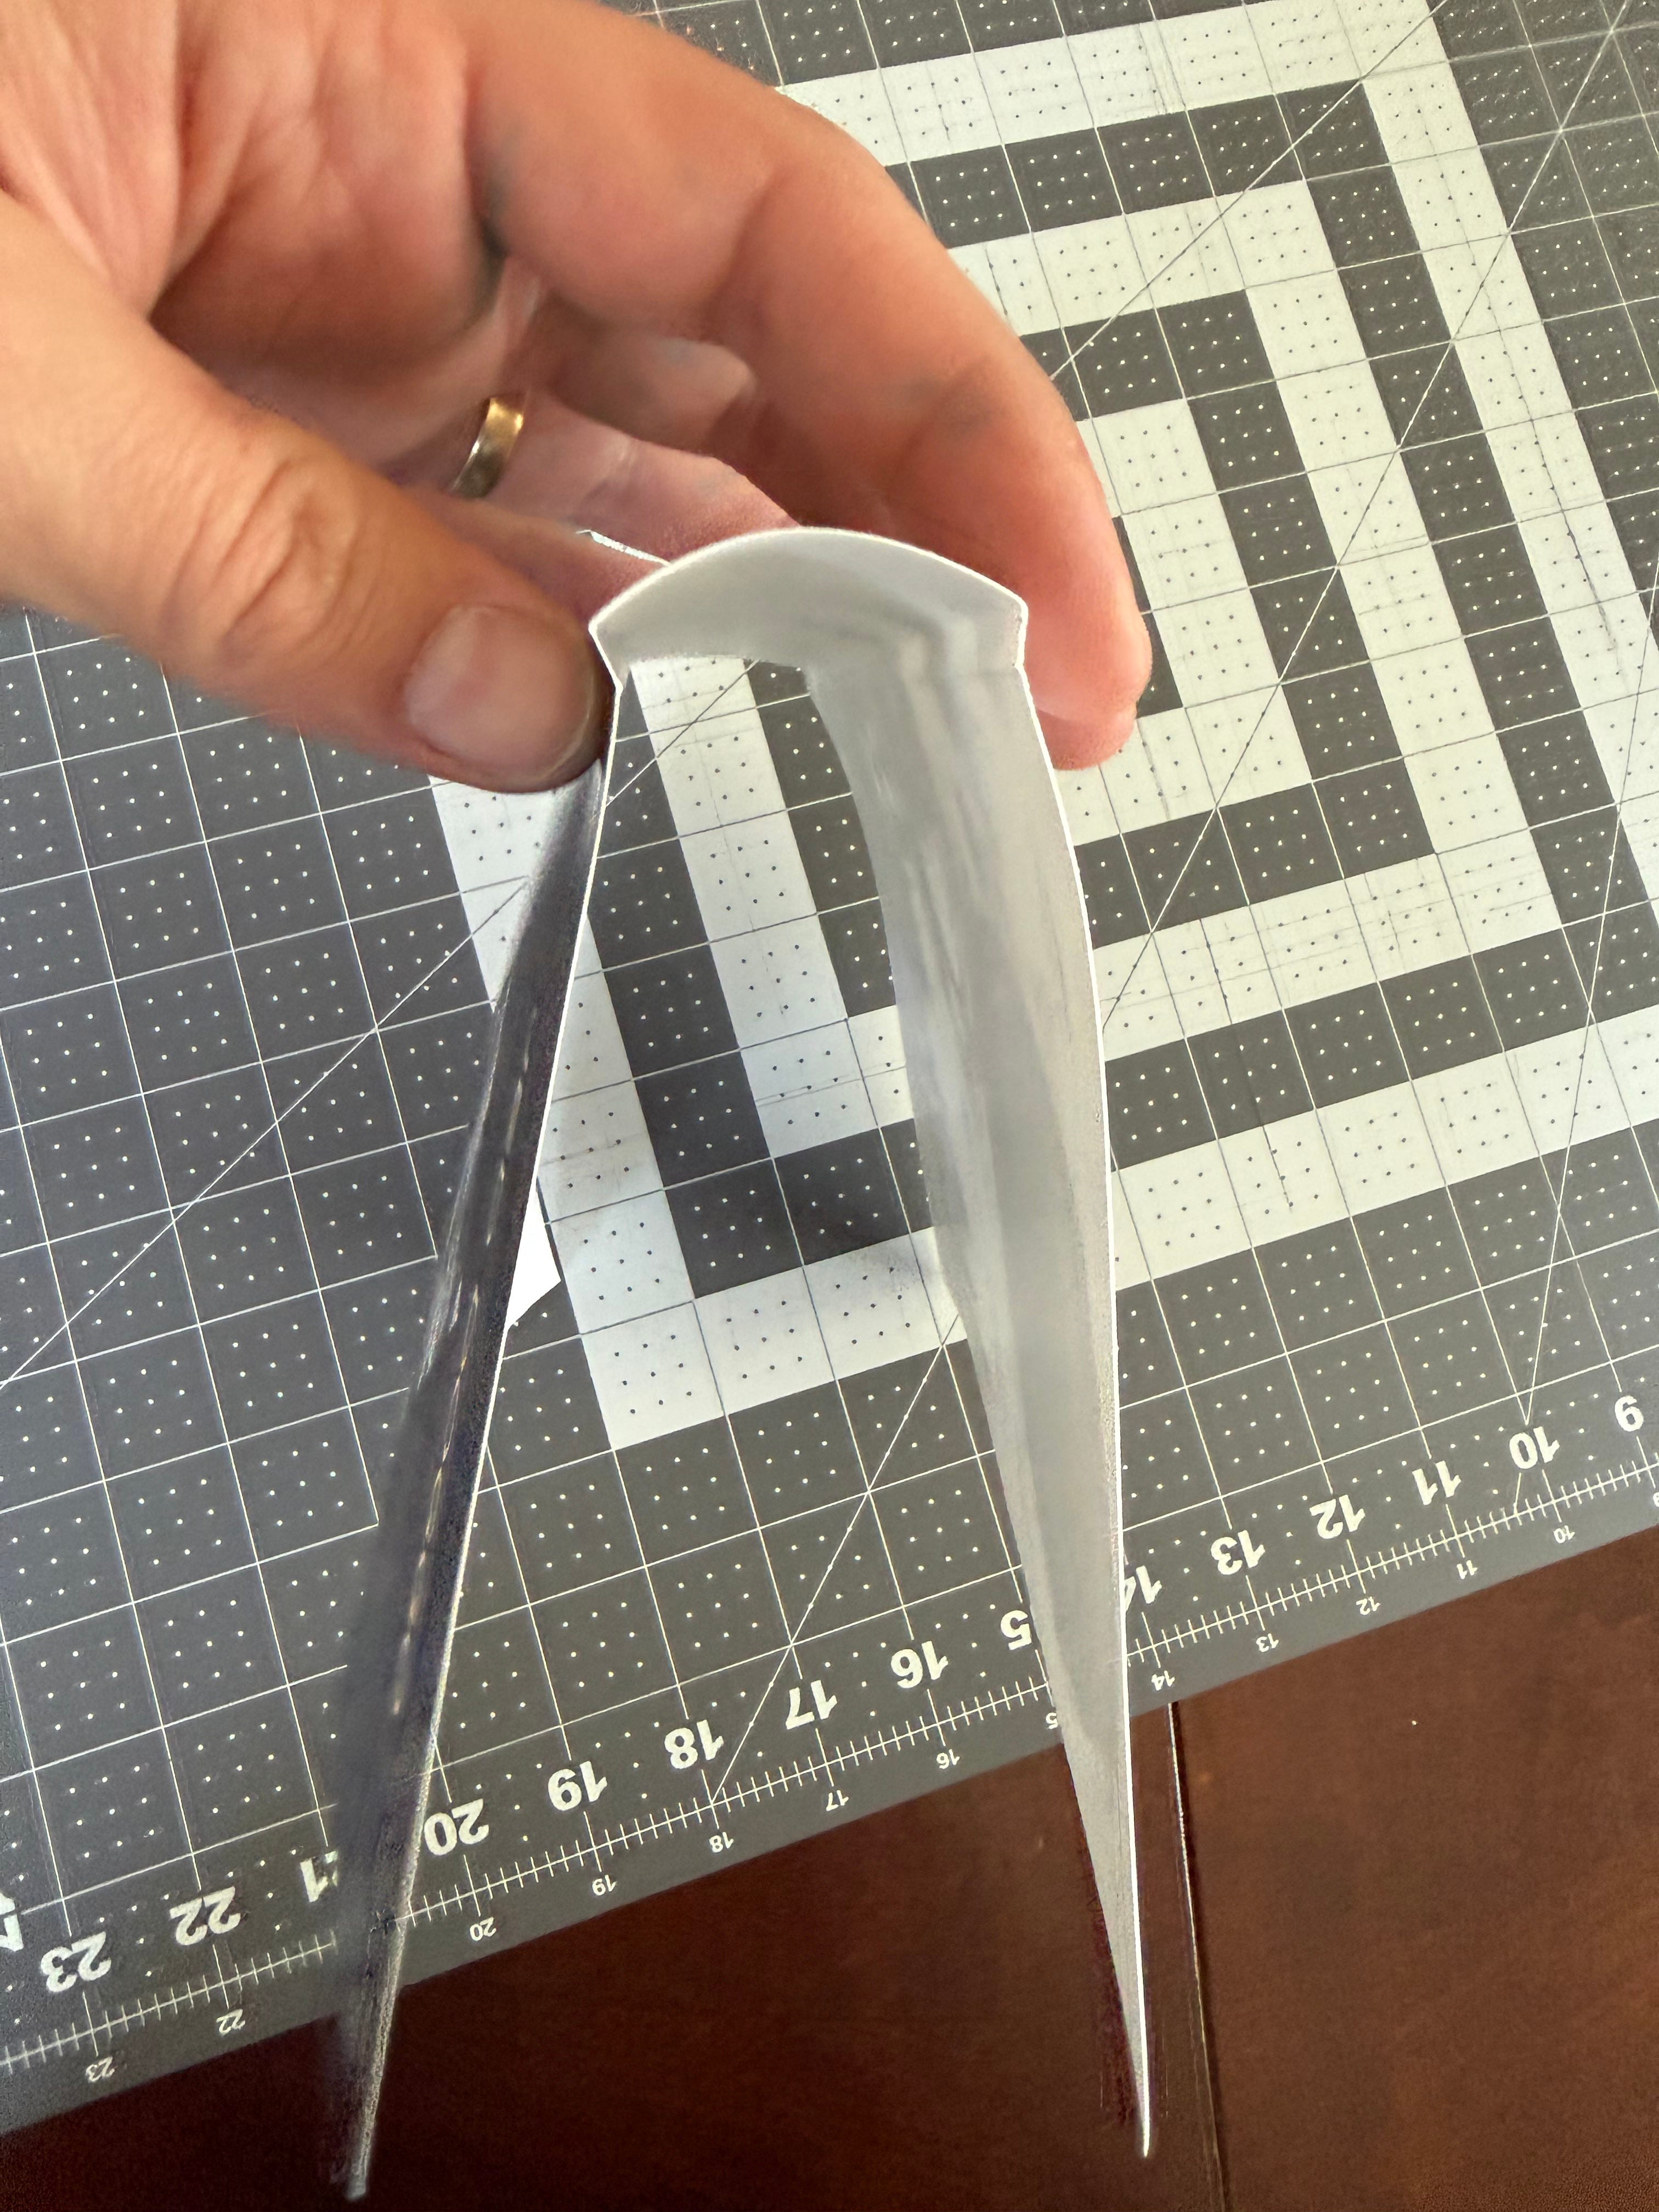
Make a line to fold on (score) with something blunt enough not to pierce through. This prevents busted edges along the fold line. We personally recommend investing in a bone folder for scoring and folding thicker paper. However, there are handy alternatives like a blunt butter knife or plastic card.
Per Mohawk Paper—As a general rule of thumb, the correct creasing channel is determined by multiplying the paper’s caliper by two and then adding the width of the creasing rule. (Note each 1 pt. of rule equals .014 inch).
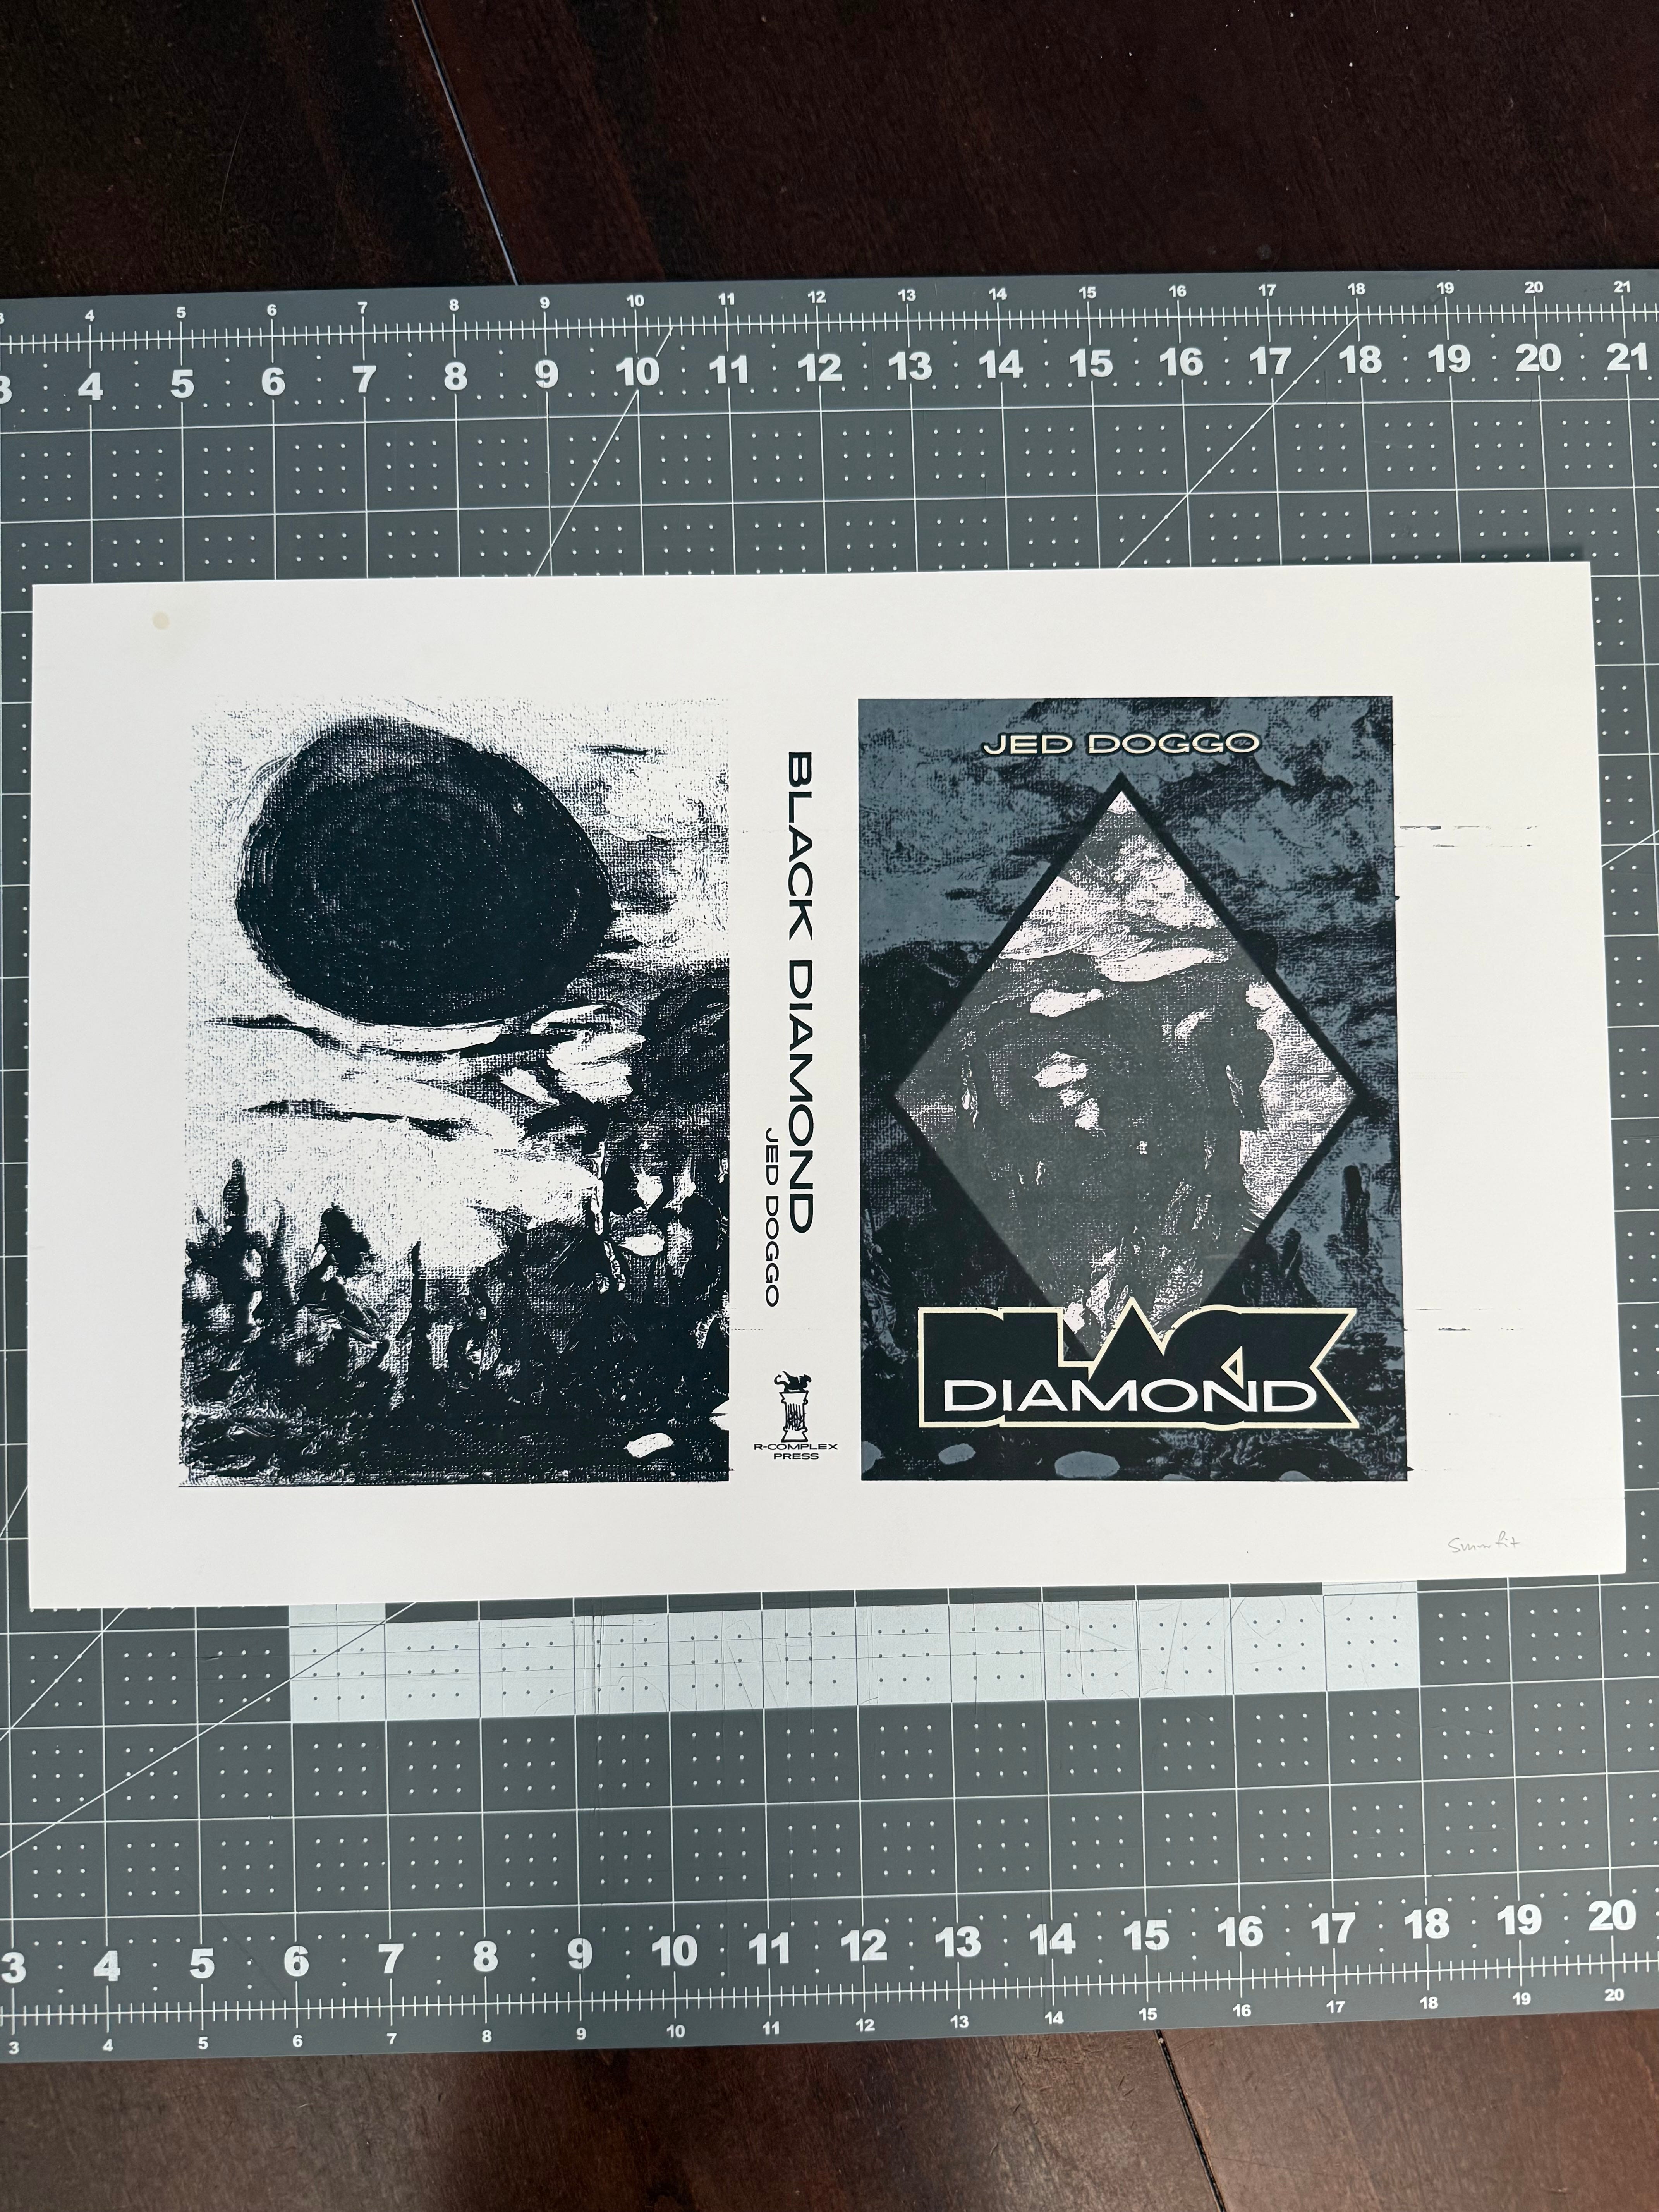
(wrapper cover is ready to glue)
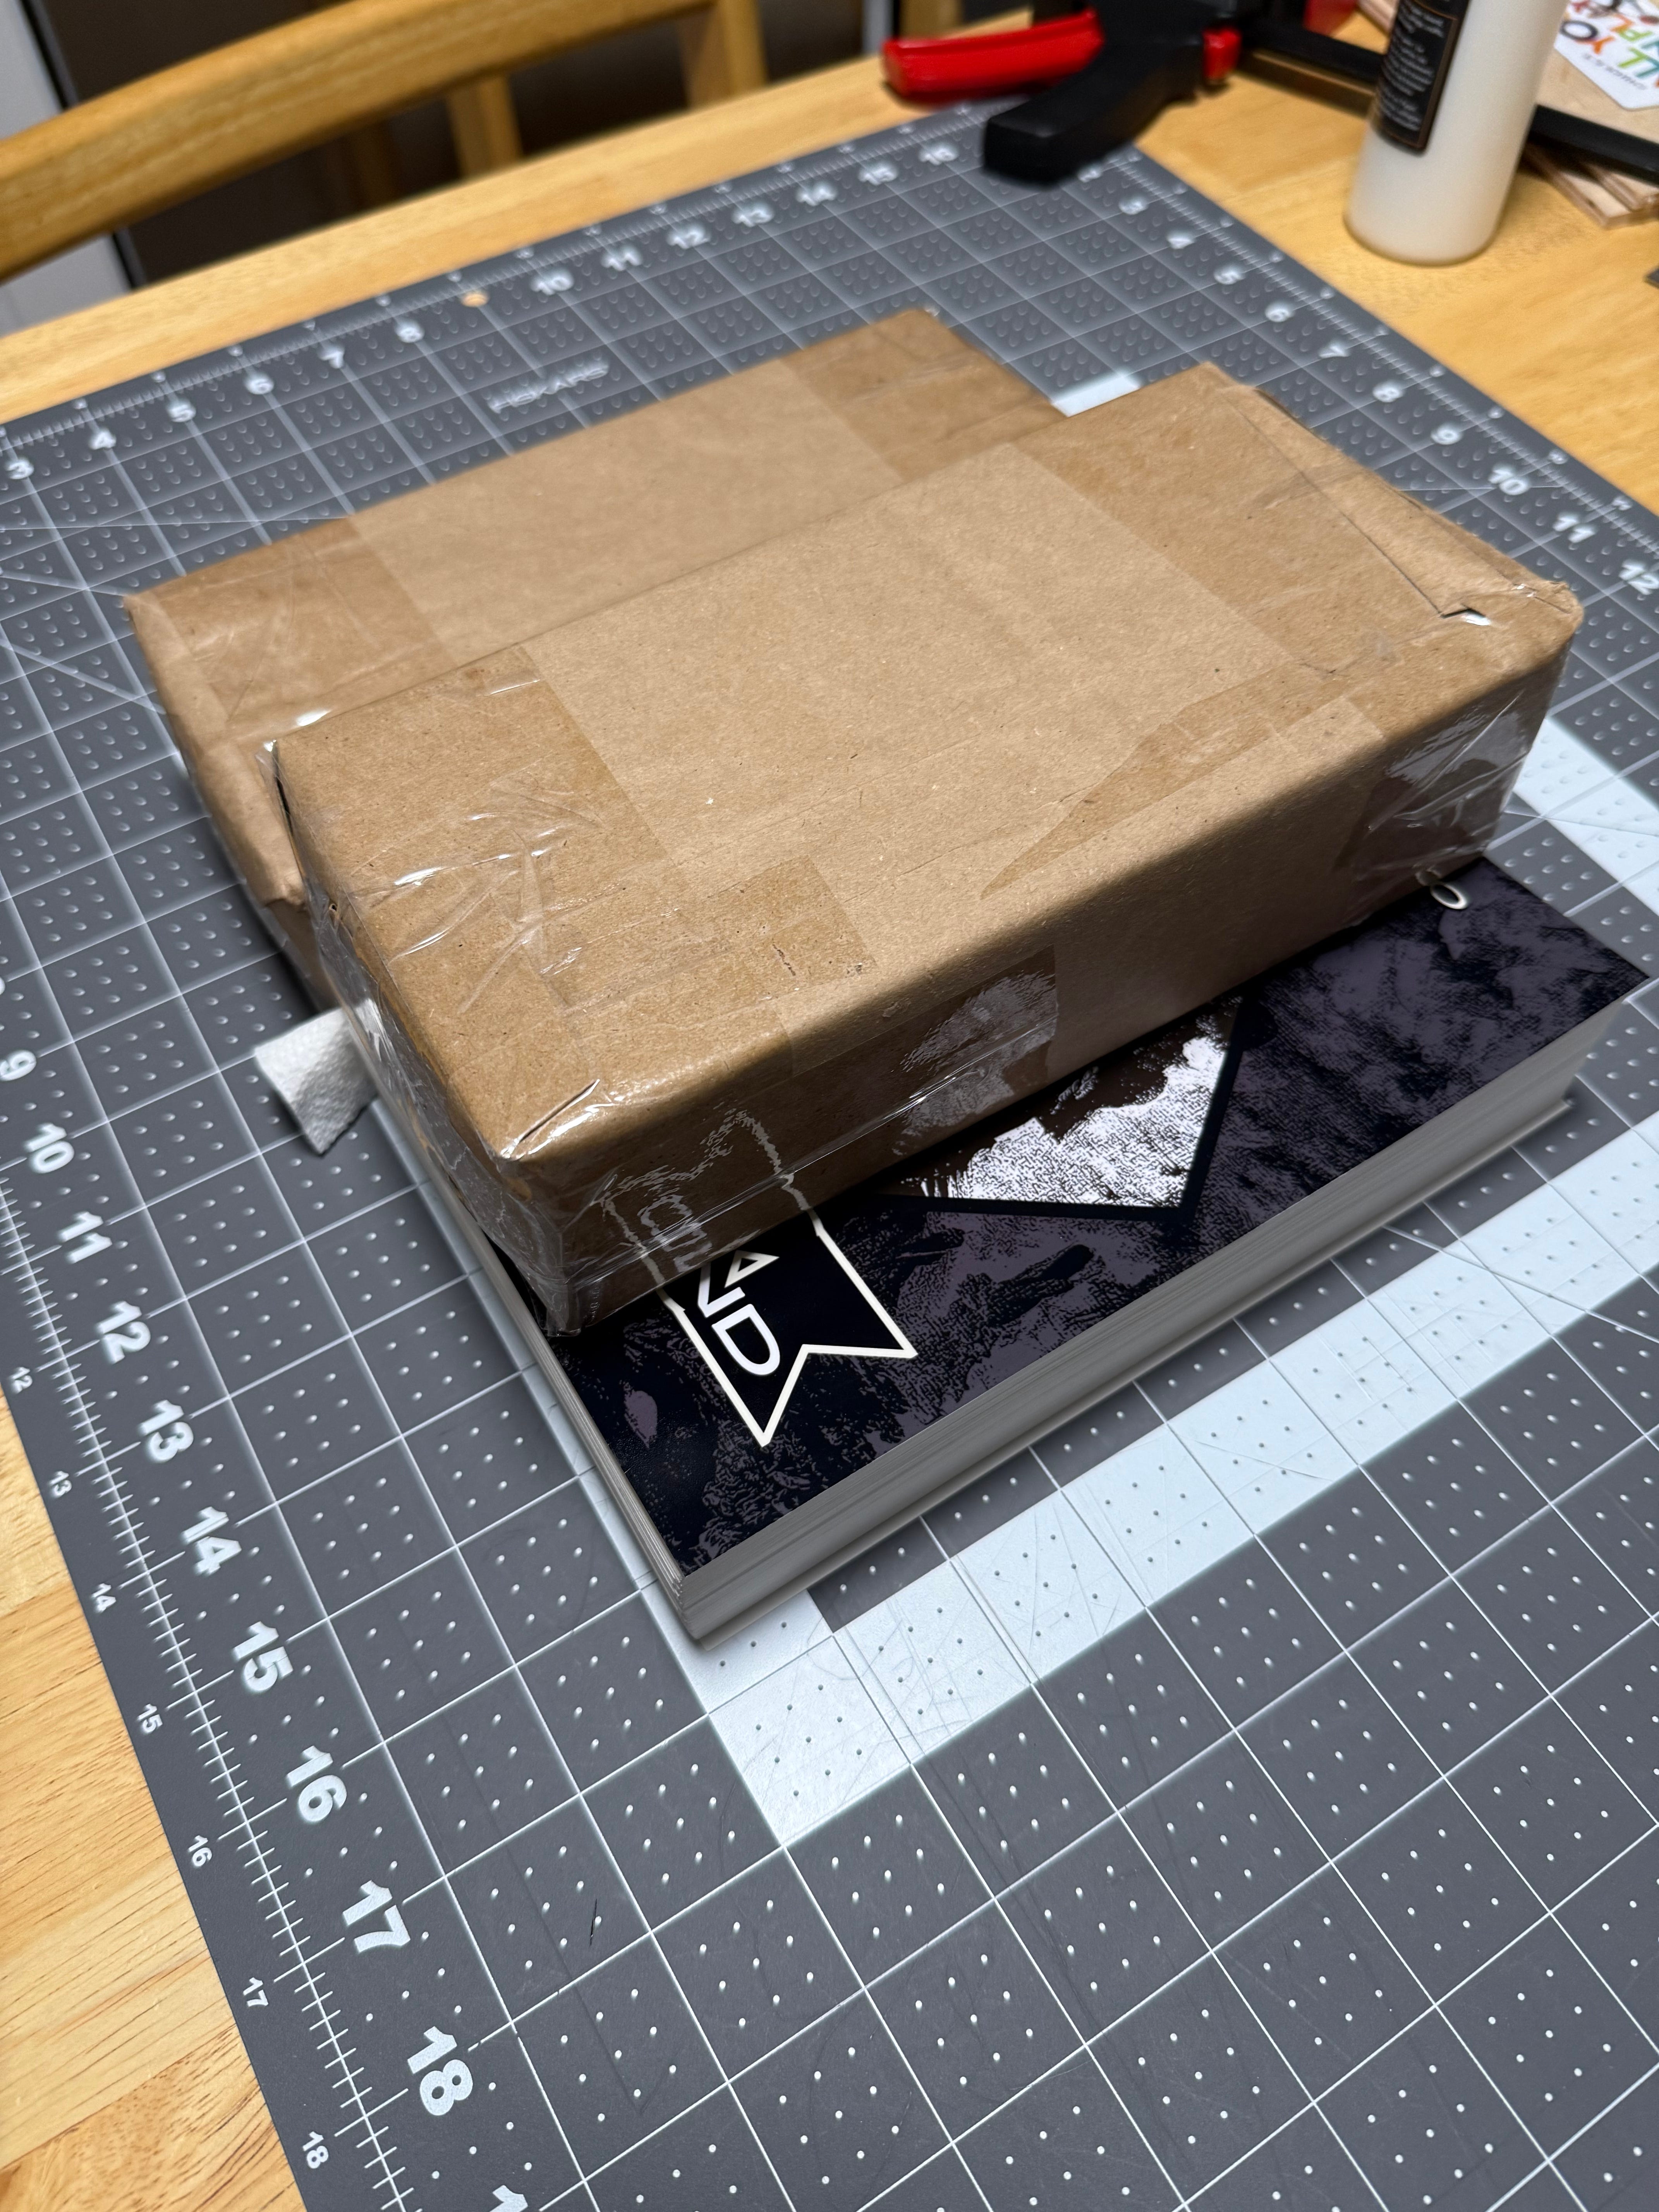
Part Three: GLUE & PRESS
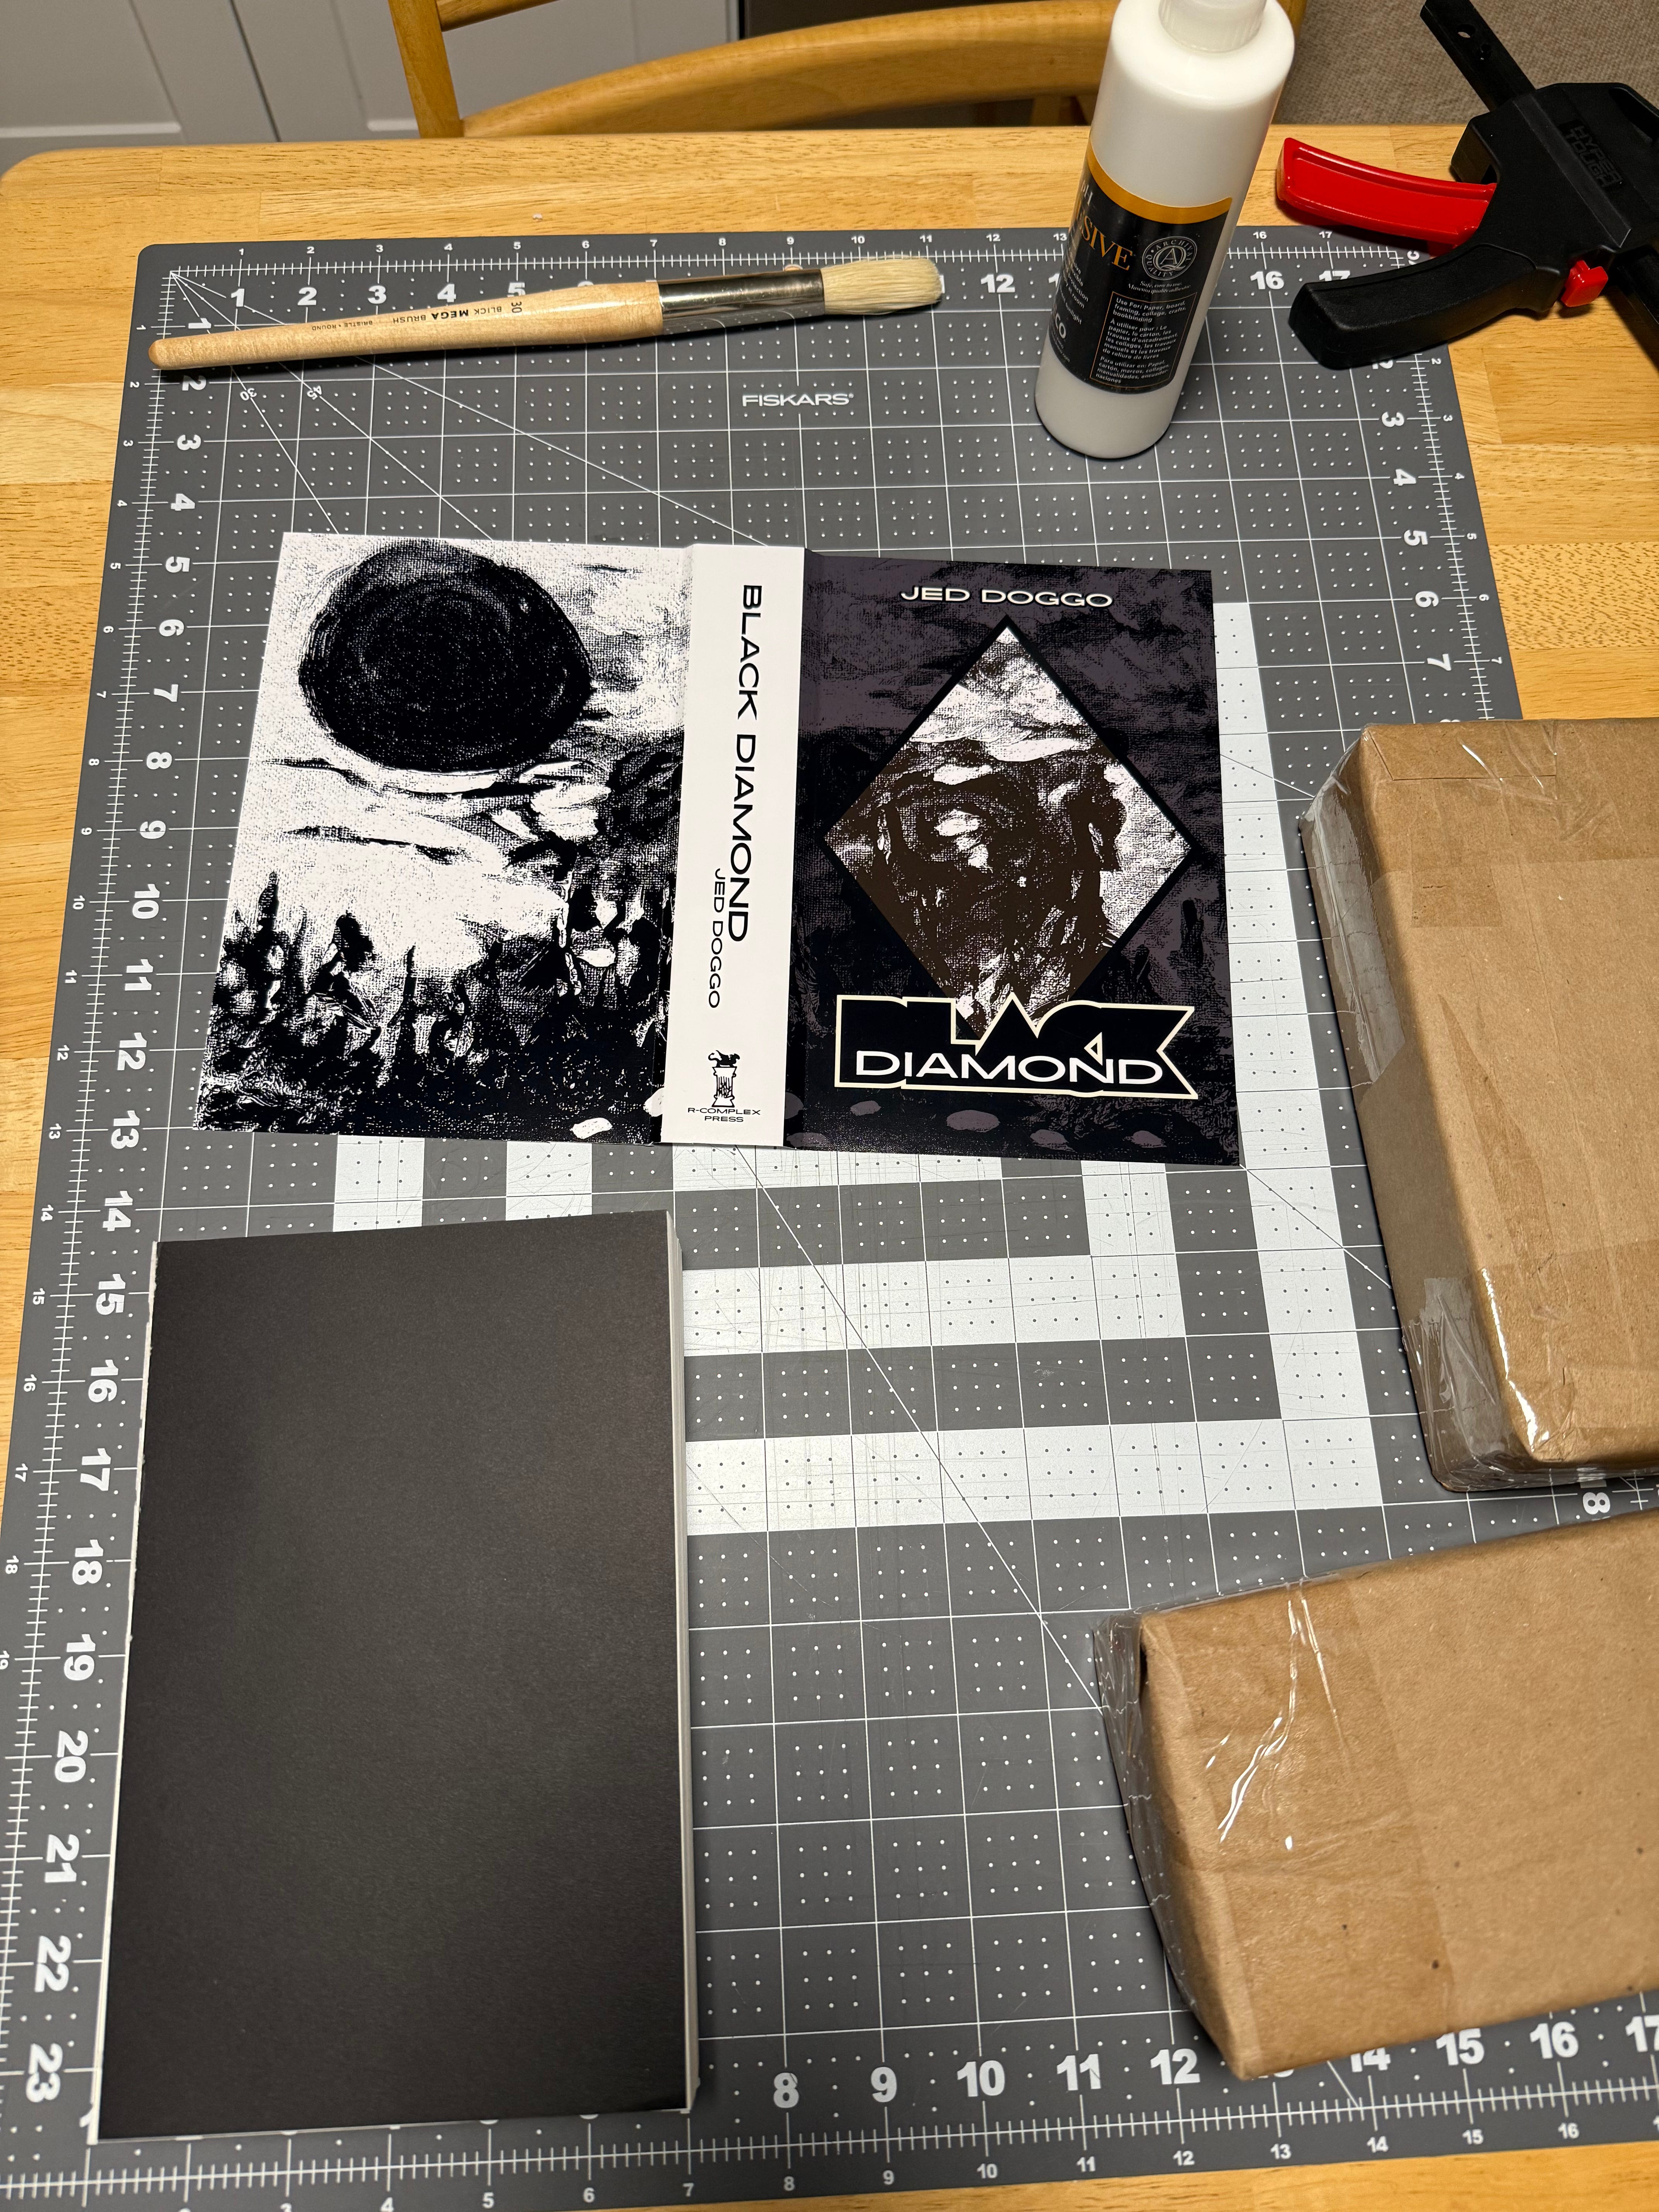
(keys to success = wrapper cover, text block, brush, PVA glue, a pair of bricks)
Almost there. Apply glue between your fold lines and the spine (see image below). Place a scrap piece of paper to cover along the outside edge of your fold lines to prevent glue from extending these bounds.
Fit your text block into the wrapper cover. Place a rolled up sheet of paper towel along the spine and back with a brick. Place the other brick on the spine on top. And voila! All you need to do is wait for the glue to dry.
(no touching for a minimum of 12 hours!)
While crafting books by hand can be rewarding however, it’s hard not to focus on the imperfections. Especially at the beginning. Consider this part of the learning process and you’ll become more confident with each book.
Happy binding!
Black Diamond Giveaway
Entering for your chance to win a free copy of R-COMPLEX-01 is as simple as 1… 2… 3… Subscribe. Like. Share. We’ll announce the winner sometime over the weekend.
Thank you so much for sharing this in such detail. I really appreciate not just the steps, but also the real-world bumps and lessons along the way. It's rare to find such a generous walkthrough, and you’ve made the whole idea of bookbinding feel genuinely approachable. I can't wait to try this myself.